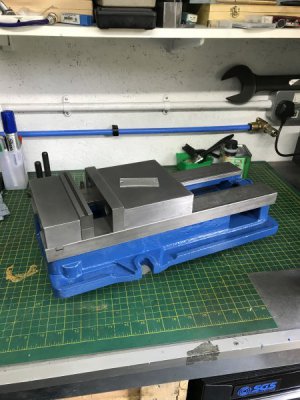
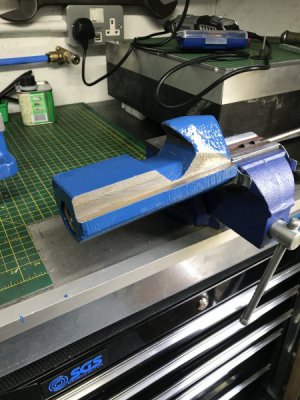
Restoring a Kurt Vise / Vice

GreatOldOne

R'lyeh Engineering Works
H-M Supporter Gold Member
Joined
Mar 20, 2014
Messages
418
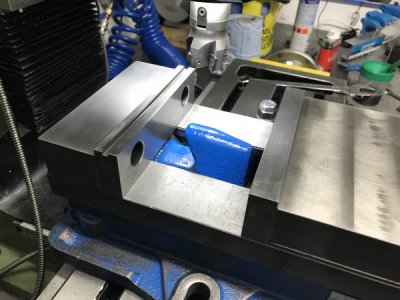
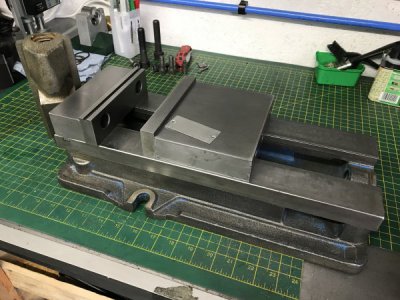
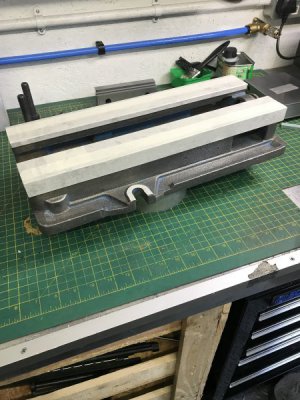
I managed to get a used D688 on eBay, and I’m going to restore it.
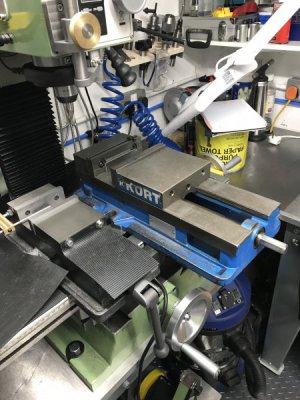
4F27C009-3E7D-4B1D-BB23-FD22143D9A5A.jpeg

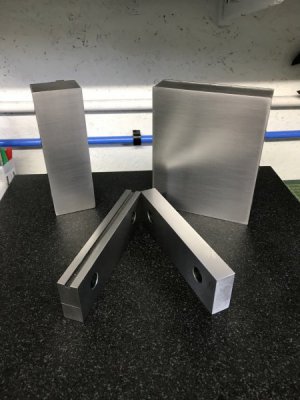
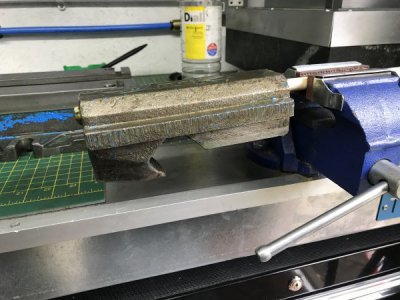
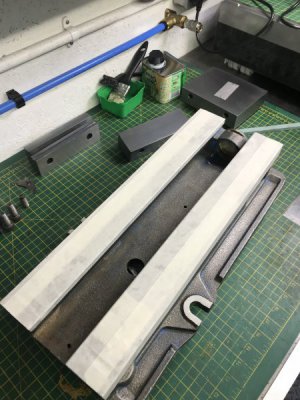
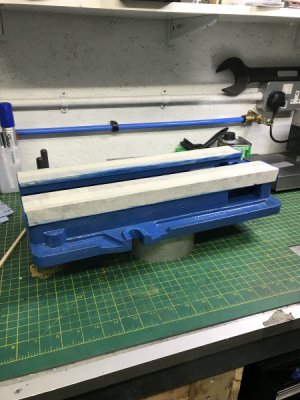
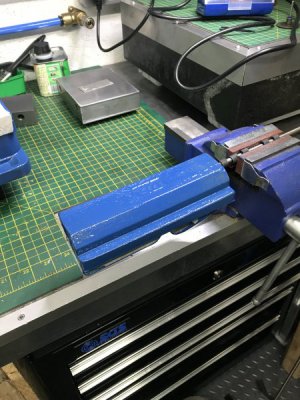
I’ve already remachined the tops of the jaws, to get rid of all the gouges and dings:
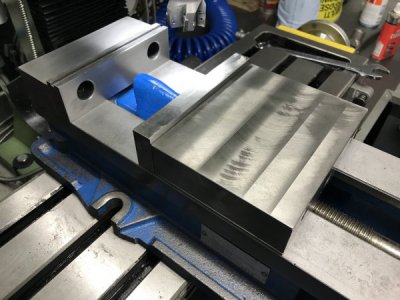

FF8A73A5-6712-47BC-BB9D-E95AD0A03FF4.jpeg026A38F3-04F5-41F5-908B-5703C22F4456.jpeg

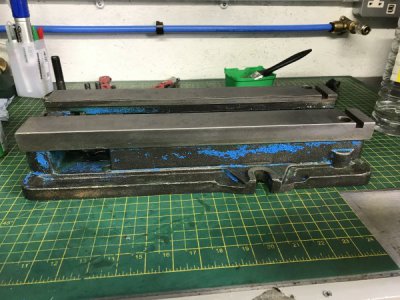
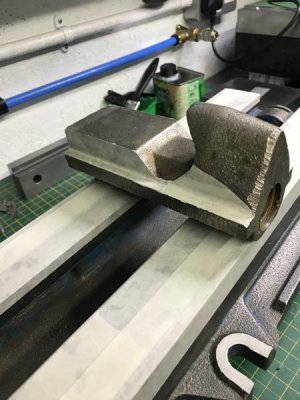
And now I’ve managed to completely strip it down. Here’s the state of all the service items. Good job they’re all being replaced. Yuck.
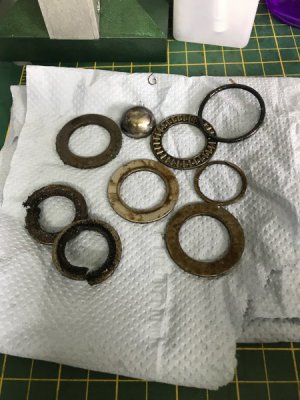
85CCAB42-9817-4D48-A90A-0C085C1D81E8.jpeg

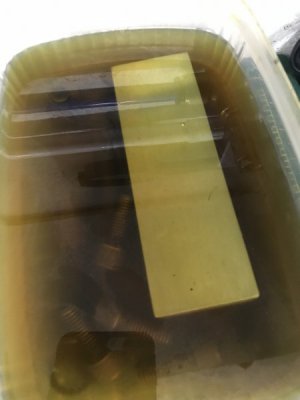
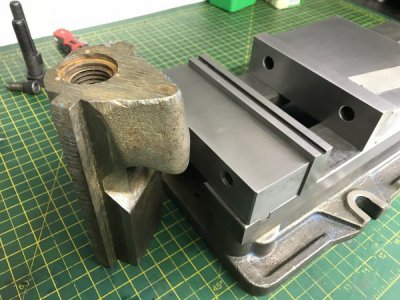
The screw and nut look good, and the hardwear is currently relaxing in an evaporust spa tub along with the fixed jaw, to remove surface rust.
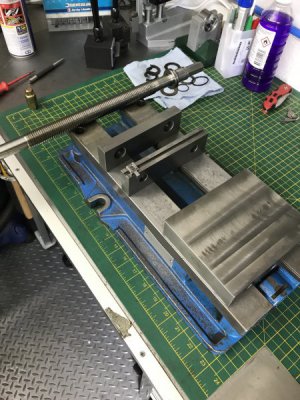
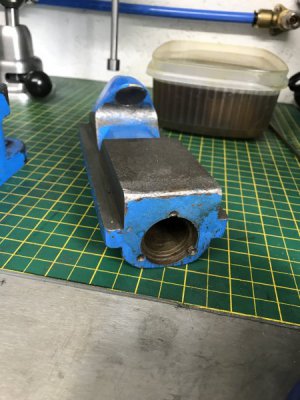
09535AE9-D7F0-40F4-A34A-0A1C19DF61CE.jpegB580AADA-BF89-4FEF-9434-DBA078F534FA.jpeg

0E26768D-CEBE-4264-B6DB-1B8E1C7748EE.jpeg

A couple of queries though before I start doing anything else. All of the cap head screws on it have head metric sized hex sockets. The large ones for the fixed jaw are 14mm - I ended up using this and a 17mm socket / breaker bar combo to remove them.
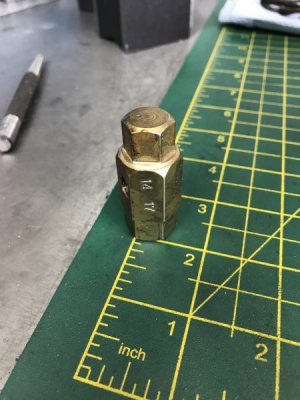
13E26551-5349-4040-8E89-3D94D30AD3F5.jpeg

Is that normal for imperial / English sized fasteners?

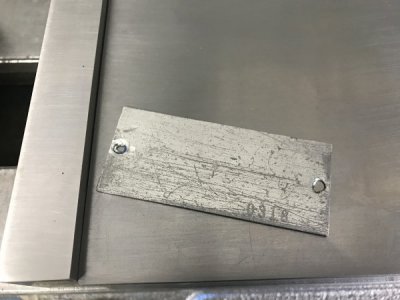
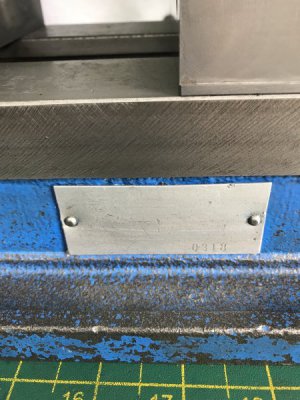
And the serial number plate is held on with drive screws. Opinions on the best way to remove them? Or just mask over when I repaint the body as all that’s left on it is the punched numbers.
E2EAB2E2-37E9-4839-9638-E5312892C6C9.jpeg
 
So all the surfaces that I machined on the jaws have been polished / lapped / whatever. Lots of different grades of wet and dry, a surface plate and a lot of elbow grease. Who needs a surface grinder :p (I do! No room though)5484E312-1AD6-4766-9C66-9A51FE997EE5.jpeg
 
More progress - the vast majority of the old paint has been removed from the body and nut now. I’ve been using Nitromors Gel, which does the job, but does take several applications. After seeing how well citrustrip works on various YouTube videos, I wish you could get it over here.

This is the second application doing its stuff.

181509F8-37BF-4B36-A036-0EF7B74EC3CE.jpeg

6B6DFA92-CA20-420F-A3A8-6502FB31CD80.jpeg

And here’s the final result.

D63E52FE-7BDE-46EB-B1A0-80E77EA54CE4.jpegA6607ADB-10D3-49A6-B1CD-50744E0F9BCA.jpeg

I removed the serial number plate by grinding off the heads of the drive pins. There’s nothing on it bar the stamped number - all the other info has been worn off. Which is a shame.

80954733-5D94-4F38-BD91-6FDD9F4B14B7.jpeg

Next job - masking up and paint.
 
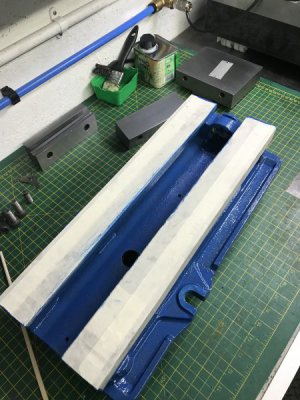
Degreased, masked & first coat of paint tonight:
9E0AAC69-2BB5-49F6-8DA5-58E6F7445A22.jpeg
50D0C085-C7AA-4458-9958-6489CCE741A5.jpeg
A2DC18F0-6426-4E89-9B53-F3AB07A8E1C7.jpeg
A789F619-7C85-4DCB-B151-D31406A4A39F.jpeg
006D4D17-5A31-4BCC-9746-53780CB56D18.jpeg
71B3603D-904F-422C-A96B-B27AC43FB175.jpeg
The paint is just run of the mill Hammerite smooth blue, bought at the local DIY store (B&Q, for us UK peeps). It seems to my eye at least to be pretty much a dead on match to the original Kurt paint.

https://www.hammerite.co.uk/product/direct-to-rust-metal-paint-smooth-finish/

I’ll let that dry overnight, and give it another coat tomorrow after work.
 
Some paints need to fully cure/dry before second coat if after an hour from first coat, should be in the directions .
 
It’s 4 hours between coats according to the instructions on the tin. :encourage:
 
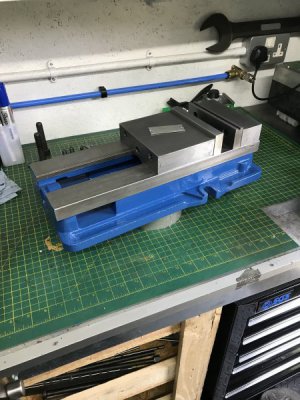
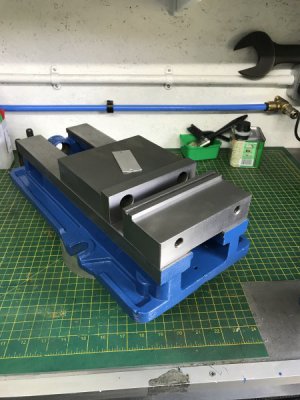
Three coats of paint later, and with the tape removed, it’s looking pretty spiffy.

1A4F3398-B064-48F3-9BFC-60093CC99088.jpegCA1313B3-F064-48DD-9F2F-435DF816D4CB.jpeg46C80292-C754-48CC-BE1B-069B0C5FAB1F.jpeg31B710A3-D4C9-4C2C-B668-30760A19EC5F.jpeg

(I was “working from home.” Shhhh. ;))

What to do about the serial number tag though? Leave it as is, or attempt to get the Kurt logo etc back on it? I doubt anything I did to restore the tag would be very durable... so leave it as is?
 
I’d put it back so at least maybe you can read the impression of Kurt. Just so if you resell they don’t think it’s a knock off.
You said you have a surface plate. Put vise on there and see how your cutting did on the jaws.
 
Back
Top