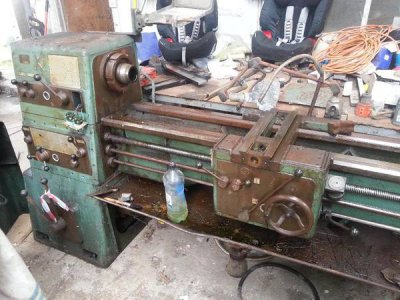
Restoration/Refurbishment of my Ornmaskiner/Storebro Lathe

I'm enjoying watching this. I would definitely remove that headstock cover and look at the condition inside. In all likelihood it will need at least a flush to clean and new oil.
 
That is shaping up very nicely, the ford blue is a good color on it. Hey I know of a couple of truly great things that came out of Cork,Ireland .....................
My Grandmother and Rory G. But I'll bet there are tons more , would love to visit Cork some day. That is going to be a fine beast when it's back to functioning...Looks like a gap bed ? is that after the 16"s. Mine is a 14 1/2 inch SB and it looks like a toy compared to yours (about a ton mine is)....I've had mine in service a little over a year and basically maintan it as I go. I had to replace the crossfeed screw a while back and I am getting ready to refelt the apron,gearbox and headstock, but it's working like a dream
love this thing....Thanks for the posts keep them coming it's looking great
 
How did you get that stuff SO clean? it's like the surface rust dusted right off......
My M head BP needs a rebuild and scraping, any tips will go to good use!
 
I'm enjoying watching this. I would definitely remove that headstock cover and look at the condition inside. In all likelihood it will need at least a flush to clean and new oil.

All the gearboxes will be cleaned and checked, i've drained the apron gearbox and the clutch box, ill just refill the clutch box but the sludge that came out of the apron needs investigation.


That is shaping up very nicely, the ford blue is a good color on it. Hey I know of a couple of truly great things that came out of Cork,Ireland .....................
My Grandmother and Rory G. But I'll bet there are tons more , would love to visit Cork some day. That is going to be a fine beast when it's back to functioning...Looks like a gap bed ? is that after the 16"s. Mine is a 14 1/2 inch SB and it looks like a toy compared to yours (about a ton mine is)....I've had mine in service a little over a year and basically maintan it as I go. I had to replace the crossfeed screw a while back and I am getting ready to refelt the apron,gearbox and headstock, but it's working like a dream
love this thing....Thanks for the posts keep them coming it's looking great

Hard to beat Rory allright, though Phil Lynott and Gary Moore are good too. The gap bed is after the 16", i didnt know it had one till i cleaned the crud off it.

How did you get that stuff SO clean? it's like the surface rust dusted right off......
My M head BP needs a rebuild and scraping, any tips will go to good use!

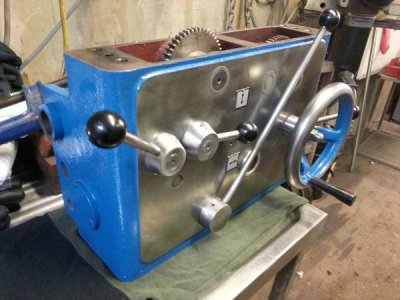
I used the electrolysis method of rust removal, it worked pretty good for me.
http://www.hobby-machinist.com/showthread.php?t=14637&p=195008&viewfull=1#post195008
 
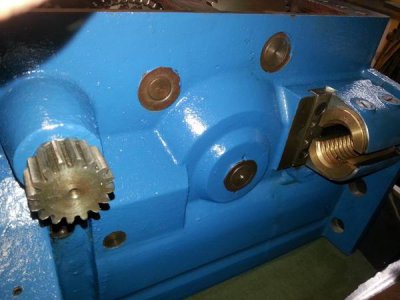
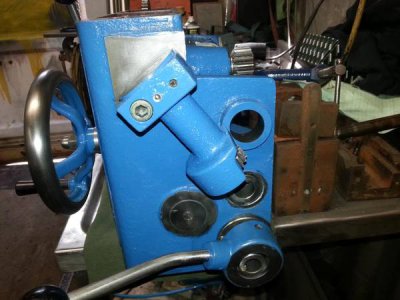
Got the apron rebuilt over the last few evenings,
all bearings and seals replaced, had to dress the traverse feed gears in a couple of spots but very little wear, i dont think this machine got much use in its life, plenty of abuse from the elements but very little wear on the half nuts and worm drives,
this is how it looked,

20140425_162454.jpg

and it came out nicely

20140516_101904.jpg

20140516_101852.jpg


20140516_101842.jpg

All in all i think this is going to be a very worthwhile project, i'm pleased with how nicely its turning out, Its taking a lot of time and plenty of elbow grease though.
The only stumbling block is trying to get hold of a straightedge to check the ways, i might just have to put it together, chuck up some shafting, take a fine cut, and check that with a micrometer,
I would appreciate any help and suggestions as to which would be the best method for checking and truing everything.
 
Well Landshark, I must admit I'm envious. That's a helluva machine, and you're doing a helluva job cleaning her! Nice work! I just don't envy having to move that thing! Please keep the pics and updates coming and good luck with everything!
 
It looks as if you've got a nice wire diagram to repair things, things that would concern me are the step down transformers and I suppose they are four running breaks and lights
Keep going it looks downhill from here.
 
It looks as if you've got a nice wire diagram to repair things, things that would concern me are the step down transformers and I suppose they are four running breaks and lights
Keep going it looks downhill from here.

When it goes back together its going to be completely rewired, modern overload current breakers, "C" rated mcb's, emergency stop fitted, solid state 24vdc psu for the electromagnetic clutches(it uses two, one for forward and one for reverse) and all the control switching, i'm currently gathering the required parts, i think emergency braking and speed control will be provided by a lenze vector vfd which i pulled from a decommissioned electrical panel off a bottle filler, ill run the circuit sketches by a friendly electrician to make sure i'm not doing anything stupid(or more stupid than normal).
 
bit more progress this weekend and the first sign of trouble,
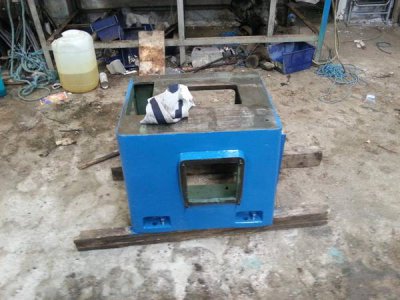
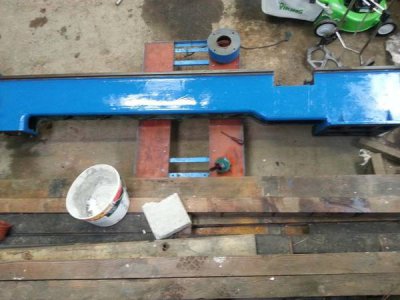
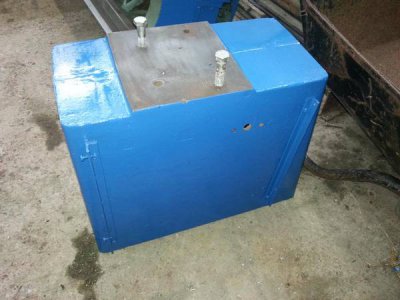
i got the back of the bed and the pedestals painted

20140524_183659.jpg

20140524_183606.jpg

20140524_183550.jpg


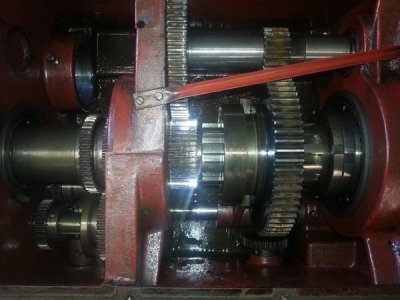
Then i hit a bit of trouble, started on the headstock, drained the oil and opened it up, all seemed ok in there, except for a small spring lying in the bottom, ill find out where it goes later,

20140526_190412.jpg

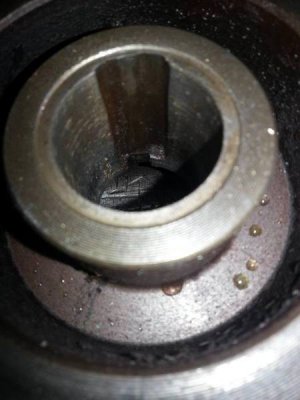
the main problem is the drive pulley, it rotates about 30 degrees on the shaft and has about a mill of play on the shaft,

20140526_184630.jpg

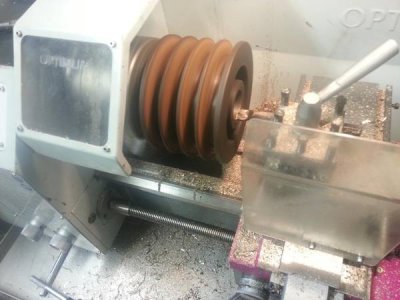
i turned 2mm off the shaft to get it to run true, and 2mm off the pulley bore, pretty much at the limits of what my little optimum can do.

20140526_190152.jpg

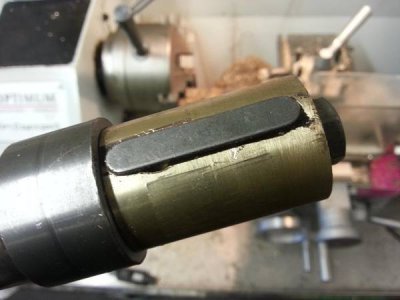
then i turned a bushing out of some phosphor bronze, and slotted it with a carbide burr to accept the key, i really have to get a mill

20140526_184711.jpg

Ill drill and tap a couple of of holes in the pulley and clamp the key with some grubscrews hopefully that will hold it,
should i fit a bigger key and recut the keyway or will it be ok, it'll get plenty of loctite on reassembly
 
Back
Top