- Joined
- Jan 20, 2018
- Messages
- 5,913
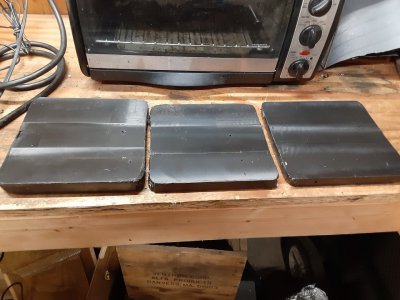
Getting back to this. I've been dealing with two issues. The first is voids formed by trapped air and the second is unequal shrinkage on cooling. Stacking the pipe segments in different arrangements to reduce trapped air causes different results. The worst resulted in this, with the bottom as bad as the top.
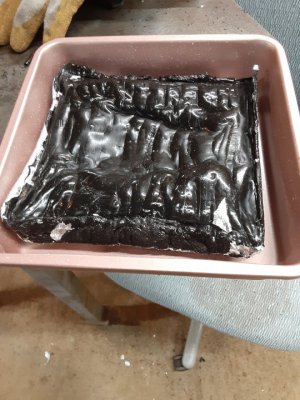
It would require over .200 removal on each side to get cleanup. The best result is achieved with parallel stacks of nested segments with the concave surface up. After it was fully melted, I pressed it with a s/s plate in the arbor press to get it flat, and let it cool.
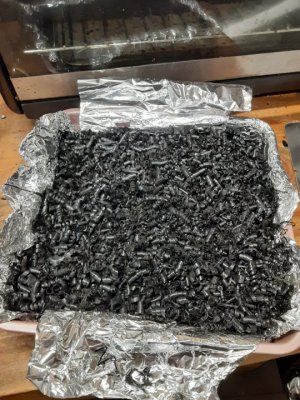
Speaking of cleanup, I have a small mountain of chips from milling the plates flat, so I decided to recycle them.
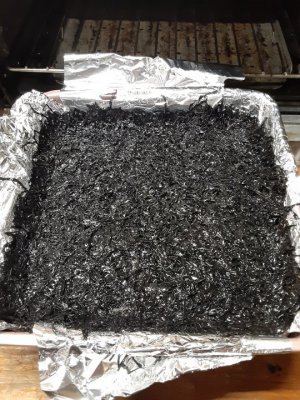
Fill the pan with chips, heat about 15 minutes, press with a plate on top in the arbor press and repeat.
This seems to make a very consistent plate with no voids.
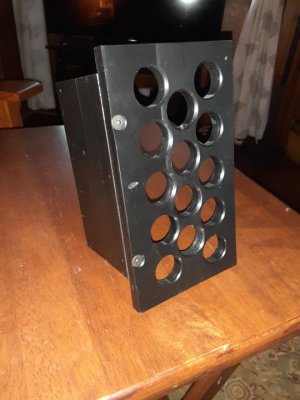
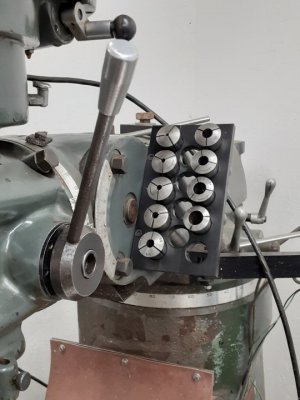
Having grown bored with making the plates (and cleaning up the mess), I decided to make something from the material.
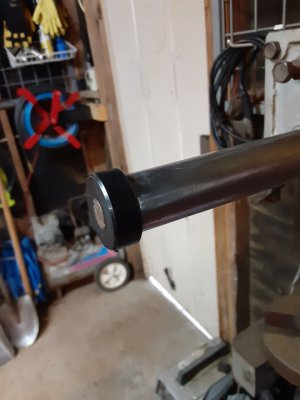
With nothing to stop it, the tommy bar on my arbor press falls out on the floor all too often, so it was time to make some end caps for it.
I used a hole saw to cut out some rounds then turned them on an all-thread mandrel on the lathe. The stuff machines well and leaves a good finish, even with carbide inserts.

It would require over .200 removal on each side to get cleanup. The best result is achieved with parallel stacks of nested segments with the concave surface up. After it was fully melted, I pressed it with a s/s plate in the arbor press to get it flat, and let it cool.
Speaking of cleanup, I have a small mountain of chips from milling the plates flat, so I decided to recycle them.
Fill the pan with chips, heat about 15 minutes, press with a plate on top in the arbor press and repeat.
This seems to make a very consistent plate with no voids.


Having grown bored with making the plates (and cleaning up the mess), I decided to make something from the material.
With nothing to stop it, the tommy bar on my arbor press falls out on the floor all too often, so it was time to make some end caps for it.
I used a hole saw to cut out some rounds then turned them on an all-thread mandrel on the lathe. The stuff machines well and leaves a good finish, even with carbide inserts.


