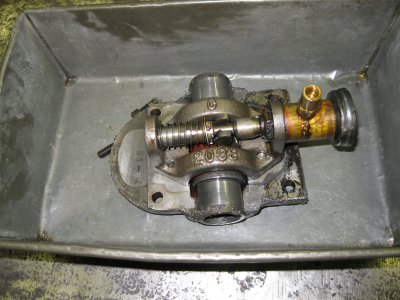
Pratt & Whitney Model C 12x30 lathe

@brino Thanks for the tip! After watching people machine AR plate I think I’ll go with durabar or something else. :oops: Lol
 
@motormech1 - There would probably be many ways this could be done. You could use ground pieces and carefully bolt and dowel pin it together. That might end up being as much work as machining one. The material used and the method would probably be more dependent on your equipment. Some times when you're wanting to keep it all in house, we do what we have to do.

The only concern I would have would be the condition of the ways that the taper shoe travels on as this essentially acts like a tracer. But even this would be largely dependent on your needs and expectations.
 
Thanks for the advice. I’ve got some good information when I’m ready to tackle it. By the way, I pulled the main gearbox lid off to check the overall integrity in there and it’s super clean inside with no damage that I could find. There’s still some amount of oil in the bottom of the sump although there’s no telling how much. Do you have a good method for flushing it out before filling it?
 
Thanks for the advice. I’ve got some good information when I’m ready to tackle it. By the way, I pulled the main gearbox lid off to check the overall integrity in there and it’s super clean inside with no damage that I could find. There’s still some amount of oil in the bottom of the sump although there’s no telling how much. Do you have a good method for flushing it out before filling it?
I’d say it’s good news that it’s in great condition. Flushing headstocks can be risky business. I try to stay away from the spindle bearings. I use a mixture of kerosene and DTE Heavy Medium oil. I also use a small electric pump (the kind you can find at Harbor Freight) and a bucket of this solvent mixture. The pump discharges solvent through a fairly fine hydraulic filter and an adapter up through a hose with a small copper tubing wand with a butterfly valve. I also connect a hose barb to the drain of the headstock along with some clear tubing back to the bucket. All this allows me to use less solvent because it is recirculated.

The lower reservoir of my Pratt & Whitney can be flushed by removing the filter housing which allows enough room to reach inside. The bottom of this housing which is in the bed is sloped towards the filter and the pump pick-up tube. Inside of this lower housing is a counterweight that acts as an aid when engaging the clutch. This gives the clutch a very light feel. One of the nice touches by Pratt & Whitney.

In my opinion the oiling system in a Pratt & Whitney is a textbook example of how it should be done. It keeps a large volume of oil far away from churning gears. It keeps the oil temperature very stable which makes for a very thermally stable headstock.

And one last thing, if you remove any of the oil piping in the upper part of the headstock, pay very close attention to its orientation as these are drilled in such a way that they direct little streams oil at specific parts.
 
Ok great. I see no reason at this point to disassemble anything. I mainly want to drain and clean up the sump so I probably won’t run anything through the system unless you think it’s important enough. As far as the apron goes, if I read correctly, the oil is pumped when it’s cranked back and forth? If so, would you recommend anything other than a drain and fill on that?
 
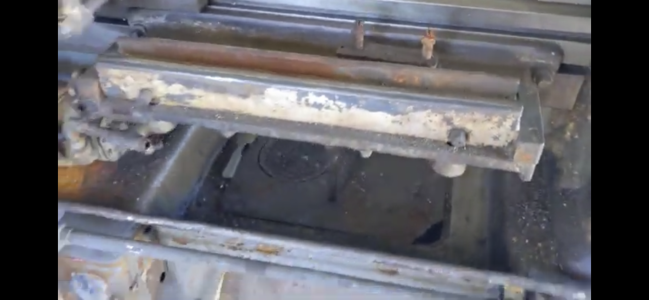
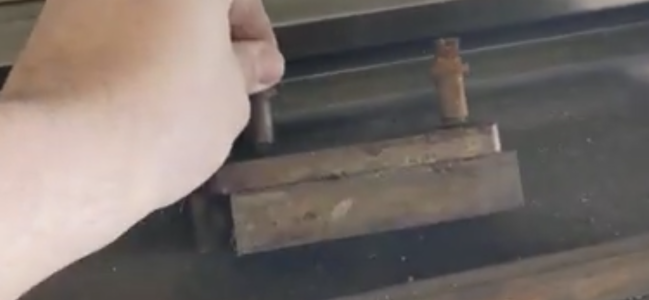
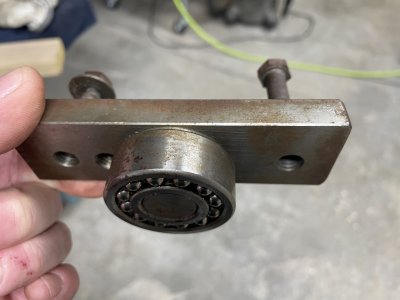
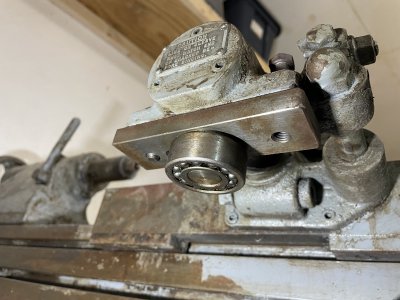
I was wondering about the taper attachment’s connection to the shoe on my machines version of it and wondered if I could find any video or picture of it. I also went back out to study it again and found amongst other things in the pan what looks like a shop made shoe utilizing a bearing instead of a block.
C34166E9-9DF0-4BAA-AA1A-C0B11FAB7BD4.jpeg
C583AB9A-3B88-4045-B0AA-9972E0F43EB6.jpeg
Not a bad idea but probably not as precise as a block. Digging on you YouTube I turned up a guys videos of his model C 1694 and he had the original taper attachment so I grabbed some screen shots.
3D365927-288C-43BE-933A-76D2E19031FE.png
E7B035D7-7B12-4CF6-86F4-BBAAA348D401.png
 
Assuming it’s original, might not be, It’s not using any visible bearings. There’s a pivot in the middle as shown in the parts diagram but no bearing mention. I thought maybe I should make a version of the later model like on @tailstock4 ‘s . machine. I noticed they beefed up the frame casting a bit too.
 
I also found a broken micrometer carriage stop. Might be repairable.

6CC16221-95F3-4F0D-8B29-578B303CE69C.jpeg
 

Attachments

  • 343FF49D-0388-4A75-BA8D-37FF3A90EF06.jpeg
    343FF49D-0388-4A75-BA8D-37FF3A90EF06.jpeg
    323.7 KB · Views: 2
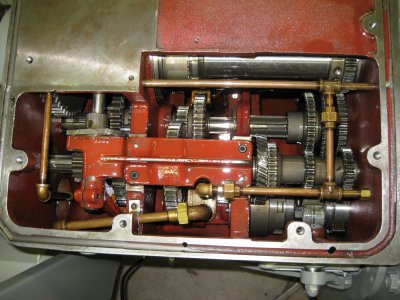
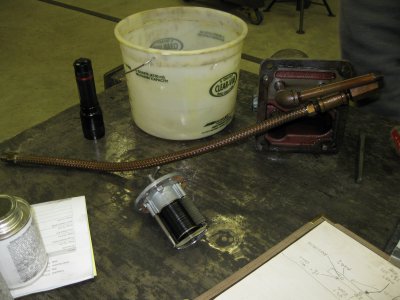
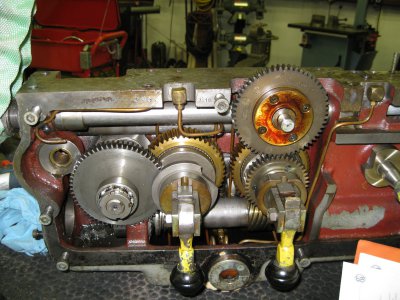
I wasn’t really recommending that you flush the headstock but just sharing a way that I have done them before. Mine was pretty clean also. I’ve posted a picture of my headstock. I’m curious if there are any changes in mine from your earlier model. I’ve also included a picture of the headstock oil filter housing. Mine had a relief valve and the filter you see. The lower piece of this housing has a cavity that allows sediment to settle in.

IMG_2127.JPG IMG_1360.JPG

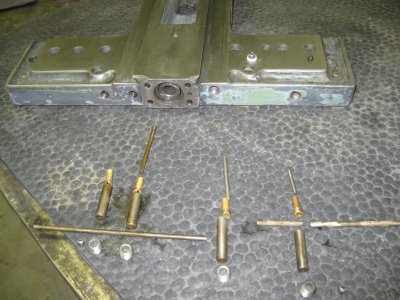
As far as the apron goes, I would recommend pulling the saddle and pulling out the volume rods and changing the bijur metering units as these tend to plug. The volume rods also collect quite a bit of sediment which if not flushed out will find its way to the metering units. I’ve included a picture of the volume rods and the metering units below. These are a bit of a puzzle as they have to come out in the order I have them laid out.

IMG_1354.JPG

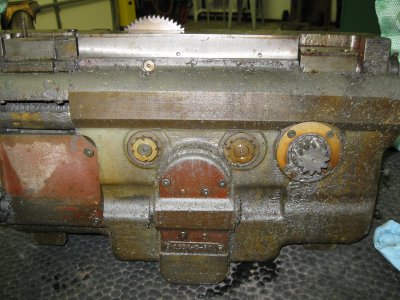
I would also recommend as a minimum to pull the bijur pump on the apron as this has a filter in the pick-up. To pull this pump you’ll have to get to the back of the apron. The pump is connected to an access cover there. This pump is also connected to a distribution manifold that can be accessed from the front side of the apron. The pump must be disconnected from the manifold before you can pull the pump. There is an interlock for the half nuts on the inside of the apron front cover that will need to be triggered for the cover to be released or when reinstalling. I believe you can trigger this interlock with the saddle off. If you don’t pull the saddle, it will take a little more explanation.

IMG_1288.JPG IMG_1289.JPG IMG_1316.JPG

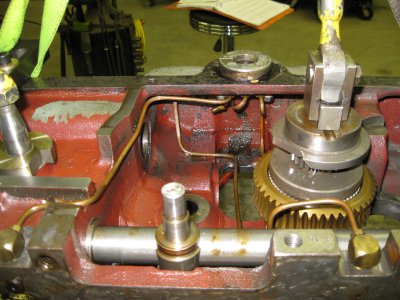
There is also one of these bijur pumps in the feed gearbox. Below is a picture of it. Both pumps operate off of a fork that provides the pumping action.

IMG_1311.JPG

I hope the pictures make this all easier to understand.
 
Back
Top