- Joined
- Dec 3, 2013
- Messages
- 1,849
More progress. Getting close to completion. Finished all the electrical wiring and managed not to let any of the magic blue smoke escape.
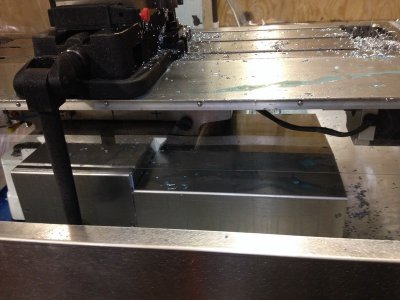
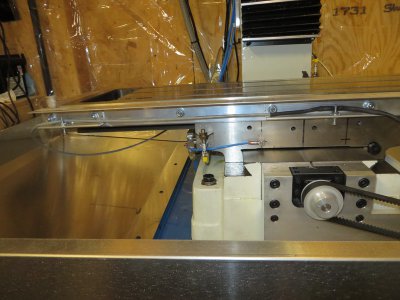
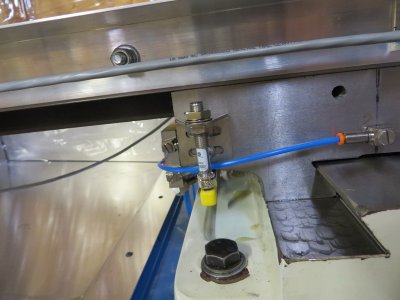
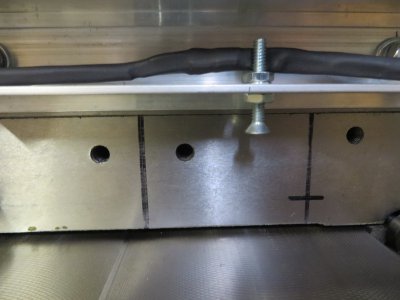
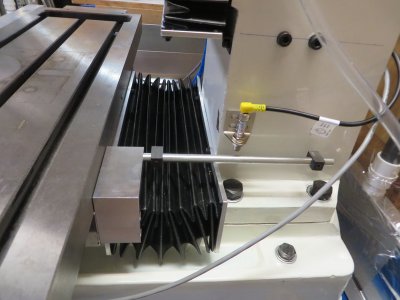
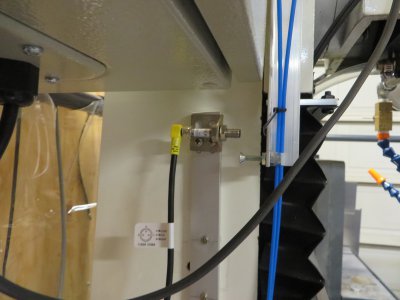
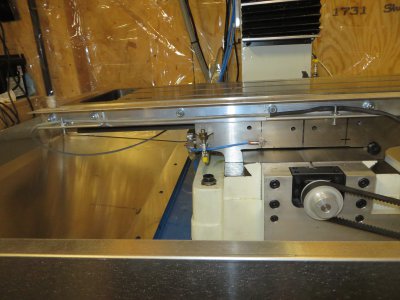
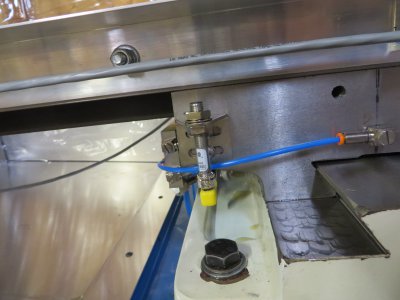
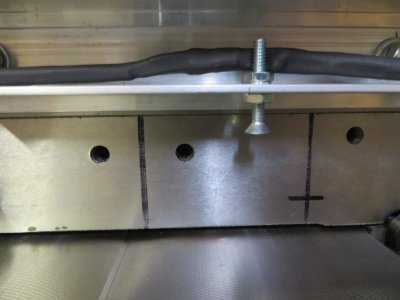
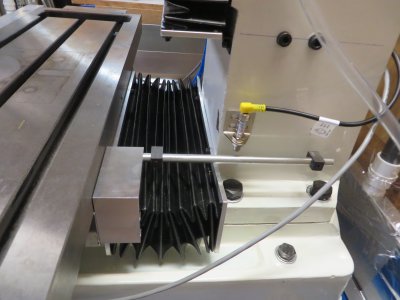
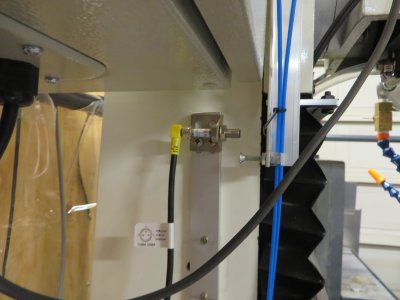
Got the home/limit switches installed. I originally planed on using optical switches in sealed enclosures but decided to install inductive proximity switches simply because the install was simpler. These may be temporary or permanent depending on performance. The z and x switch are out of the way or protected from coolant and chips but I still need to make a cover and wiper for the y switch.
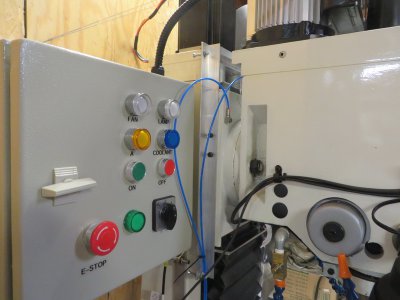
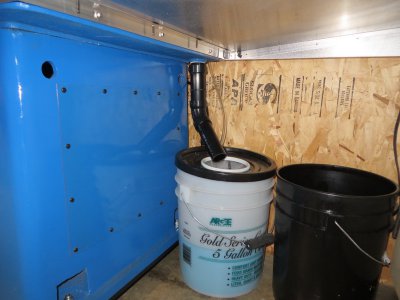
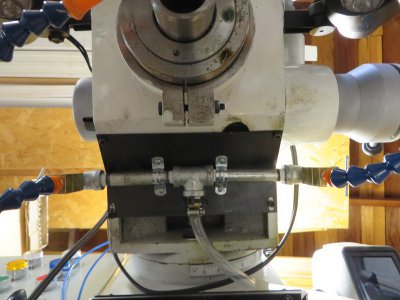
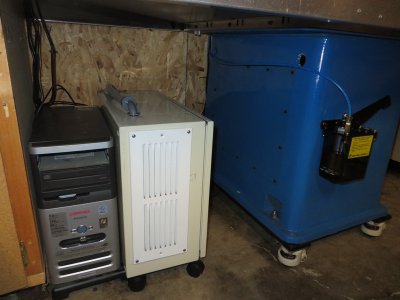
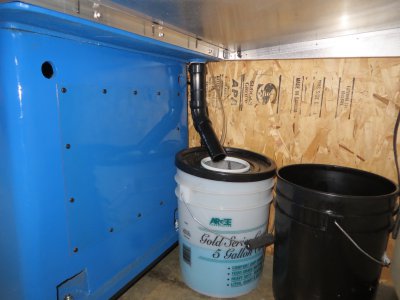
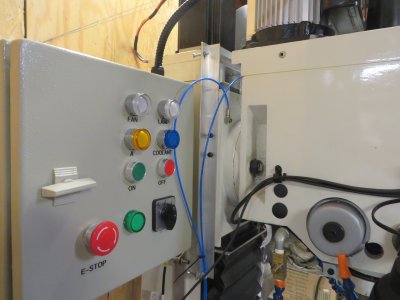
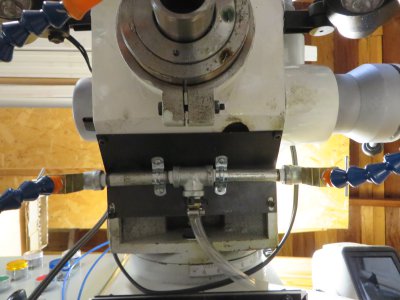
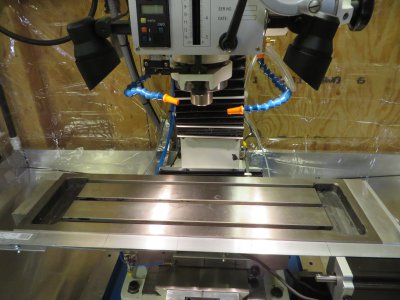
Coolant system (pond pump in a bucket) is hooked up and running via a switch on the control panel. For now the coolant pump will be switched manually but I have provisions to run it from Mach3 if I decide to do so in the future.
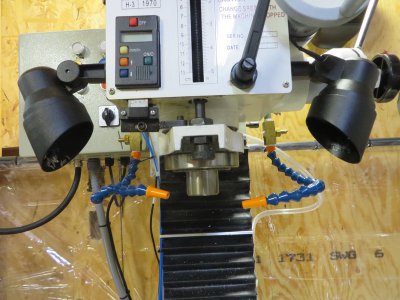
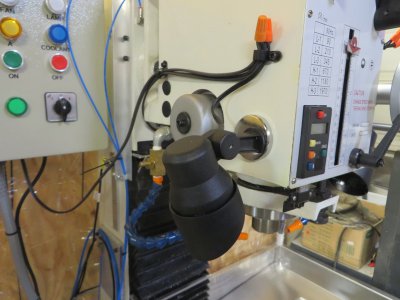
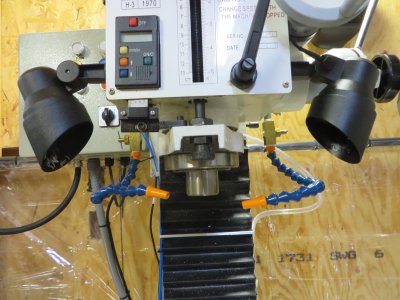
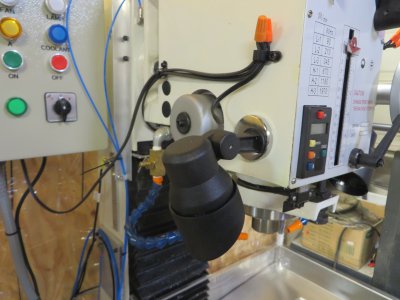
The lights on the machine are Malibu 20w halogen garden lights run by a 12vac power supply in the control box. Lights are on magnetic bases so they can be moved around for better positioning depending on the work piece. I have used the same lights on my Smithy Granite for the last 10 years with great success.
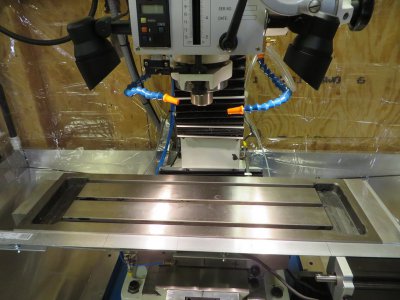
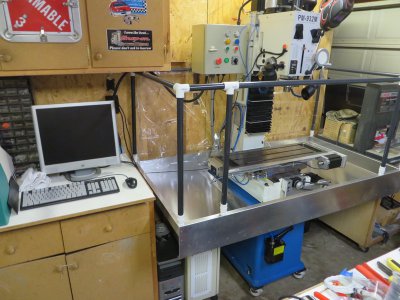
Started on the coolant enclosure today. The framework is installed, just need to finish hanging the rest of the shower curtain liners.
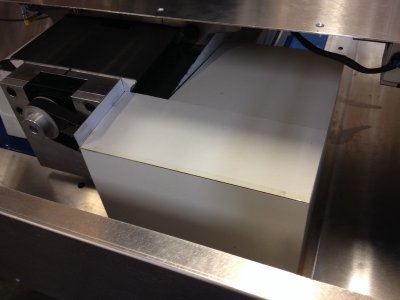
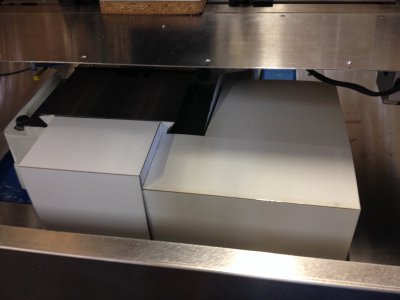
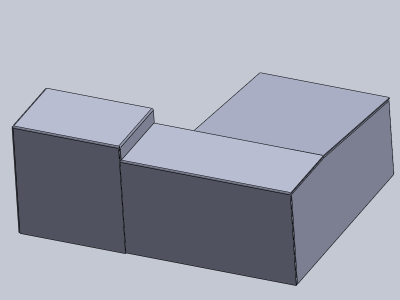
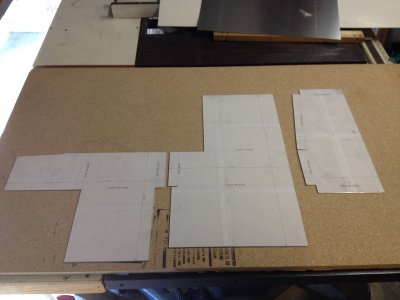
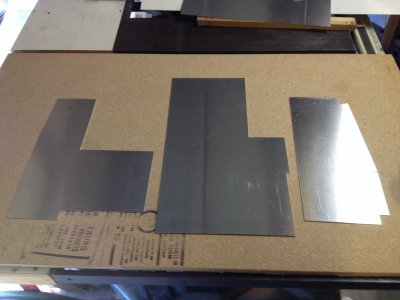
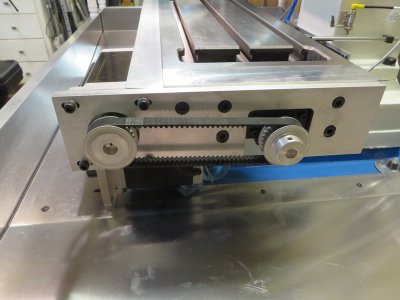
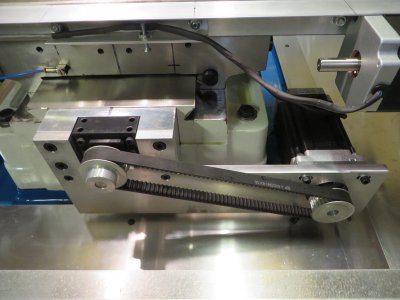
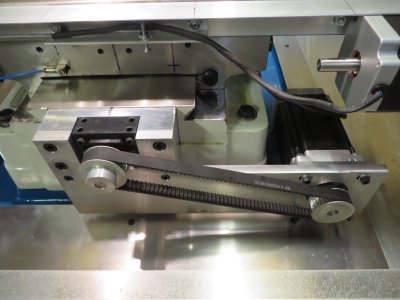
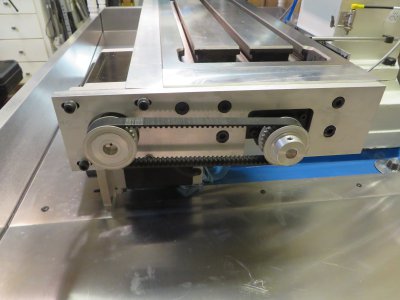
Next step is o make the protective covers for the x and y motors and belts.
All three axis have been powered up and jogged back and forth. It's really satisfying to finally see things moving.
Jay


