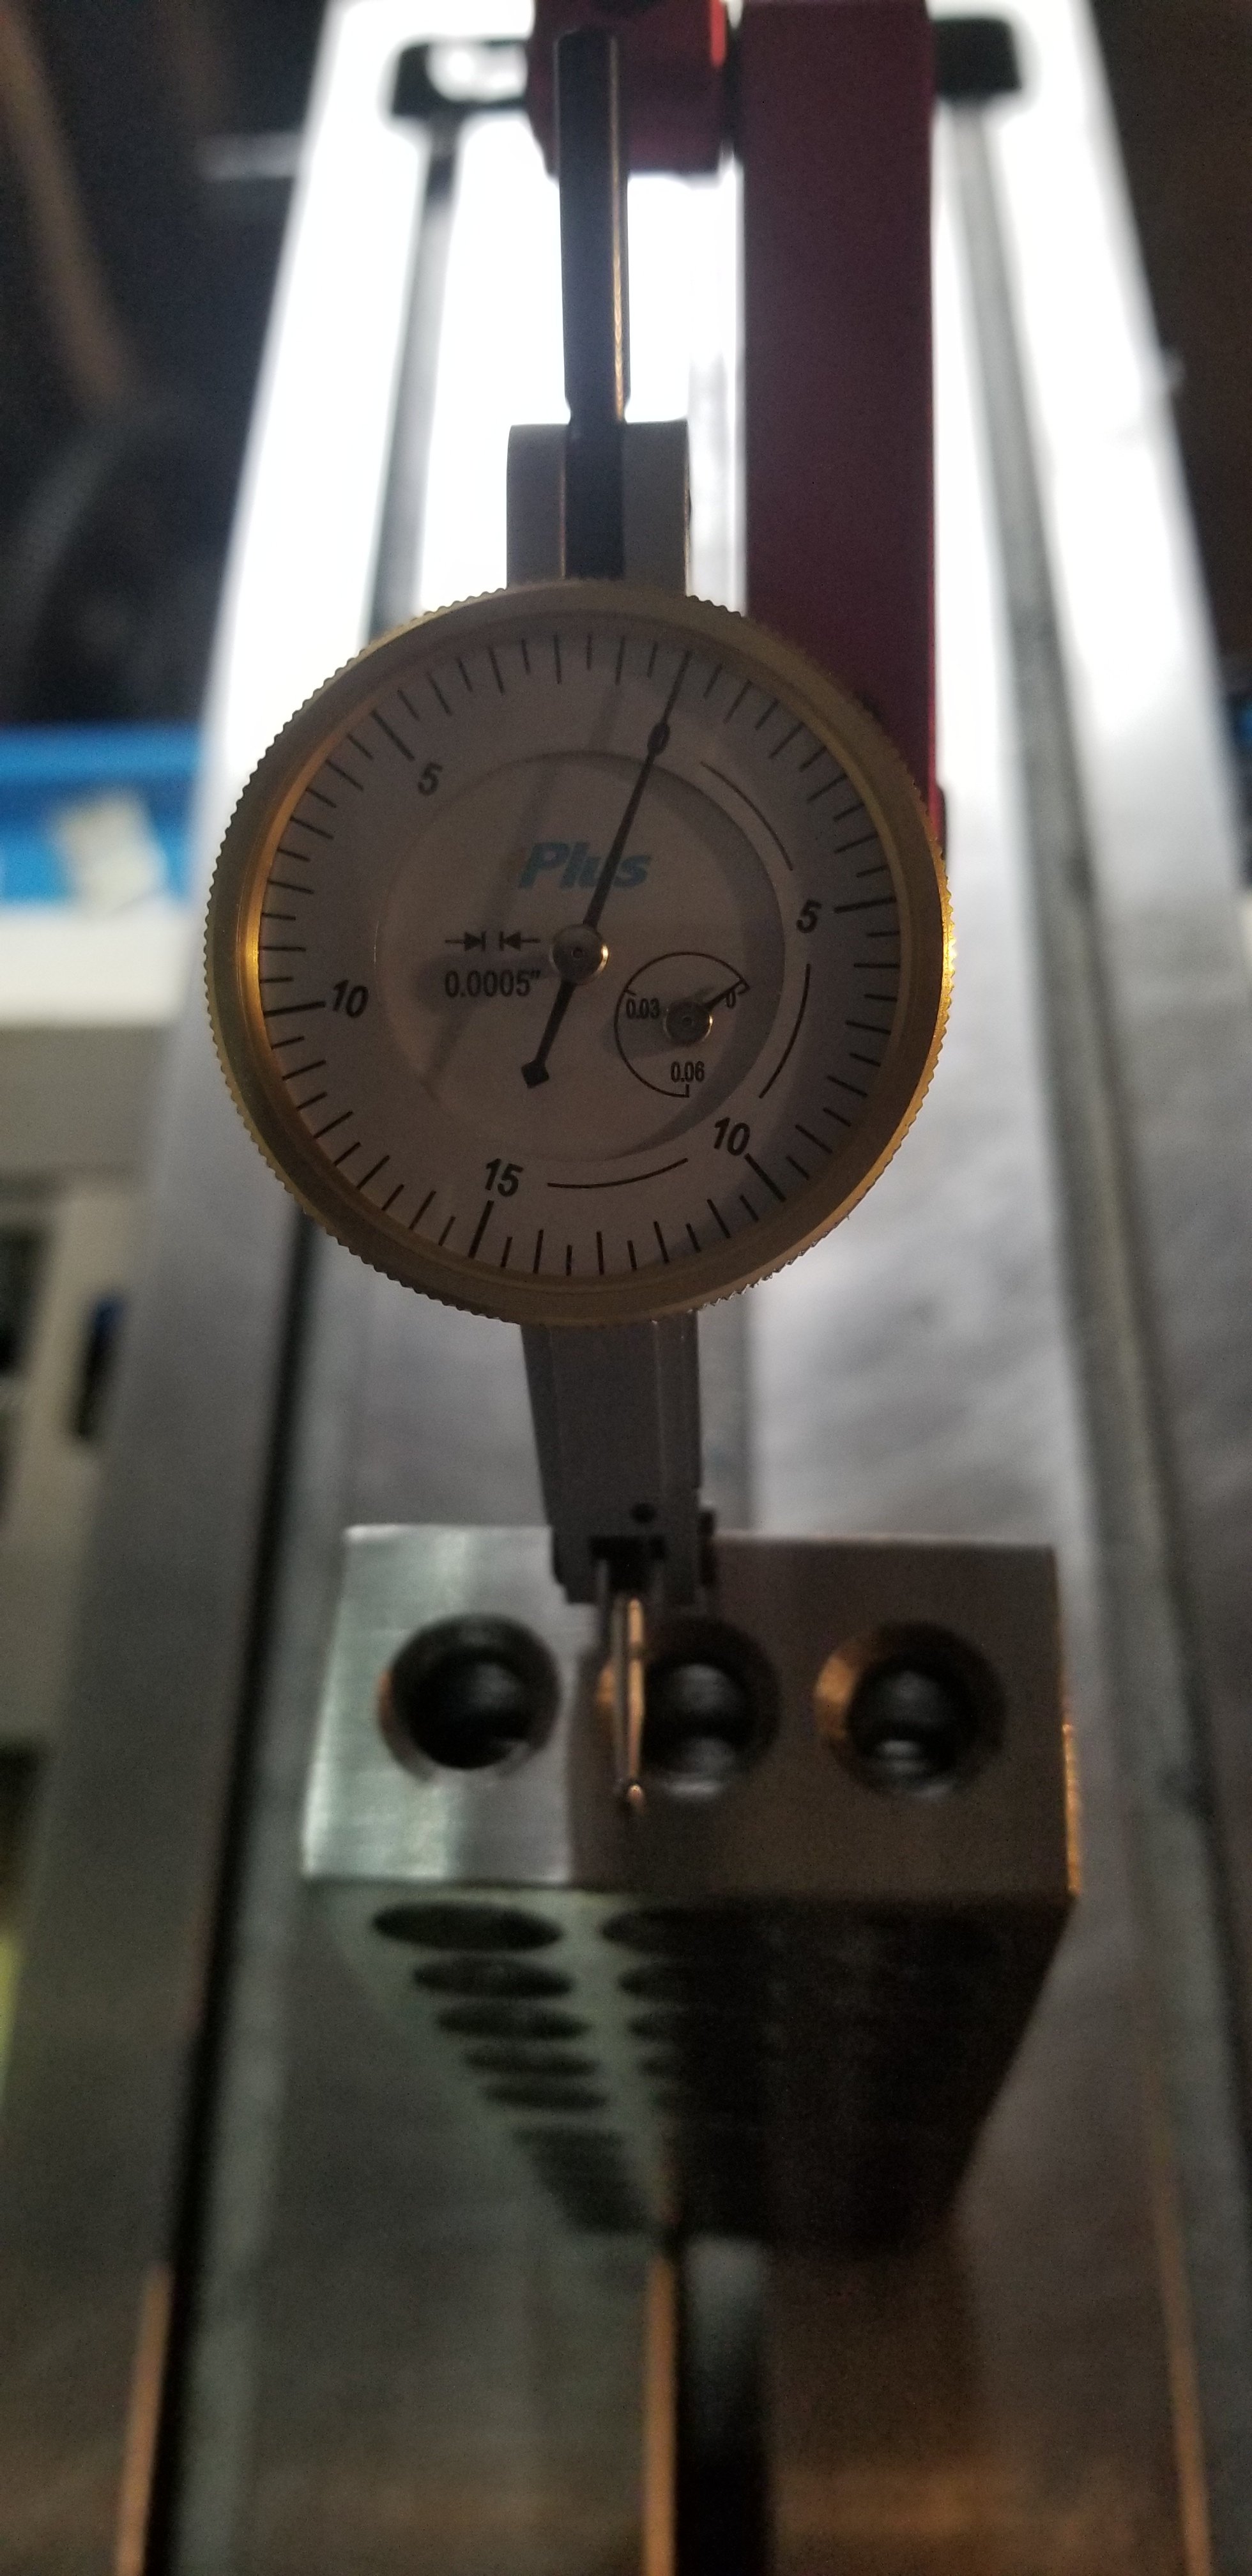
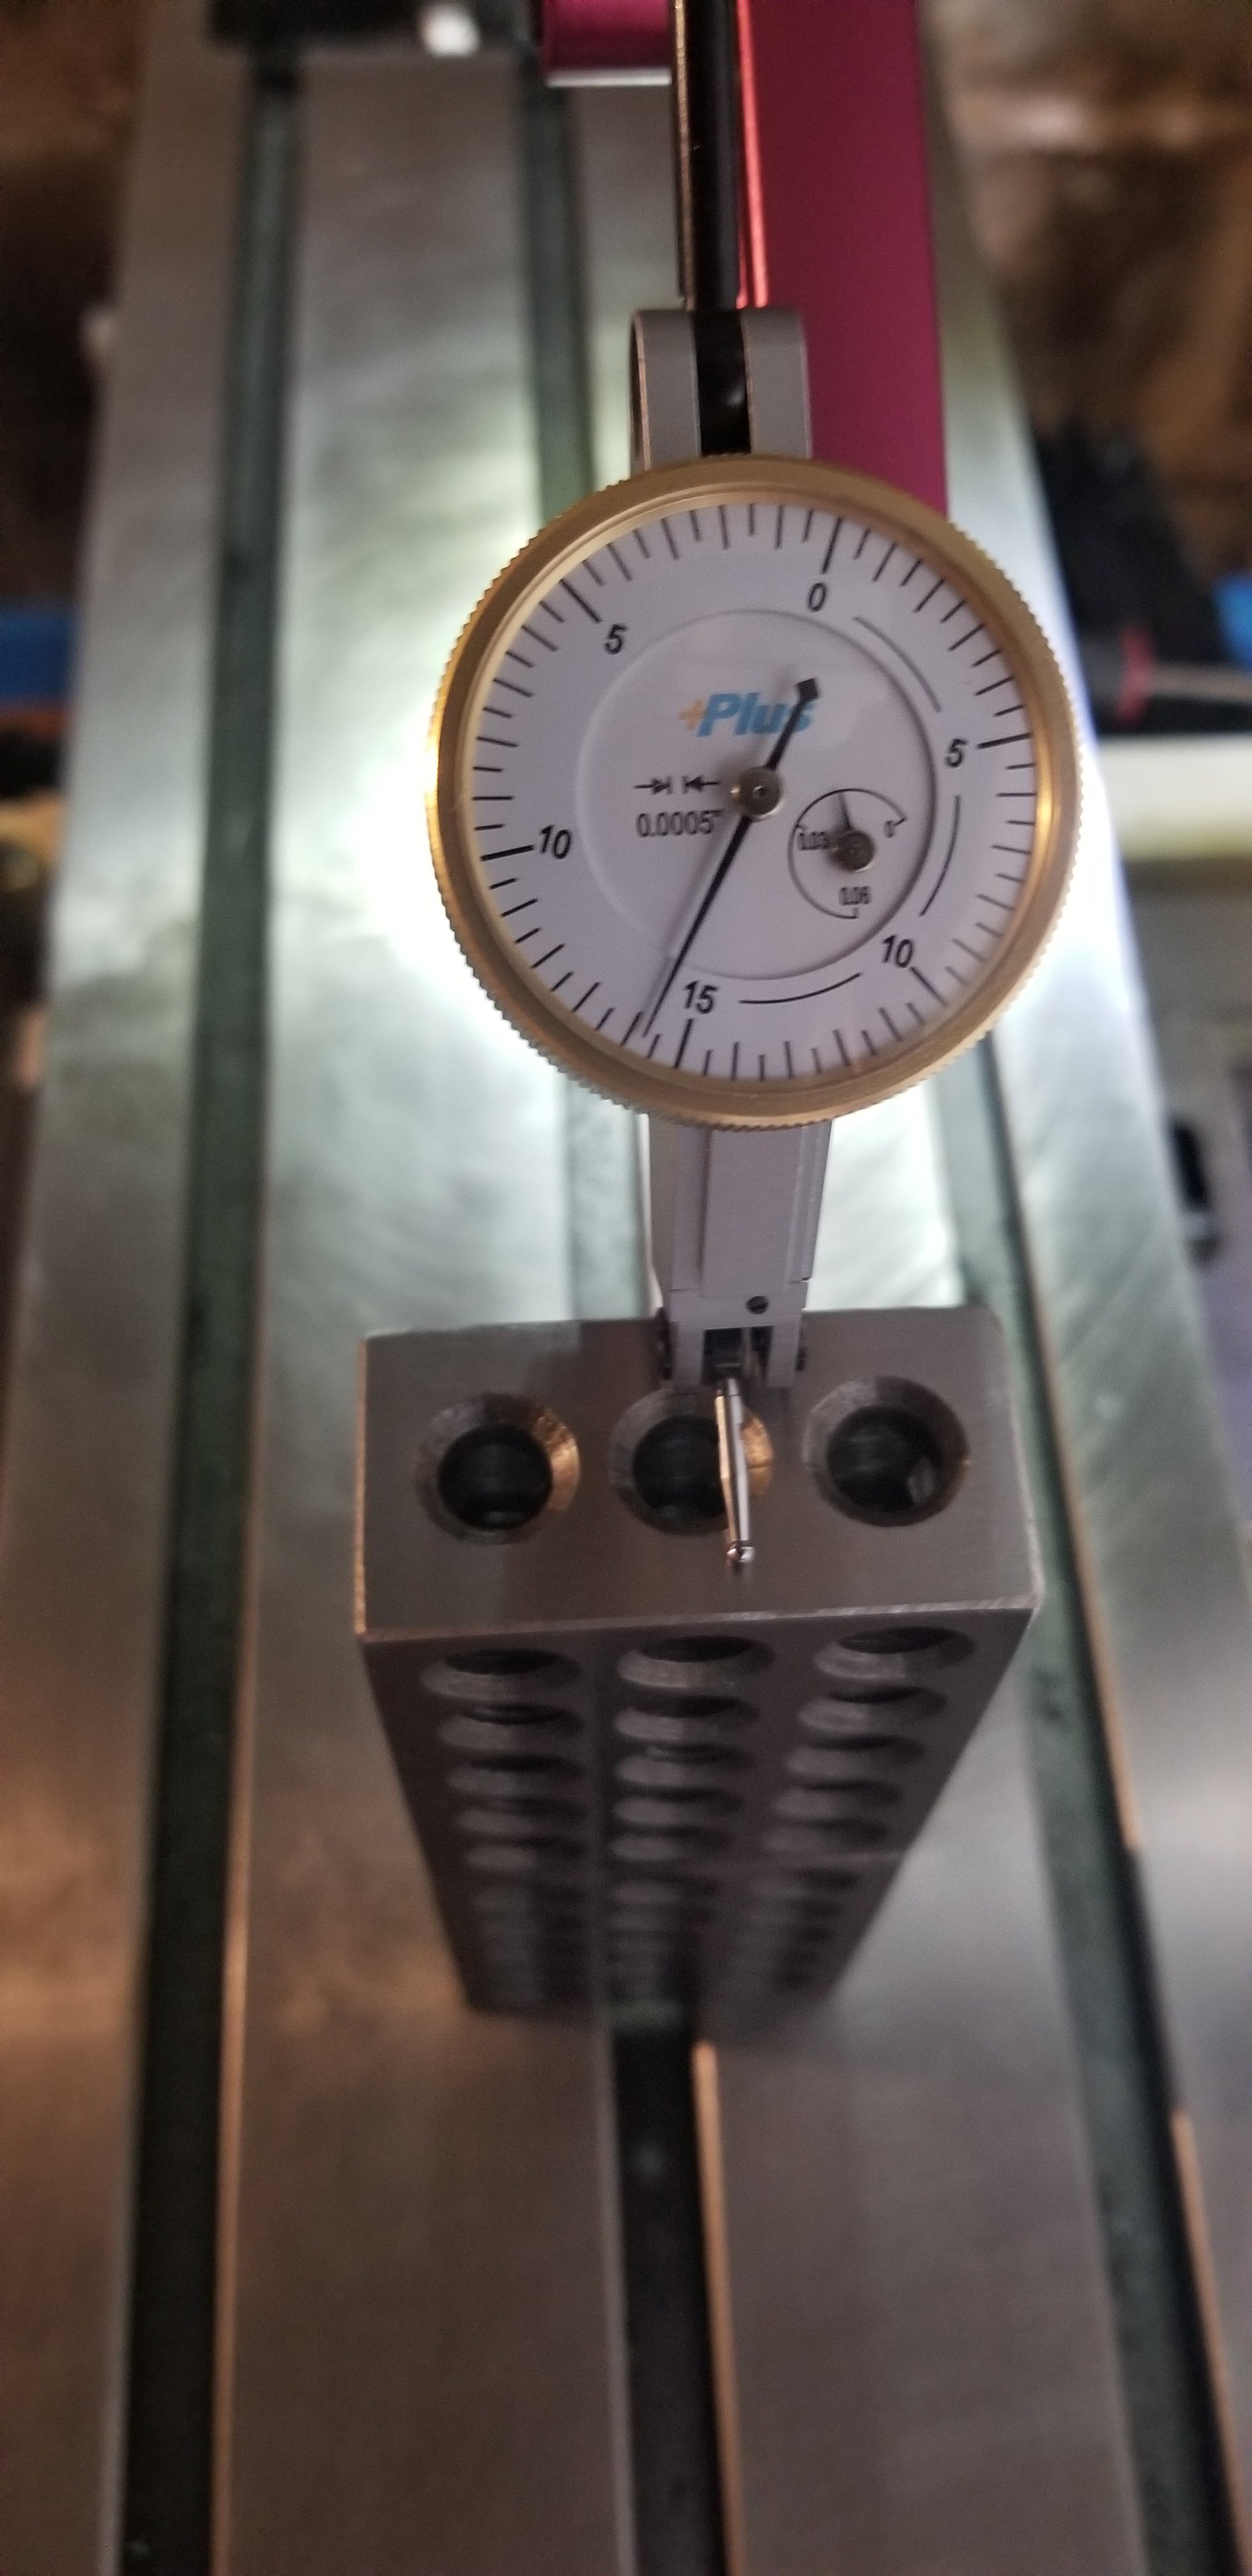
Ok, so from the tech guy over at PM, i used a precision square to shim the column straight, as much as i can anyway. Its within .001 vertically over 7" in both the X and Y axis.

 Here comes the part thats really eating at me. After all the careful shimmimg it took.025 in the X-axis and .005 in the Y-axis. So then i indicated my head into my table to .0005 over 14" using a precision ground 123 block. Sounds like everything should be square right? Wrong! I raise the head up 3" and tighten the Z-axis clamps take a reading and sure enough i still measure .0075 off. So, i raise the head to 6" from the surface of the table and once again tighten the Z-axis clamps. Took a measurement and now its .015 thousands off!!! I did exactly the procedure that the tech guy told me. Yet i still have the same results as before. Below are the pics i took quick before calling it a night. What should i do about this????? Yes i know my indicator isnt a browne & sharpe, but since i dropped it while trying to get this machine fixed its all i can afford for the time being, plus i got the same exact readings with my browne & sharpe so i know its atleast accurate.
-
Welcome back Guest! Did you know you can mentor other members here at H-M? If not, please check out our Relaunch of Hobby Machinist Mentoring Program!
You are using an out of date browser. It may not display this or other websites correctly.
You should upgrade or use an alternative browser.
You should upgrade or use an alternative browser.
PM727M DILEMMA
- Thread starter Brad125
- Start date
- Joined
- Dec 26, 2015
- Messages
- 2,139
I can't tell from your description of how you're going about this, but from the amount of error you're seeing, I recommend you do some gross checks first to determine the behavior moving the head, and secondarily the quill up and down. Here's a link to a video showing a process worth considering for the gross alignment.
- Joined
- Jan 20, 2016
- Messages
- 602
I am having a hard time picturing what exactly you are measuring.
When you say you squared the column using a precision square, you mean you placed the square on the table, then an indicator attached to the dovetail slide indicating against the square, then moved the slide up and down, then placed shims between the column and the base until the indicator movement was minimized. Is this correct?
When you say you indicated the head to .0005" over 14" using a precision 1-2-3 block, you are referring to the head tram with something placed in the spindle to hold an indicator, then rotating the indicator to the left and right to measure against a 1-2-3 block, then wack the head with a hammer to get the tram error minimized. Is this also correct?
Then you move the head up and take another measurement. What are you measuring here that is giving you .0075" deviation then again with .015" deviation?
- Joined
- Apr 30, 2015
- Messages
- 12,161
I'm also a little confused as to how you are measuring the Y error
-Mark
-Mark
I am having a hard time picturing what exactly you are measuring.
When you say you squared the column using a precision square, you mean you placed the square on the table, then an indicator attached to the dovetail slide indicating against the square, then moved the slide up and down, then placed shims between the column and the base until the indicator movement was minimized. Is this correct?
When you say you indicated the head to .0005" over 14" using a precision 1-2-3 block, you are referring to the head tram with something placed in the spindle to hold an indicator, then rotating the indicator to the left and right to measure against a 1-2-3 block, then wack the head with a hammer to get the tram error minimized. Is this also correct?
Then you move the head up and take another measurement. What are you measuring here that is giving you .0075" deviation then again with .015" deviation?
Yes, exactly.
- Joined
- Jan 20, 2016
- Messages
- 602
I think you missed the question: Then you move the head up and take another measurement. What are you measuring here that is giving you .0075" deviation then again with .015" deviation?Yes, exactly.
I think you missed the question: Then you move the head up and take another measurement. What are you measuring here that is giving you .0075" deviation then again with .015" deviation?
That is the measurement taken 3" above the table on top of the 123 block, and another at 6" above the table taken from 2, 123 blocks stacked together. This measurement is taken after i have already trammed the head to the table to be darn near perfect.
- Joined
- Jul 31, 2020
- Messages
- 765
If your measurements are accurate, you are certain to vehemently dislike the answer.
or,
The gib in your column is mal-adjusted and has slop.
or,
The gib in your column is mal-adjusted and has slop.
Yes, my measurements are correct or very very close. I have been working on this for weeks now. Both matt and the tech guy said they thought the gib could be bad, and that if they sent me a new one that i would have to "fit" it to my machine.
