Welcome to the forum! Always glad to hear of another PM brother! I look forward to hearing your review of your new mill once it is all set up and you use it for a bit. I looked long and hard at that one, but ultimately went with the new 727 model. It seems that all of the guys on her lover their PM 25's. Let us know if you need anything.
-
Welcome back Guest! Did you know you can mentor other members here at H-M? If not, please check out our Relaunch of Hobby Machinist Mentoring Program!
You are using an out of date browser. It may not display this or other websites correctly.
You should upgrade or use an alternative browser.
You should upgrade or use an alternative browser.
Pm-25mv - Took The Plunge.
- Thread starter Iceman
- Start date
- Joined
- May 4, 2015
- Messages
- 3,583
Hi and a great big welcome, Your starting off with some good tools ,take care of them and they will take care of you. Good luck and stay kool as you seem to like that.
Sore.
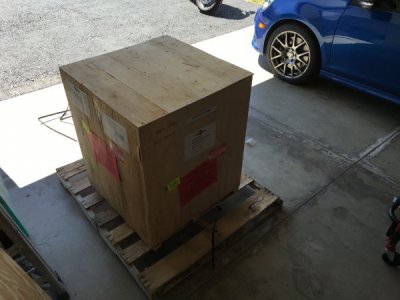
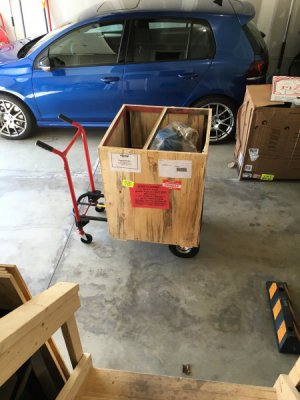
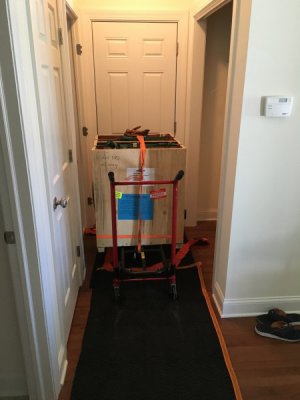
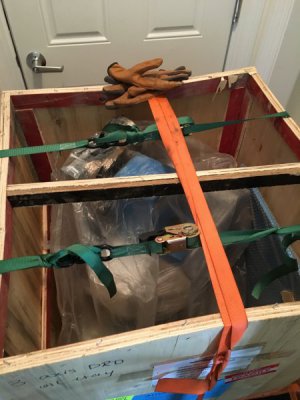
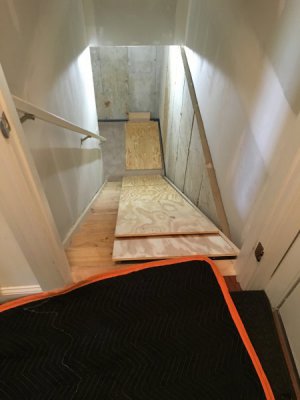
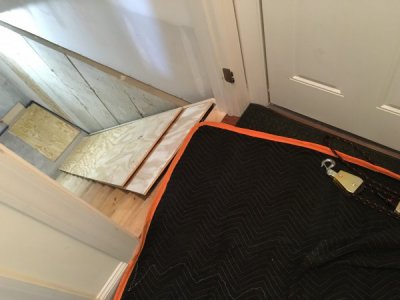
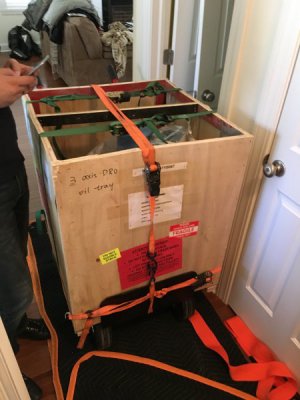
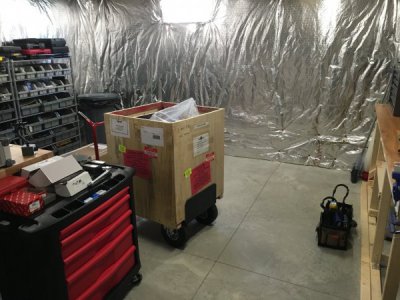
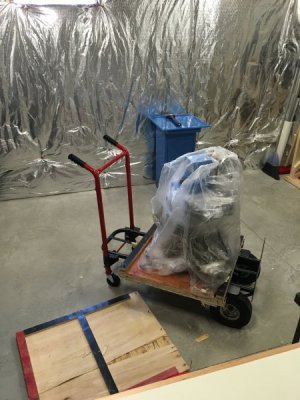
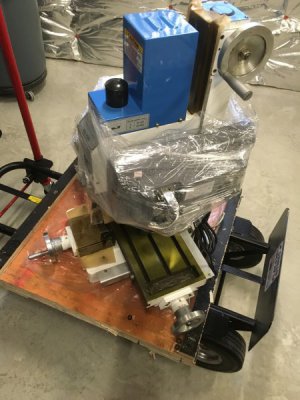
Me and my buddy were able to move it downstairs in one trip assembled. I will not be removing it that way. I built a wooden ramp over the stairs and used a block and tackle set up to belay the mill down the ramp - had a slow stable descent. Machine looks amazing, very well built and cleaned up great.
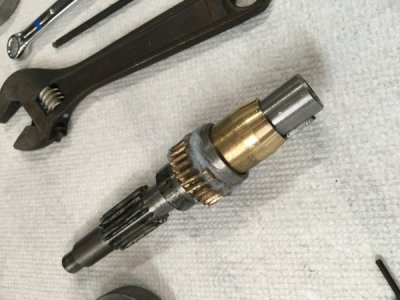
Initial impressions and very good. The ways look well finished and all axis's move smoothly throughout their range. The precision adjust on the front for the Z didn't feel like it was doing anything (wasn't doing anything), but I removed and reinstalled the side quill lowering handle and it started to engage. I then realized the precision adjustment turns what looks like a conical shaped brass bushing which activates the side lever. So, I'm going to clean the grease off of it and take a better look at it. Minor gripe but some of the paint flaked off near the base during the set up process. It's like a new car - you try to keep it scratch free until the first scratch occurs. So I guess in a way I'm already passed that.
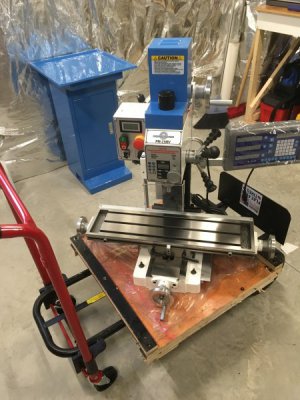
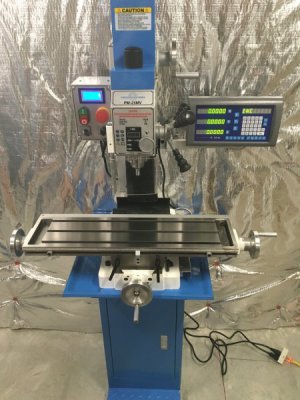


Also I noticed some slight imperfections on the casting on the mill table rift side pocket.
I can be a perfectionist, not an issue here. It's a machine tool - not expecting 100k performance and features - but nothing says I can't expect smooth operation either. Not overly concerned with casting defects as they appear superficial and only in the one spot.
One new gripe- the removal and installation of tooling - I think a power draw bar is a future mod. The spanner wrench that came in the little tool box is a tool blank with no protrusions - so no way to use it. I felt like a spanner until I realized the issue - no fault of mine. 1% rule is in effect (1% smarter than the tool).
One new gripe- the removal and installation of tooling - I think a power draw bar is a future mod. The spanner wrench that came in the little tool box is a tool blank with no protrusions - so no way to use it. I felt like a spanner until I realized the issue - no fault of mine. 1% rule is in effect (1% smarter than the tool).
Womp womp - no t nuts that fit the 12mm table. I don't know why but I assumed they were 1/2 or 5/8. Oops. Online metals sent the wrong stock so instead of some a2 square tool steel from which I could have made t nuts they sent me A2 drill rod, not into rely useless for another project but on this case- it does not help.
Ahh - the website for PM states 1/2 T-slot size. That explains my confusion. I also fixed the spanner wrench by using it properly.
Z-Axis precision feed was smoothed out by removing the pin that is installed just aft of the precision adjustment knob on the right side - this pin keeps the shaft in the head and engaged - if there are any burrs on this is like there were on mine this could certainly be the culprit.
-After deburring/smoothing the pin was reinstalled (in case there is any confusion)
-IM
Last edited:
The machine is broken in, cleaned, lubed, and inspected. Started the initial tramming and already very happy with how close things are out of the crate. I may have to use some unapproved "t" nut substitutes to mount the vice to make real T-Nuts, but be a good first project on it.
IM
IM
