- Joined
- Feb 23, 2022
- Messages
- 26
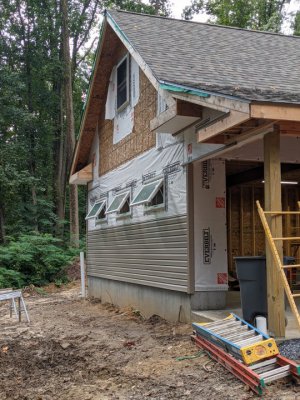
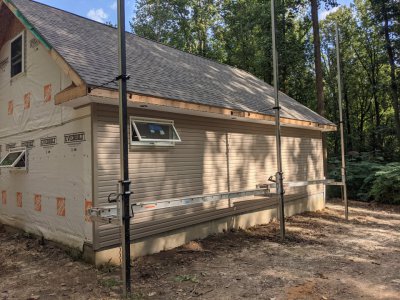
Time to start the soffits/siding/trim details.
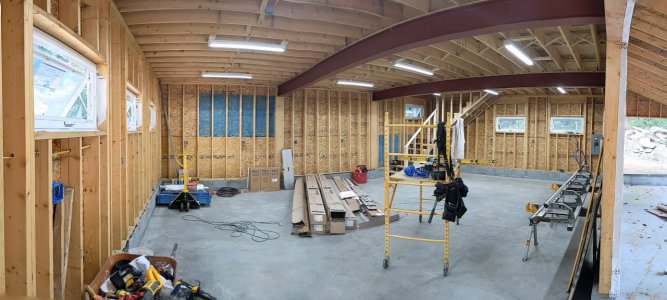
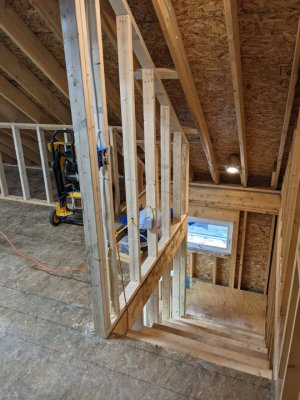
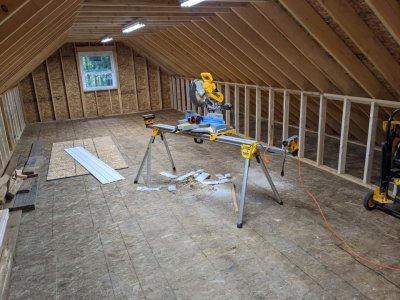
On days when weather was a limiter, or I wanted a break, I'd start roughing in all the 120V electrical inside, hang more LEDs upstairs, etc. TOTAL overkill, but downstairs there is a quad receptacle every 64" fed by two separate 20A circuits, so I can plug two power-hungry 120V things in side by side and not have to worry about overloading anything.
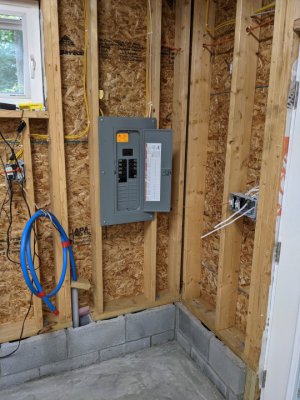
Panel with my 'good to proceed' sticker from the inspector, and a coil of PEX which is the water supply to the building:
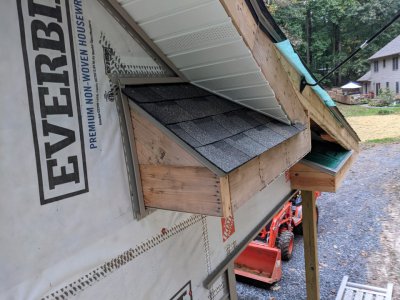
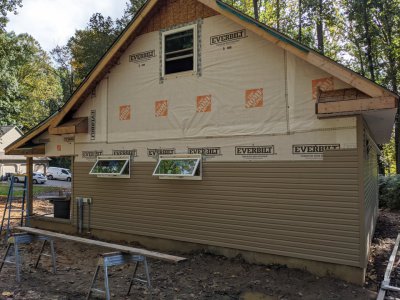
The fly rafters are a detail I really like, but these little return roofs entailed so much labor getting everything looking good, and laid in in the proper order for weather-proofing everything:
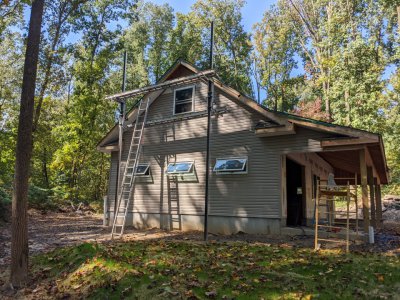
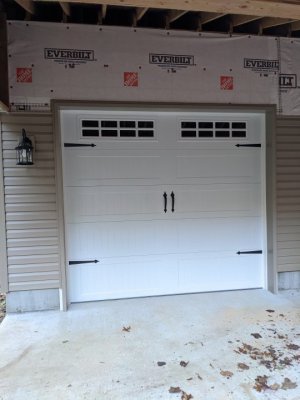
Garage door took EIGHT weeks to come in -- seems whatever I needed for this project either went up 50% in price JUST as I needed to buy it, or became immediately scarce when I went to find it...
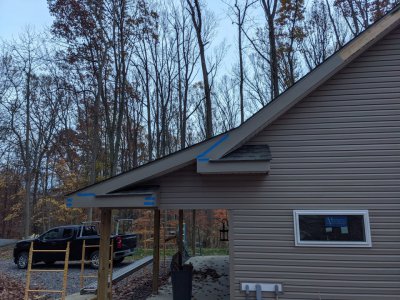
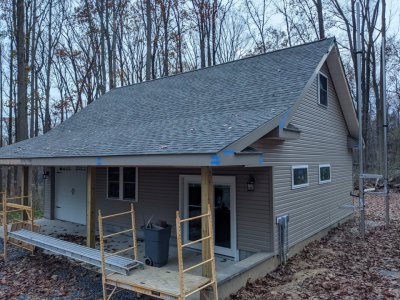
Last step, was to break and install all of the cladding. I avoid any face-nailing of aluminum trim, and have had really good success with nailing vertically from below in the 1.5" hemmed edge into the fascia or fly rafter, putting a slightly open hem on the top edge of the trim (which gets captured by the drip edge) and using color-matched OSI Quad sealant at 'glue' for all of the lap joints. The blue painter's tape is to keep the joint clamped until the sealant cures.
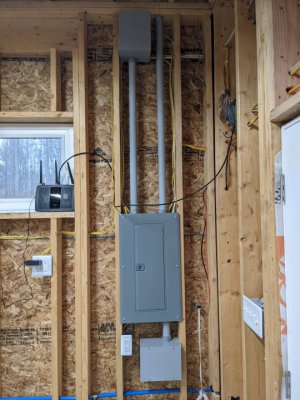
Back inside, I made provisions for my machinery wiring, by installing two 8" x 12" x 6" deep electrical boxes protruding from the face of the 2x6 studs 1.5" or so, then piping into the panel with 2" (I had leftover PVC, so used it, just making sure I bonded the boxes through the plastic back to the neutral/ground bar in the panel. The 2" in the upper right goes to the 2nd floor for any possible future pulls up there. Once this was all done, I had the place spray-foamed and then would have NO way of easily running new wiring anywhere...
Strangely I took NO pictures post-spray foam. I did then clad all of my walls in 1/2" CDX, painted with 3 coats of PVA primer. I didn't sweat making seams disappear, and everything is screwed up only (no adhesives) should I ever need to get into a wall, it should be fairly painless.
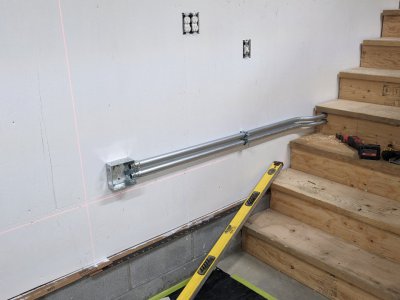
THEN, I ran the two parallel runs of 1" EMT between 4 11/16" boxes every 64". This will allow me to be able to place machines almost anywhere in the shop and supply them power (single or 3 phase, more on that later). MORE importantly, it'll allow me to relocate machines without huge nightmares or rewiring
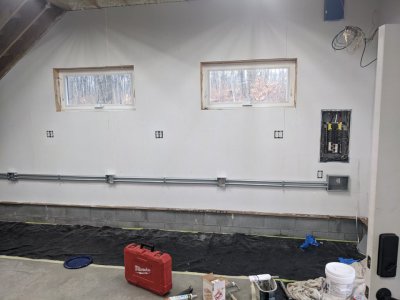
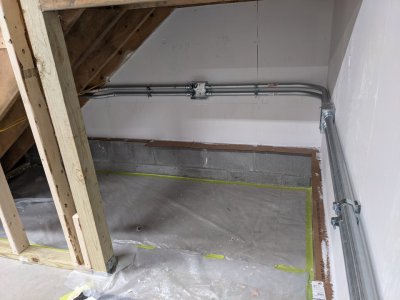
I think I need to have points taken off of my score, my 4-point saddles don't completely line up vertically, AND I've got some apprentice kinks in the bends (it had been a while since I'd bent conduit)
January 9th, 2022 I started moving machines out of the old garage into the new
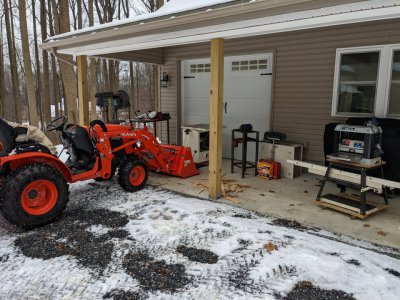
I can see the far wall of the old garage!
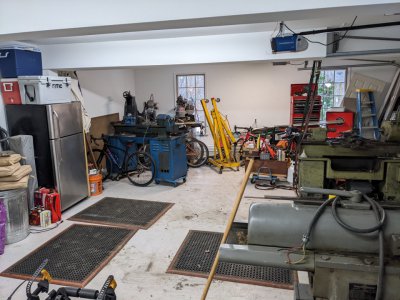


On days when weather was a limiter, or I wanted a break, I'd start roughing in all the 120V electrical inside, hang more LEDs upstairs, etc. TOTAL overkill, but downstairs there is a quad receptacle every 64" fed by two separate 20A circuits, so I can plug two power-hungry 120V things in side by side and not have to worry about overloading anything.


Panel with my 'good to proceed' sticker from the inspector, and a coil of PEX which is the water supply to the building:

The fly rafters are a detail I really like, but these little return roofs entailed so much labor getting everything looking good, and laid in in the proper order for weather-proofing everything:


Garage door took EIGHT weeks to come in -- seems whatever I needed for this project either went up 50% in price JUST as I needed to buy it, or became immediately scarce when I went to find it...

Last step, was to break and install all of the cladding. I avoid any face-nailing of aluminum trim, and have had really good success with nailing vertically from below in the 1.5" hemmed edge into the fascia or fly rafter, putting a slightly open hem on the top edge of the trim (which gets captured by the drip edge) and using color-matched OSI Quad sealant at 'glue' for all of the lap joints. The blue painter's tape is to keep the joint clamped until the sealant cures.


Back inside, I made provisions for my machinery wiring, by installing two 8" x 12" x 6" deep electrical boxes protruding from the face of the 2x6 studs 1.5" or so, then piping into the panel with 2" (I had leftover PVC, so used it, just making sure I bonded the boxes through the plastic back to the neutral/ground bar in the panel. The 2" in the upper right goes to the 2nd floor for any possible future pulls up there. Once this was all done, I had the place spray-foamed and then would have NO way of easily running new wiring anywhere...

Strangely I took NO pictures post-spray foam. I did then clad all of my walls in 1/2" CDX, painted with 3 coats of PVA primer. I didn't sweat making seams disappear, and everything is screwed up only (no adhesives) should I ever need to get into a wall, it should be fairly painless.
THEN, I ran the two parallel runs of 1" EMT between 4 11/16" boxes every 64". This will allow me to be able to place machines almost anywhere in the shop and supply them power (single or 3 phase, more on that later). MORE importantly, it'll allow me to relocate machines without huge nightmares or rewiring


I think I need to have points taken off of my score, my 4-point saddles don't completely line up vertically, AND I've got some apprentice kinks in the bends (it had been a while since I'd bent conduit)

January 9th, 2022 I started moving machines out of the old garage into the new

I can see the far wall of the old garage!


