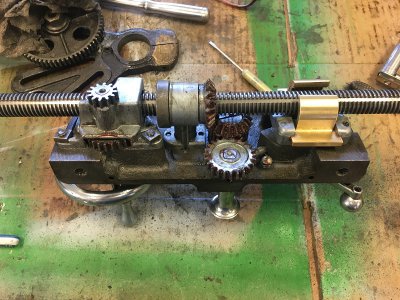
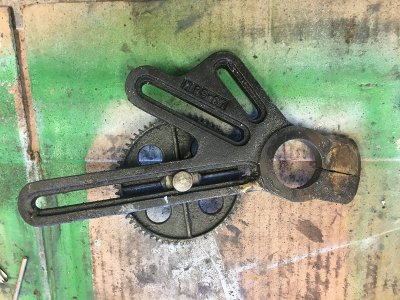
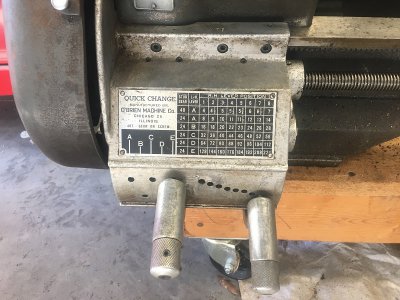
Hi all, first post here. I’m the new caretaker of two 12” Craftsman lathes, one with a 42” bed and the other 54”. Though they recently came into my possession they are well known to me. The 42 is model 101.07403 number SN 16014 and the 54 is model 101.07403 SN 22500. The only place I’ve found anything resembling a serial number is stamped on the end of bed, and if I’m interpreting the database correctly, they appear to be built around 1946 on the 42 and 1948 for the 54……but I have not looked for the bearing dates. The 54 has a full set of change gears and the 42 has been fitted with an aftermarket QCGB, which has been in place for at least 50 years.
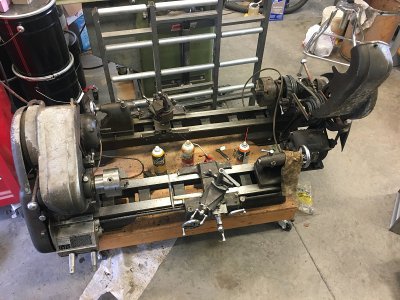
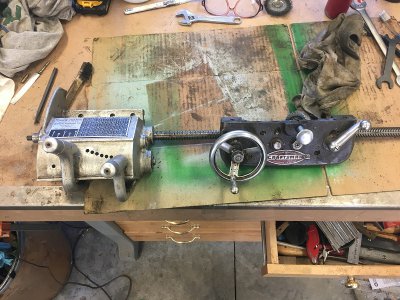
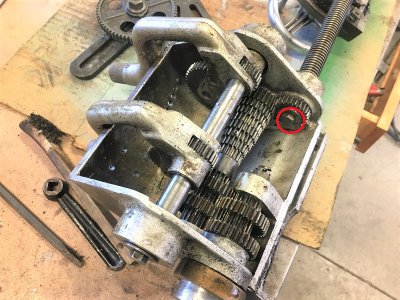
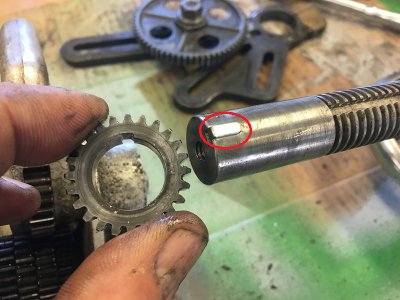
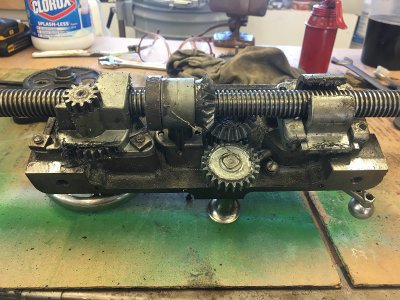
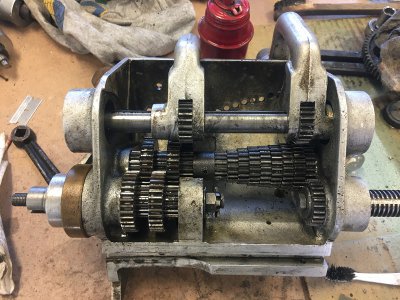
Anyone familiar with the O’Brien QCGB?
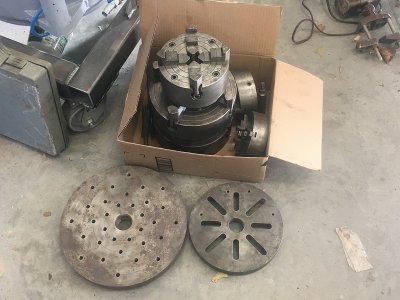
The 42 has been in my family for three generations and lived in my Grandfather’s shop since before I was a glean in my Father’s eye. I learned on that machine and my Grandfather and Father logged many hours at its controls. The 54 was acquired from family friends about 30 years ago. They have both resided in a what was formerly my Father’s and more recently my brother’s basement shop since then. I moved both of them down the flight of stairs myself 30 years ago. I was a much younger man then. I nearly wore out myself and a friendship bringing them back up those same stairs a couple months ago. I also saved a large collection of related lathe and expendable tooling…….too much to list.
I recently retired and had previously run a metal fab business so have never wanted for access to machinery (I’ll miss my LeBlond lathes). I have a fairly well-equipped home shop with a knee mill, general fab, welding, & sheet metal capability, and a home foundry. With all that, space is an issue. Every tool must earn its position my shop, but with my retirement and loss of access to the commercial equipment, the addition of a lathe to my home shop is a necessity. I can’t keep’em both and at least one will need a new home. I say at least one because after you’ve had the pleasure of using larger rigid machines, it’s hard to go backward, but given the history, the 42 tugs at my heart strings and I can’t bring myself to let it go so I figure I’ll set it up and run it.
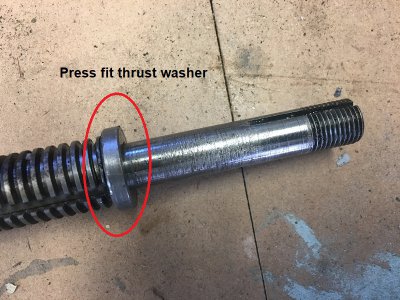
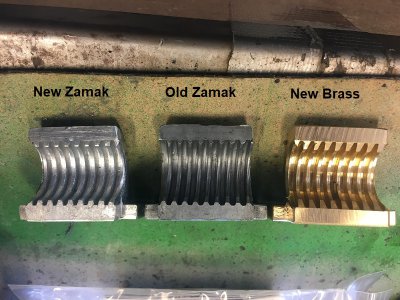
So that’s the history. I’ve given each a cursory looking over. The 54 needs nothing except cleaning, lubing, and tuning which I have begun. I have used that one a couple times over the last 5-10 years. The 42 needs a new half nut (which I have) but other than that, they’re both complete and fully operational save a couple very minor things that I will attend to. I may find other things when I get deeper into them but given the environment they were in (mostly unused in a damp basement for several decades), they faired their slumber reasonably well. After I finish the cleaning, I’ll install new felts/wipers, make sure everything is well lubed, put each one through its paces, and perform some tuning as needed, then maybe some cosmetic stuff as time allows.
I’ve been reading here and watching some YouTube videos. Any pointers from those who know these machines well toward the usual areas requiring attention are welcome. I’ll need to build a suitable platform for mounting and leveling the 42 when I get there.
Best,
Kelly

Anyone familiar with the O’Brien QCGB?

The 42 has been in my family for three generations and lived in my Grandfather’s shop since before I was a glean in my Father’s eye. I learned on that machine and my Grandfather and Father logged many hours at its controls. The 54 was acquired from family friends about 30 years ago. They have both resided in a what was formerly my Father’s and more recently my brother’s basement shop since then. I moved both of them down the flight of stairs myself 30 years ago. I was a much younger man then. I nearly wore out myself and a friendship bringing them back up those same stairs a couple months ago. I also saved a large collection of related lathe and expendable tooling…….too much to list.
I recently retired and had previously run a metal fab business so have never wanted for access to machinery (I’ll miss my LeBlond lathes). I have a fairly well-equipped home shop with a knee mill, general fab, welding, & sheet metal capability, and a home foundry. With all that, space is an issue. Every tool must earn its position my shop, but with my retirement and loss of access to the commercial equipment, the addition of a lathe to my home shop is a necessity. I can’t keep’em both and at least one will need a new home. I say at least one because after you’ve had the pleasure of using larger rigid machines, it’s hard to go backward, but given the history, the 42 tugs at my heart strings and I can’t bring myself to let it go so I figure I’ll set it up and run it.
So that’s the history. I’ve given each a cursory looking over. The 54 needs nothing except cleaning, lubing, and tuning which I have begun. I have used that one a couple times over the last 5-10 years. The 42 needs a new half nut (which I have) but other than that, they’re both complete and fully operational save a couple very minor things that I will attend to. I may find other things when I get deeper into them but given the environment they were in (mostly unused in a damp basement for several decades), they faired their slumber reasonably well. After I finish the cleaning, I’ll install new felts/wipers, make sure everything is well lubed, put each one through its paces, and perform some tuning as needed, then maybe some cosmetic stuff as time allows.
I’ve been reading here and watching some YouTube videos. Any pointers from those who know these machines well toward the usual areas requiring attention are welcome. I’ll need to build a suitable platform for mounting and leveling the 42 when I get there.
Best,
Kelly
Last edited:

