- Joined
- Mar 12, 2021
- Messages
- 67
Have a old grizzly 12x36 lathe
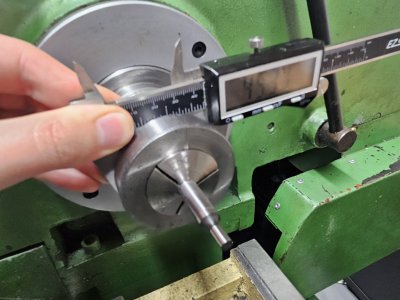
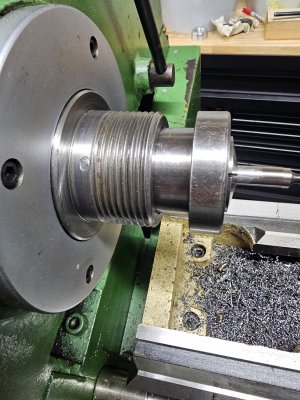
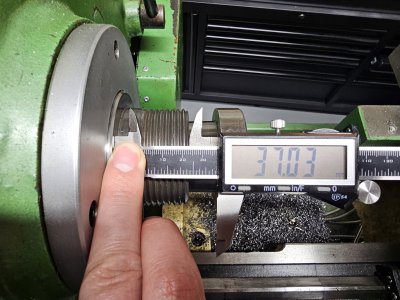
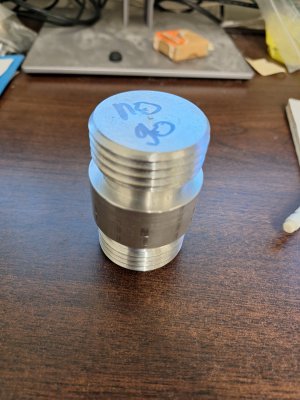
wanting to use a collet closer setup on it and need a nut/thread protector to protect spindle threads (DIN 800 spec) and help pop the mt5 collet adapter out when needed.
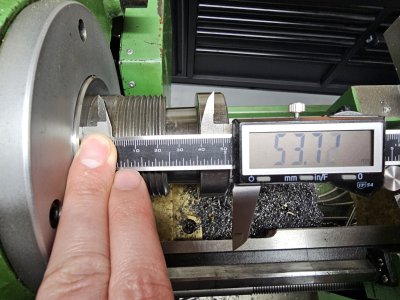
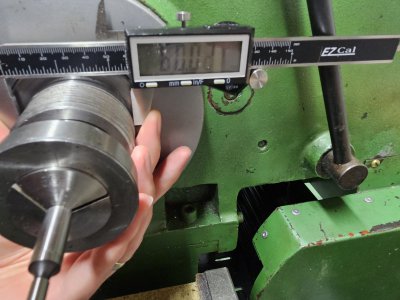
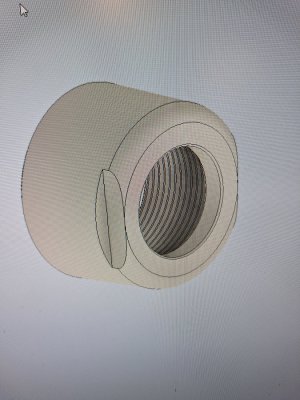
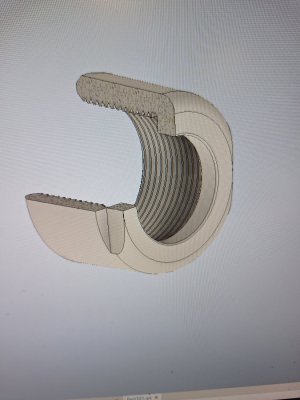
thinking a 46MM ID opening at the front of nut (have enough clearance on the mt5 taper on the collet adapter have 37mm of threads and collar some external grooving or index hole to mount a wrench or something to provide some force.
should be fairly basic, I know i could probably make one but i don't have the tooling for a 3mm thread much less internal with a stop at the front is a little spooky for my skillset.
wanting to use a collet closer setup on it and need a nut/thread protector to protect spindle threads (DIN 800 spec) and help pop the mt5 collet adapter out when needed.
thinking a 46MM ID opening at the front of nut (have enough clearance on the mt5 taper on the collet adapter have 37mm of threads and collar some external grooving or index hole to mount a wrench or something to provide some force.
should be fairly basic, I know i could probably make one but i don't have the tooling for a 3mm thread much less internal with a stop at the front is a little spooky for my skillset.