- Joined
- May 13, 2019
- Messages
- 1,016
I'm not sure how much interest there is on this forum, but I'm thinking of posting my clock build project here. I've been looking for a long term project and I think I found it. I think I have enough information on clock mechanisms to be dangerous. So, I'll proceed slowly. I expect this project to last over a year.
I plan on using involute gears for this and maybe use 7075 aluminum instead of brass based on the crazy prices. I plan on using a deadbeat escapement with a weight driven clock.
So, here we go.
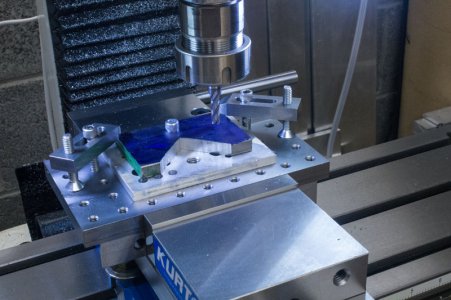
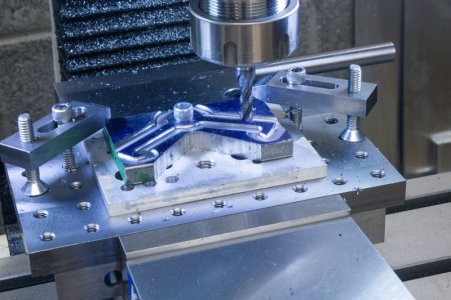
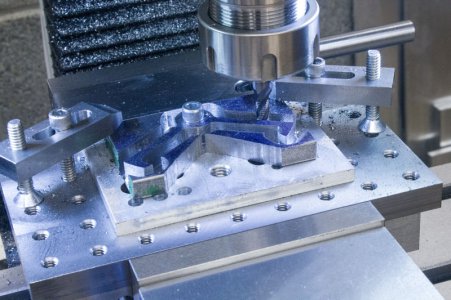
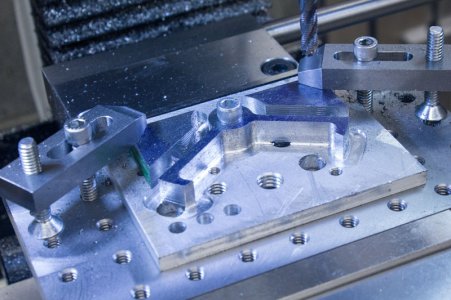
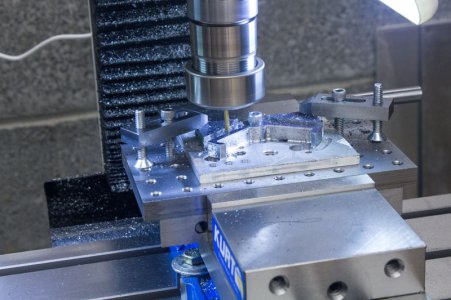
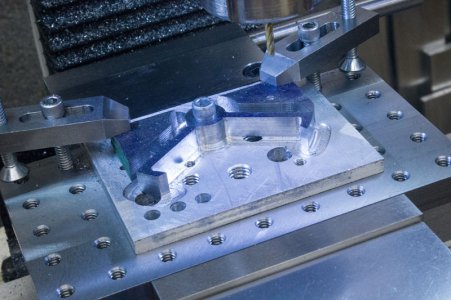
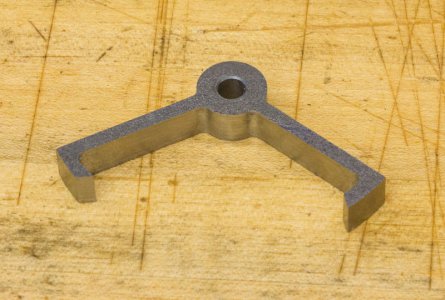
I'm starting on the escapement mechanism to make sure I can get this thing to tick. Then, I'll proceed with the gears. Here's some photos of escapement wheel. As with many machining projects, trying to determine how to hold the parts is the main challenge. I had to make a fixture to hold this part on the rotary table.
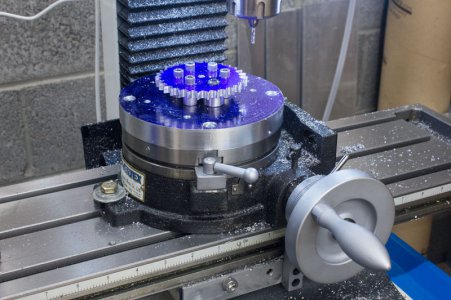
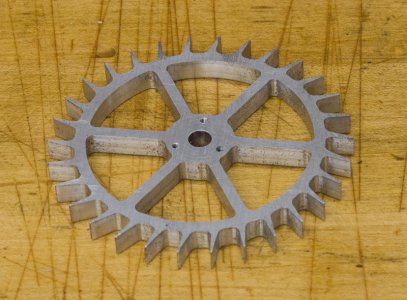
I'm using my CNC mill to cut each tooth on the rotary table. I think this gives me maximum accuracy minimizing backlash (which I have some especially on the Y axis). I started with a 1/4" end mill leaving 0.010" material for a second pass with a 1/8" end mill. This part has 30 teeth.
Teeth cut:
Close up:
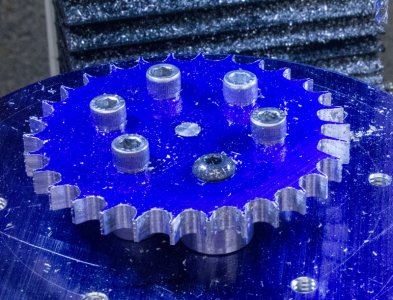
Crossing out (clockmaking term) or making spokes (machinist term):
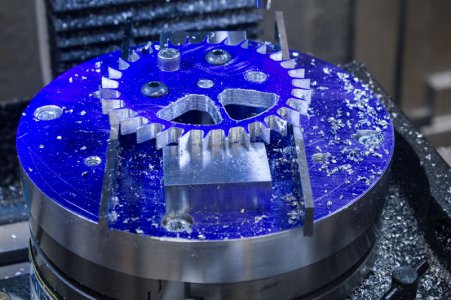
Almost done:
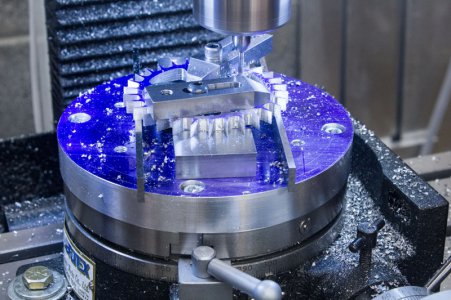
Last one:
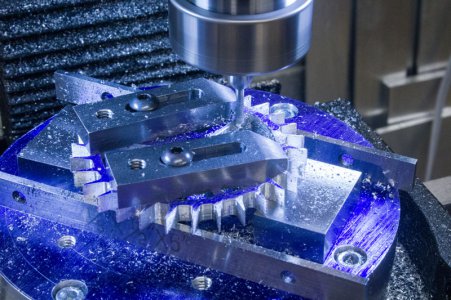
Drill for 2-56 screws:
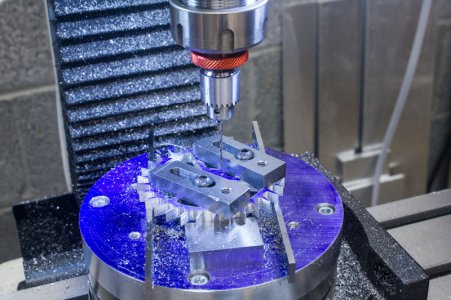
Final part:
I plan on using involute gears for this and maybe use 7075 aluminum instead of brass based on the crazy prices. I plan on using a deadbeat escapement with a weight driven clock.
So, here we go.
I'm starting on the escapement mechanism to make sure I can get this thing to tick. Then, I'll proceed with the gears. Here's some photos of escapement wheel. As with many machining projects, trying to determine how to hold the parts is the main challenge. I had to make a fixture to hold this part on the rotary table.
I'm using my CNC mill to cut each tooth on the rotary table. I think this gives me maximum accuracy minimizing backlash (which I have some especially on the Y axis). I started with a 1/4" end mill leaving 0.010" material for a second pass with a 1/8" end mill. This part has 30 teeth.
Teeth cut:

Close up:

Crossing out (clockmaking term) or making spokes (machinist term):

Almost done:

Last one:

Drill for 2-56 screws:

Final part:


