My Atlas Milling Machine, cleanup and upgrades

cjtoombs

Active User
Registered
Joined
May 10, 2012
Messages
997
IMG_3122.JPGIMG_3124.JPGIMG_3125.JPGIMG_3126.JPGIMG_3123.JPG

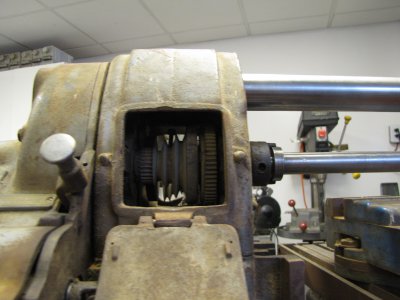
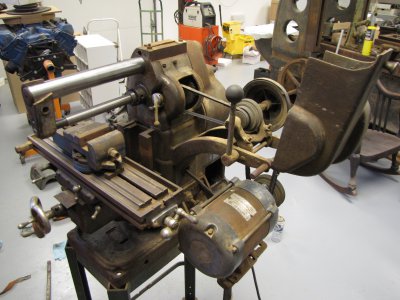
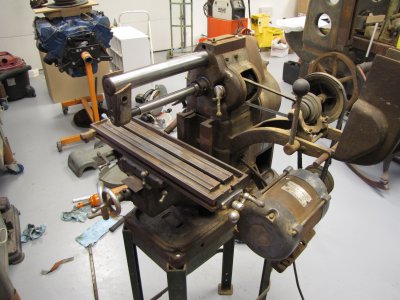
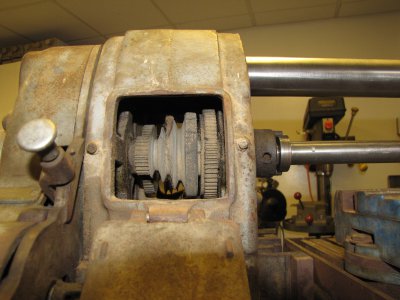
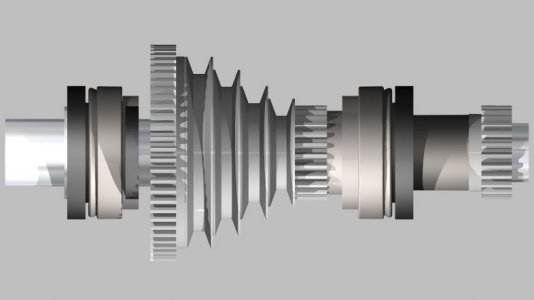
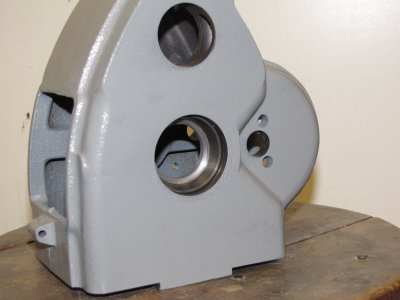
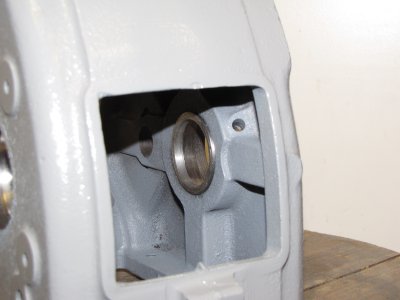
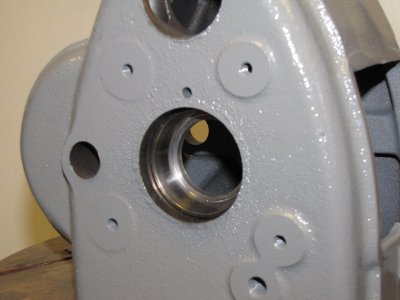
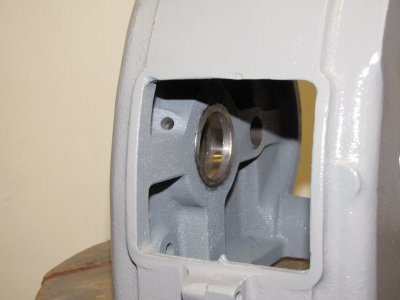
I bought this last summer, and have been gradually getting it back into shape. It looked like hell when I bought it, but it ran, and came with most of it's parts, including the vise and a 7/8 arbor. It was missing a few minor parts, most of which I was able to pick up cheaply on eBay. I managed to find a 1" arbor as well. I also recently acquired a replacement for that broken overarm support, so the machine is complete now. This is an early machine, with the 4 pulley belt setup on the spindle. The factory two pulley setup to the countershaft was replaced at some point with a 4 sheave change pulley set, for a total of 32 speeds :). I have since torn it down, painted it and have started reassembly. It had a bur in the taper on the spindle, so I ground it slightly on the T&C grinder to clean that up. I have added lip type seals to the spindle, I will be posting pictures, and plan to add IGaging DROs and use Yuri's Android ap and an Arduino for the DRO.
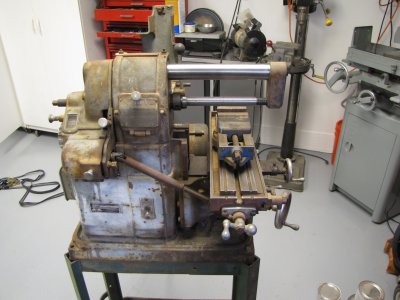
IMG_3122.JPG IMG_3123.JPG IMG_3124.JPG IMG_3125.JPG IMG_3126.JPG
 
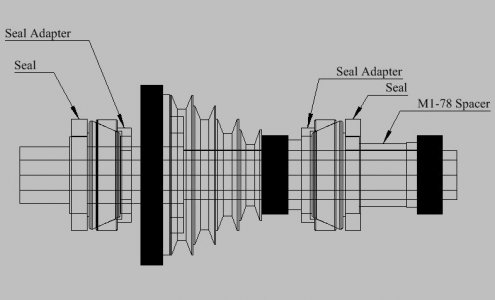
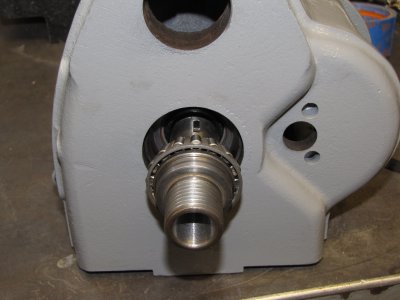
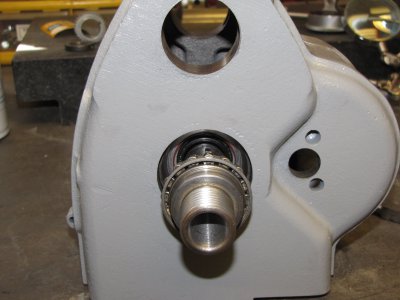
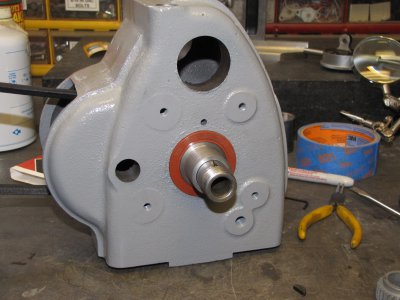
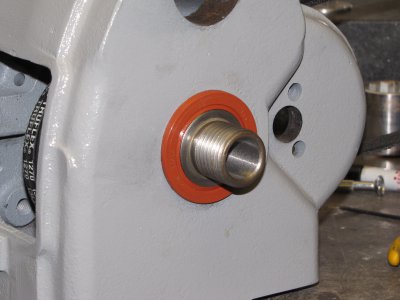
I added lip type seals to the spindle, both to keep oil in and to keep dirt out. I had to make two new parts, which I call "seal adapters", and had to remake the M1-78 spacer. The M1-78 only needs a larger OD on the part that goes into the seal, as the seal was for a 1.375 shaft, and the M1-78 was something like 1.360. Here is how the arrangement looks:
Atlas Spindle Drawings 1.jpg
Atlas Spindle Drawings 2.jpg

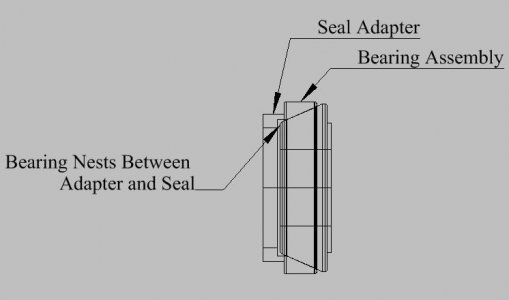
Due to the limited space, the end of the bearing cage has to nest between the seal body and the seal adapter:
Atlas Spindle Drawings 3.jpg

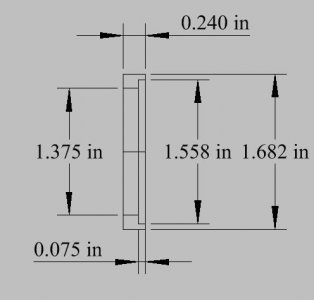
Dimensions of the adapter are as follows:
Atlas Spindle Drawings 4.jpg

- - - Updated - - -

And here are some pictures of the installation. I have the part numbers for the seals written down, and I will add them in here, but he notebook is out in the shop right now, and I am not dressed to go get it.

IMG_3477.JPGIMG_3479.JPGIMG_3481.JPGIMG_3482.JPGIMG_3480.JPG

- - - Updated - - -

And here are some of the assembly and finished product. The worst part about putting it together is that you have to slide the woodruff key that holds the M6-24 under the inner front seal. The key should be dressed so that it will rock in the slot, and it should be inserted at the top, so that if it does damage the seal, it would have to be completely full of oil before it will leak. Putting this together was an adventure. I have put this together and ran it briefly, and It did not leak. I doubt the shaft is hardened and I know the new spacer I made is not, but this isn't going to be doing production work, so I will see how this works out.

Atlas Spindle Drawings 1.jpg Atlas Spindle Drawings 2.jpg Atlas Spindle Drawings 3.jpg Atlas Spindle Drawings 4.jpg IMG_3477.JPG IMG_3479.JPG IMG_3481.JPG IMG_3482.JPG IMG_3480.JPG IMG_3483.JPG IMG_3484.JPG IMG_3485.JPG IMG_3486.JPG
 
Looks great CJ! That's a lot of work but it will be worth it in the end. Nice seal modification.

David
 
Excellent work! Looking forward to following along on this.

I'm in the process of bringing an Atlas 7B shaper back to life. It has a similar bearing arrangement. I'll have to consider your seal addition. Thanks for posting.

Steve
 
Dave, thanks, I never seem to buy a machine that doesn't need a lot of work :)

Steve, I have a 7B also, but it was in fairly good shape, so I decided to use it as is. The exception to the rule stated to Dave, above.
 
Your doing a very fine job on it. I love them hori mills. I dont know what I need one for but one day I will fill that need :nuts:

Top notch man
 
Nice work! I spent the day today cleaning the old oil and grease off my Atlas Horizontal Mill. It came out pretty good, hoping not to tear it down and paint. I will get some pictures up on a new thread in the near future.
Larry
 
For a small machine, I think these little Atlas mills are speced out pretty well. They are certainly more machine than the Chinese mini mills, since they include the power feed, but they also have a very useful speed range. That seems to me the biggest problem with the X1 and X2 size mini mills, they top out at 2500 rpm, and with the cutters they are capable of using, they should be capable of running much faster. The only small horizontal mill that I have seen for sale new is the G0727. Just reading the specifications, I can already spot two major problems with it. First, it only comes with a 5/8" arbor. Good luck finding tooling for that. 1" seems to be fairly easy, I have found some 7/8", but it isn't as plentiful as the 1". Also, it's lowest speed is 200 RPM. I guess if you use very small cutters, that will work, but a 4" HSS cutter in mild steel needs to run at around 100 rpm. That means you are fairly limited in the cutter sizes you can use for horizontal milling, and the 2000 rpm high speed runs into the same problem as mentioned earlier for the X1 and X2 size mills. Of course, it's fairly easy for the Atlas to have more features than a $500 mini mill, considering that new they cost an inflation adjusted $5000+.
 
I seen that grizz and never was impressed. My liking of them comes from reading up on the van normans. Looking at pics of stacked cutters to get the shape you want just seems so cool to me. Maybe one day I will buy the head for the bridgeport.
 
Wow, that looks great. It makes me want to finish up the work on mine.
 
Back
Top