Millrite X Axis Hard To Move

More progress on the mill.

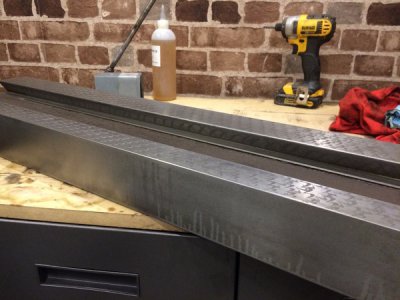
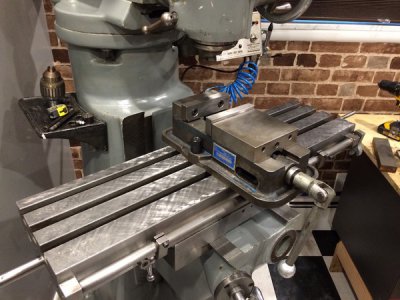
Table ways cleaned up and looking good; I see just about no wear!
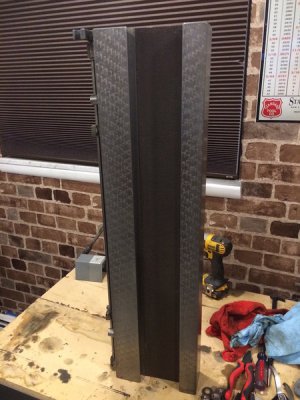
IMG_7881_zpsrslrqdh1.jpg

IMG_7883_zps4mrvm1bf.jpg

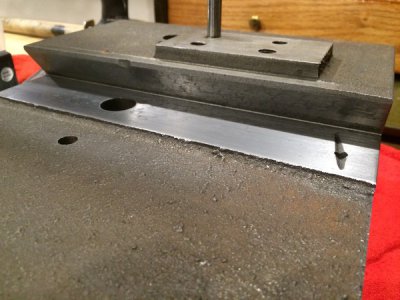
The saddle x-axis ways also look great. Nice and smooth, no scoring. I don't see any indication that these ways had flaking on them, therefore once again I see no real signs of wear at all.
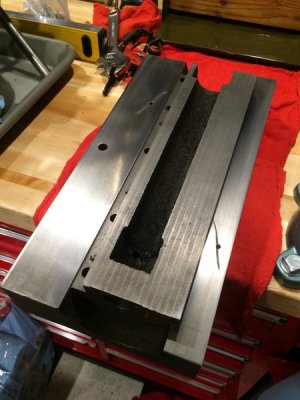
IMG_7888_zps5maj4boy.jpg

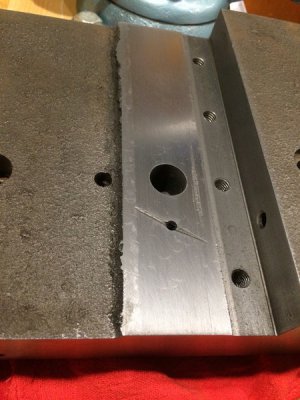
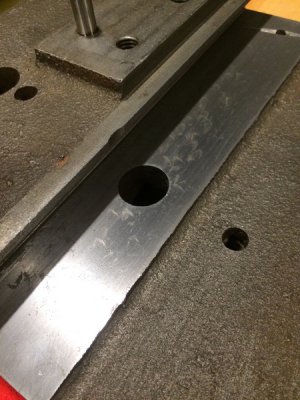
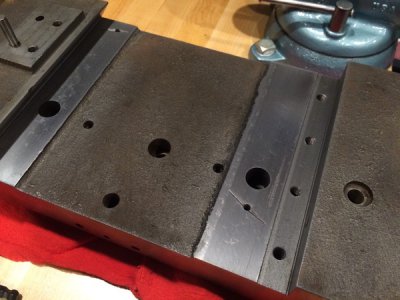
The y-axis ways on the saddle did show some wear, and some minor scoring. I suspect that the grease that was injected in there trapped some particles and caused the scoring. I'm sure Bob is also correct that this was likely a production mill that saw movement in just about only the y-axis.
IMG_7884_zpsphtkohna.jpg

IMG_7885_zps94nvicys.jpg

IMG_7886_zpsrnj4fcv0.jpg

IMG_7887_zps6kqqajmm.jpg

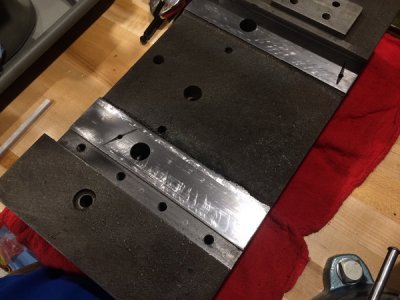
I went ahead and lightly stoned down the scoring once again using my ultra fine ceramic stone:
IMG_7891_zps7ydwrfji.jpg

I have most all the other components degreased now. Hopefully I'll wrap this up tomorrow, though I'm not sure I'll get to it.
 
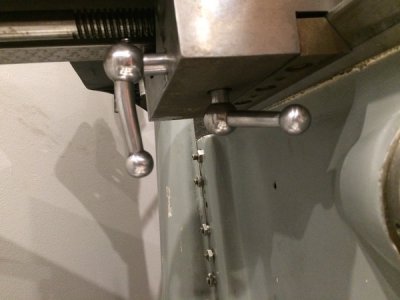
Priorities, priorities... unfortunately I hit my time limit for the mill for this week. I'll have to pick this up next week, but for now I'm in a good stopping point. While I had these components apart, I took the opportunity to polish up some stuff. The gib lock handles are done, but the rest of the handles still need a nice polish.
IMG_7897_zps8r8cyvq4.jpg

The table had quite a few nicks in it, so I stoned it in a crosshatch pattern with a new norton coarse/fine stone.
IMG_7894_zpswzktw7sr.jpg

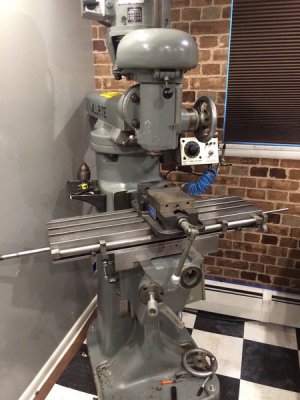
And finally- all the major components have been reassembled:
IMG_7893_zpsdxgrmjnw.jpg

The table movement in all directions is SMOOTH and fluid. I'm excited to get the hand wheels reinstalled and see how it goes. I got the gib adjustment as good as I could, but I'll use an indicator once the hand wheels and acme threads are fully installed. I paint stripped the table endcaps and plan on repainting them before installation. So a bit more work left to do, but I have a commitment for the rest of the week that will take me out of the shop. Overall- I think while this has been a LOT of work, the mission of this thread is complete. The table movement is much more free and I'm happy to know the state of the ways. I'm also happy to know that the proper lubrication is now in place. Given my SB 9a restoration and now the work on this- I will never understand why these old machines are packed full of grease and/or used motor oil...
 
It is a good idea to install way wipers and/or way covers to help keep the chips out of the ways. I bought some way covers for my Millrite but have not installed them yet, while I am trying to decide about a 3 axis DRO install. I installed a rehabbed old Servo X axis power feed and am waiting on mounting the limit switches for it for the same reason. I want to have a clean and useful installation with the absolute minimum loss in Y axis travel, and no lost functionality. I want to keep the hard table stops and also add the soft power feed stops, plus the way covers, plus the DRO, plus perhaps way wipers. There needs to be a plan to make that all work out in the end. There are plenty of options and trade offs. I have another old Servo power feed to rehab and put on the Y axis, which will extend the Y lead screw and the Y hand wheel about 2-1/2" farther away from the table, which will help a lot at minimizing compromises. Right now the hand wheel stops the Y travel, with still another half inch of lead screw unused.
 
I saw the gouge in your Y AXIS picture thought I was looking at my photo, I have about the same size gouge in my Y and saddle. After finding to many greasy fingers when working on the X table drive I have broke down and torn the whole machine apart. So now it is going to get the green paint (which I have not been able to match) replaced by likely gray. Going to devcon and scrape the gouge away.

Nice table look!
 
Going to devcon and scrape the gouge away.

Just curious- why would you do that unless you were planning on scraping anyway? Wouldn’t it be better to just stone it and consider the gouge an “oil pocket” just like he flaking?
 
Just curious- why would you do that unless you were planning on scraping anyway? Wouldn’t it be better to just stone it and consider the gouge an “oil pocket” just like he flaking?
Actually I should have added that the "Flaking" for oil retention is very faint on major part of the way so really my first plan was to just do the flaking. But with the gouge present, cleaning and filling will give me a slight bit of scraping then I can add new flaking.
The main reason I see to fill is to reduce the groove and chances of trapping any new bad particles with less chance for more damage. The oil grooves are cut at a diagonal to spread the oil but have less chance of trapping particles. To me a line in way travel direction seems more likely to catch and trap.
 
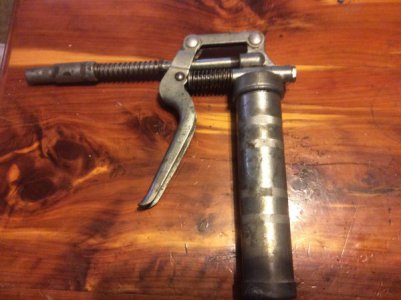
Modified grease gun for oil, took the plunger and spring out ,brazed the hole shut. It pumps oil good no leaks .
Just have to hold it upside down when pumping
2EBB83E6-82A3-48C6-A555-9724B8B730BE.jpeg
 
Only need to have flaking on one of the surfaces.

I went through the same process on my MVN Millrite, for similar caked grease reasons. Couldn’t hardly believe I had to pull everything off to get to the gib. 8 years later the gib is still about right, either that or I’m just avoiding doing it again.

Congratulations, looks like a score on a nice machine.
 
Back
Top