Material for horizontal mill arbor

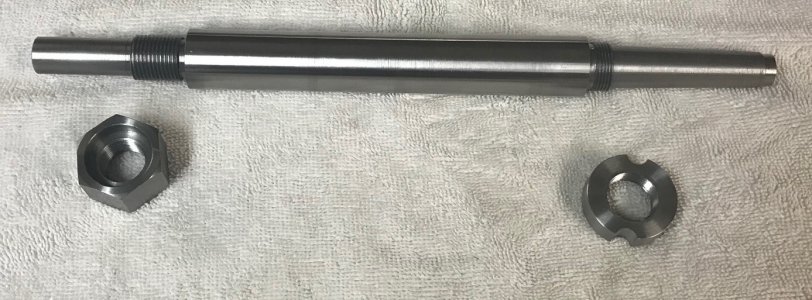
Finally finished the drive plate. It turned into a bigger job than I expected. I had to make a threaded mandrel to hold the part in a collet block while I cut the semi-circular keyways on the mill. Now I have to secure the drive plate onto the arbor. It turns out the motor torque will tend to unscrew the drive plate, so my plan to use Loctite is probably not adequate. I'll have to pin it. Wish now that I had done a left-hand thread so the motor torque would be in the tightening direction. Here are photos of the arbor with its drive plate and nut.
 

Attachments

  • IMG_4366.jpg
    IMG_4366.jpg
    301.9 KB · Views: 44
  • IMG_4367.jpg
    IMG_4367.jpg
    162.5 KB · Views: 44
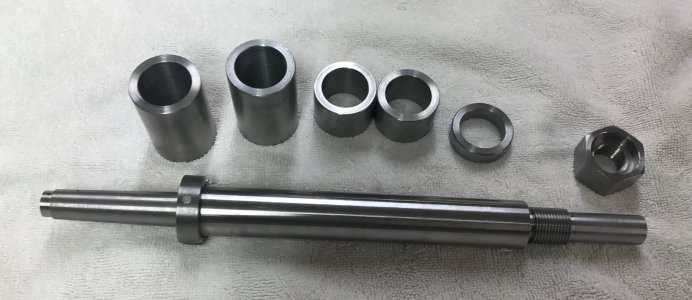
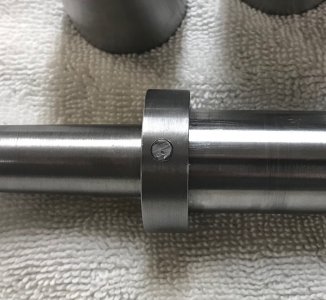
Got back to the arbor project this week and I turned a 1.5 x 8" piece of 12L14 into 5 abror spacers and a bucket full of swarf. I also pinned the drive plate to the arbor with a piece of 3/16" drill rod.
 

Attachments

  • IMG_4377.jpg
    IMG_4377.jpg
    402.2 KB · Views: 19
  • IMG_4378.jpg
    IMG_4378.jpg
    215 KB · Views: 19
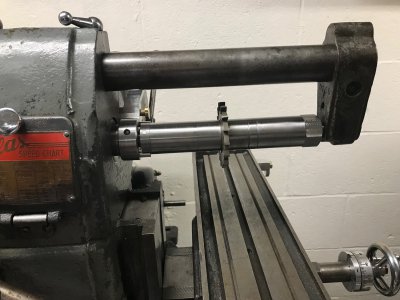
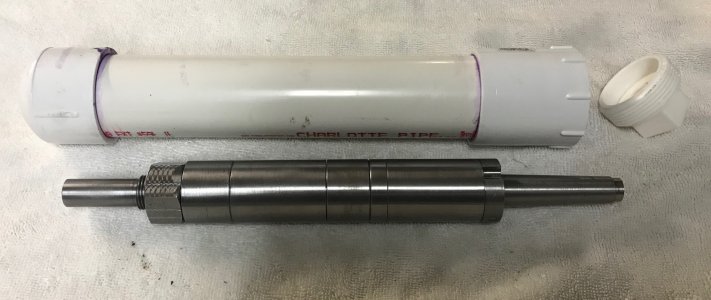
Finished! The last step was to drill and tap the 3/8-16 drawbar thread in the end of the MT2. This removed the center, so it had to be the last operation. And I made a protective container from 1-1/2" PVC pipe.
 

Attachments

  • IMG_4380.jpg
    IMG_4380.jpg
    438.7 KB · Views: 22
  • IMG_4381.jpg
    IMG_4381.jpg
    378.7 KB · Views: 22
Congrats, mostly for a successful Morse taper. A bit off and they do not work; excess taper wobbles, inadequate jams in the quill, especially if it's a drawbar!
re: pinning faces to shafts. The impulse is to center the through-hole of both axis. Should disassembly occur, that can be hard to replicate with a cylindrical pin. Offsetting the position can remedy that, even better utilizes taper pin; it conducts realignment.
If there were a choice between drawbar versus a stud, I'd rather wear out a nut, thrust washer and stud itself, than ID threads.

For lathes without enough set-over built into tailstock, there are all manner of adjustable centers. Even boring heads on a Morse Taper, poke a shopmade point in the hole; near infinite degree of increments. **

Lacking either, a simple work around via compound is solved with a narrow relief. On the male side, such an undercut allows repositioning carriage after establishing terminal end. Also doesn't hurt targeting a slight increase in overall length, and remove when completed.

** BTW; Source of hard enough material for a center? Who throws away broken endmills? They live until you can no longer mount them; chamfer tool, form tool, countersink, stationary edge finder, center finder, boring bar, dowel pin, gauge pin.......
 
Last edited:
Nice project and it looks like it turned out really well.


Sent from my iPhone using Tapatalk
 
Back
Top