- Joined
- Apr 25, 2024
- Messages
- 39
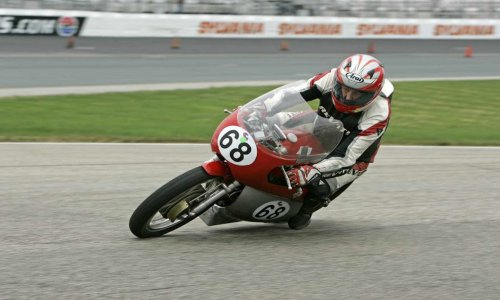
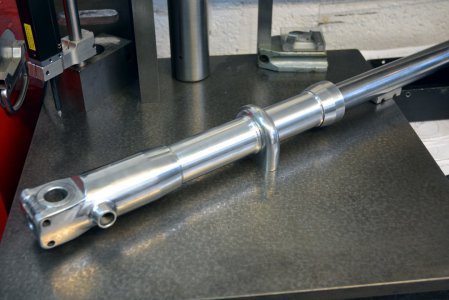
I wanted some forks for my classic race bike. Cerianis were the go-to forks back in the 60s and 70s so I decided to make my own look-alikes. Here they are fitted to the bike.
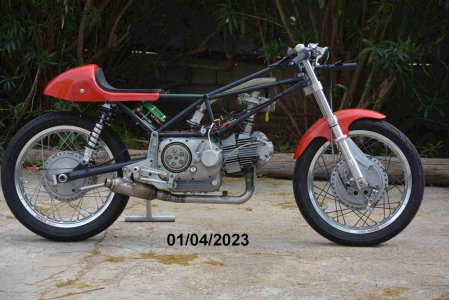
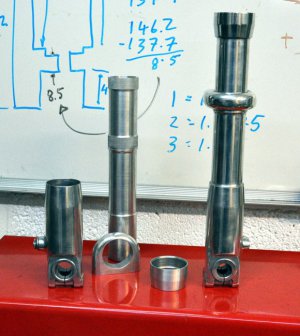
The 60s and 70s Cerianis were made in pieces and glued together, I followed the same method. The main part of these to make is the long aluminium tube to which the oil seal mounting, the mudguard and brake stay and bottom axle pieces are glued. I think Ceriani used epoxy but I used Loctite.
Normal boring in a lathe would have that long tube held in a chuck at one end and open at the other for a boring bar. The length of the tube in this case makes that a less than good idea. Neither the tube nor boring bar would be well supported and chatter and taper would be a likely result.
The way around these problems is to line bore with a boring bar supported at each end.
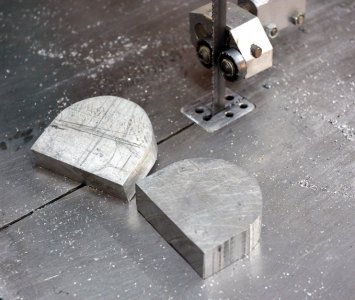
The first step was to make a holding fixture for the tube. The scrap box yielded up some odd shapes pieces for the job.
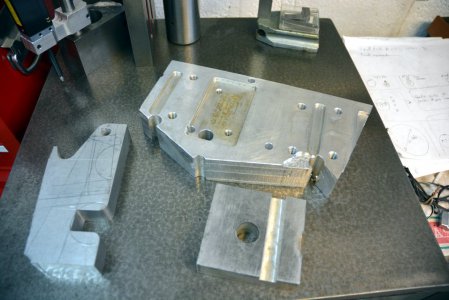
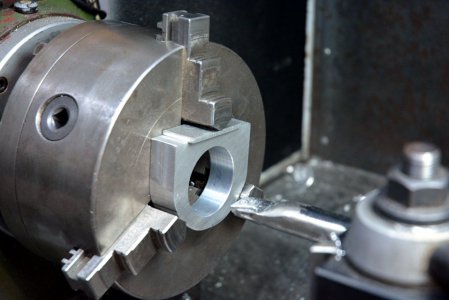
These were milled and bolted together to form a rigid clamp to hold the tube rigidly and concentric with the lathe spindle. The clamp was bored in situ to ensure concentricity. After boring, the Z axis was the only one allowed to move the X axis was locked.
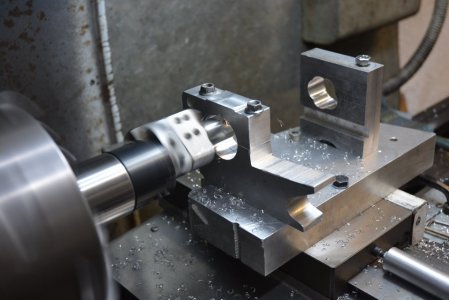
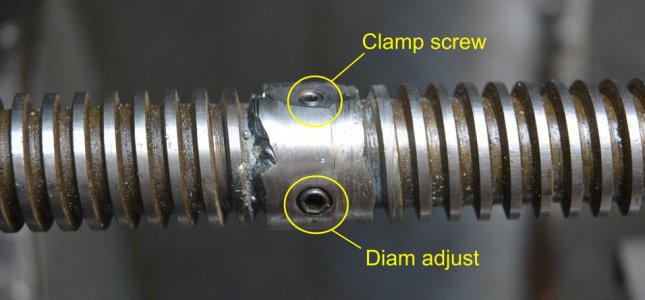
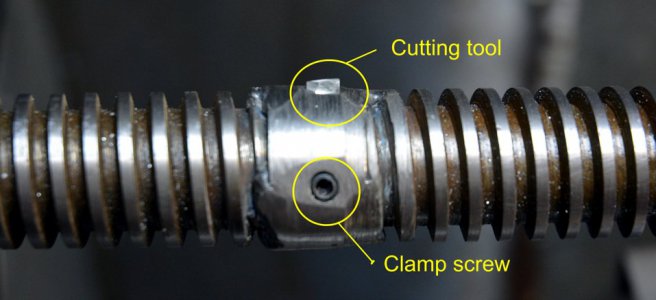
The next step was to make the long boring bar. I made this from the lead screw of an old lathe. The thread was not ideal to hold the cutting tool so I built it up with a split sleeve. The pictures tell the story.
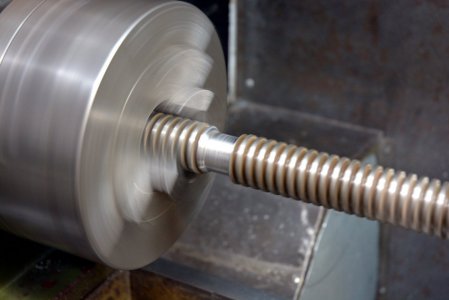
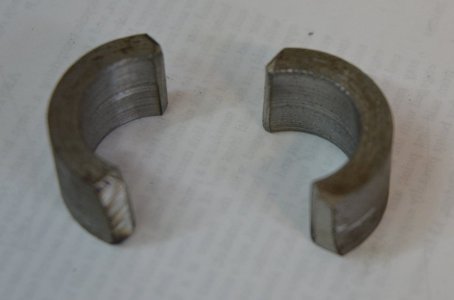
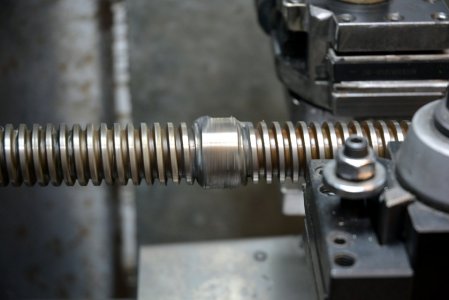
Then that was drilled and tapped as necessary to hold the tool and allow adjustment.
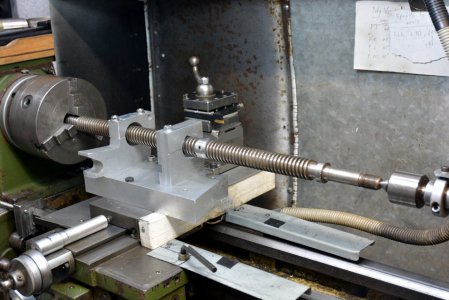
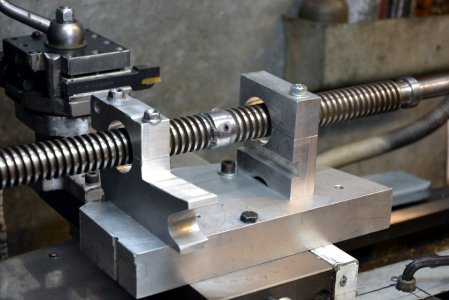
Next we can see the relationship between the work holding fixture and the boring bar. Unfortunately, I cannot find any photos of the tube in the fixture. I can't believe that I did not take such photos but........................?
After boring the tubes (I made 4) I used more conventional turning methods to finish the outsides.
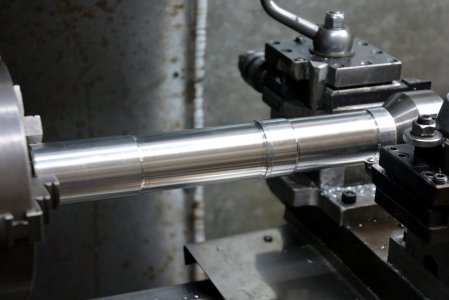
Not shown but the glued areas were knurled to provide reservoirs for the Loctite. A technique that I often use.
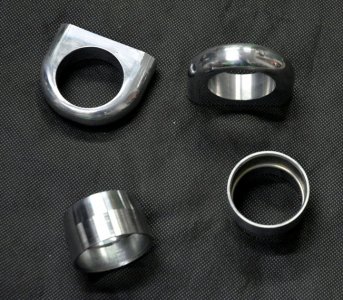
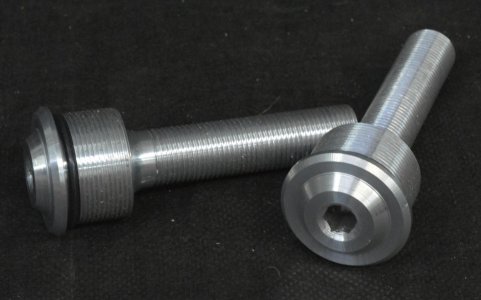
Once the tubes were finished the other pieces were made by a combination of milling, drilling and turning, oh and filing/sanding on the axle holders.
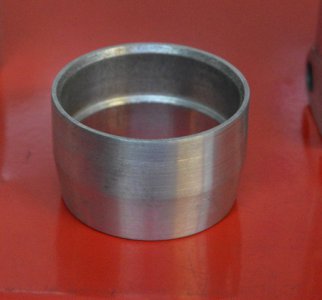
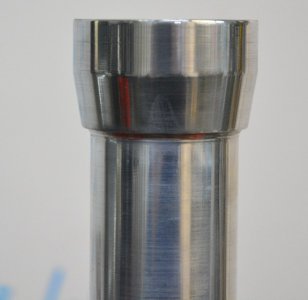
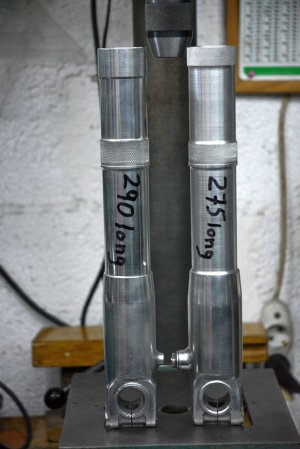
Assembled.

The 60s and 70s Cerianis were made in pieces and glued together, I followed the same method. The main part of these to make is the long aluminium tube to which the oil seal mounting, the mudguard and brake stay and bottom axle pieces are glued. I think Ceriani used epoxy but I used Loctite.
Normal boring in a lathe would have that long tube held in a chuck at one end and open at the other for a boring bar. The length of the tube in this case makes that a less than good idea. Neither the tube nor boring bar would be well supported and chatter and taper would be a likely result.
The way around these problems is to line bore with a boring bar supported at each end.
The first step was to make a holding fixture for the tube. The scrap box yielded up some odd shapes pieces for the job.

These were milled and bolted together to form a rigid clamp to hold the tube rigidly and concentric with the lathe spindle. The clamp was bored in situ to ensure concentricity. After boring, the Z axis was the only one allowed to move the X axis was locked.

The next step was to make the long boring bar. I made this from the lead screw of an old lathe. The thread was not ideal to hold the cutting tool so I built it up with a split sleeve. The pictures tell the story.


Then that was drilled and tapped as necessary to hold the tool and allow adjustment.


Next we can see the relationship between the work holding fixture and the boring bar. Unfortunately, I cannot find any photos of the tube in the fixture. I can't believe that I did not take such photos but........................?


After boring the tubes (I made 4) I used more conventional turning methods to finish the outsides.

Not shown but the glued areas were knurled to provide reservoirs for the Loctite. A technique that I often use.
Once the tubes were finished the other pieces were made by a combination of milling, drilling and turning, oh and filing/sanding on the axle holders.


Assembled.


