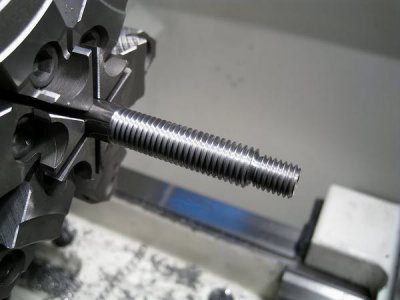
Make double diameter screw for quick change tool holder

I'm going to go out on a limb and say that the the small end screws into his QC tool post and the larger end is what he uses a custom made nut for adjustments.

I don't know, just a guess!
 
I'm going to go out on a limb and say that the the small end screws into his QC tool post and the larger end is what he uses a custom made nut for adjustments.

I don't know, just a guess!
That's possible. The tool holders he made are very nice.
 
Sometimes people use the differential threads to achieve a fine adjustment.
 
Could you tell us the purpose of the screw before we spend almost 40 minutes watching the video?
I have not watched the video but I have also made differential threads for various reasons. One often reason for me is as an adapter.
 

Attachments

  • IMG_6932.jpg
    IMG_6932.jpg
    65.8 KB · Views: 47
  • Img_6324.jpg
    Img_6324.jpg
    27.3 KB · Views: 53
  • Img_6370.jpg
    Img_6370.jpg
    38.3 KB · Views: 51
  • 20191121_190349.jpg
    20191121_190349.jpg
    547.1 KB · Views: 66
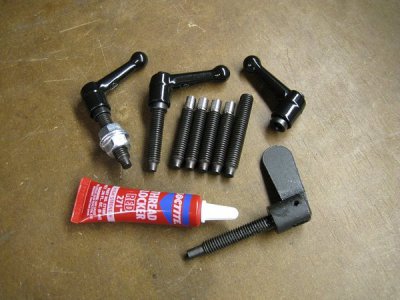
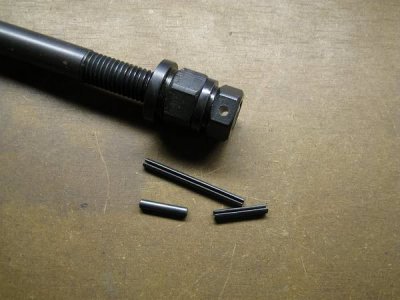
Differential tail stock adjuster. Hold brass knob and spin nut for coarse adjust. Hold nut, and spin brass nob for differential adjust. M6x1 thread for coarse, M5x0.8 for fine. 0.2 mm/turn for differential adjustment. 1/8T is approx 0.001" displacement. Approximately equivalent to ~125 TPI, but with a coarse adjust.

PXL_20210517_212122132.jpgPXL_20210524_154322131.jpgPXL_20210512_143407423.jpg

Differential screw
 
I have not watched the video but I have also made differential threads for various reasons. One often reason for me is as an adapter.

Me also - lately adapting 1/4-20 to M5 for camera mounts (but I cheat: start with long 1/4-20 set screws and turn down the end opposite the drive).
 
Me also - lately adapting 1/4-20 to M5 for camera mounts (but I cheat: start with long 1/4-20 set screws and turn down the end opposite the drive).
The classic 1/4-20 that cameras standardized on is Whitworth, 59 degree thread, not easily found as a set screw.
 
@WobblyHand

You happen to have more details on that T/Stock adjuster??
I have more pictures, maybe some drawings. I'll try to find them and post them, or a link. I had to use a couple of shims to get it to work smoothly, but it does the job. Always had trouble doing the alignment with the stock adjuster. This is easier, once you figure out the direction (sign) of the differential movement. The hex nut in the slot allows the tail stock position to be locked from the top side. Originally it was from the bottom! A top side lock is much, much more convenient.

Edit: https://www.hobby-machinist.com/threads/mini-lathe-tailstock-adjuster-with-differential-screw.92687/ If you have more questions, you can post in that thread. (Or here.) I misspoke about the thread pitches. They are 1mm and 0.75mm. They were driven by the tap sizes I could buy. I tapped the cast iron with a M6 x 0.75 pitch tap. So 0.25mm per turn for the differential. Learned a lot in that project.
 
Last edited:
I have more pictures, maybe some drawings. I'll try to find them and post them, or a link. I had to use a couple of shims to get it to work smoothly, but it does the job. Always had trouble doing the alignment with the stock adjuster. This is easier, once you figure out the direction (sign) of the differential movement. The hex nut in the slot allows the tail stock position to be locked from the top side. Originally it was from the bottom! A top side lock is much, much more convenient.

I would appreciate any further info if you could find/post it.

On the top adjust, I completely agree.!
 
Back
Top