- Joined
- Dec 18, 2019
- Messages
- 7,333
Decided to attack this some more. Made a small piece from a tiny angle iron 1/2" x 1/2" x 2.25" long. Sort of spotted roughly where I wanted to drill mounting holes in the angle, all the while holding the angle up to the drill press housing. Drilled and tapped the angle iron to 10-24. Then made some transfer screws out of 10-24 SHCS on the lathe. Once I had the transfer screws, they were threaded into the angle iron.
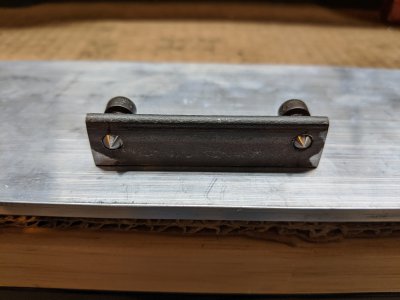
The drill locations for the drill press casting were then marked with a light tap of a hammer.
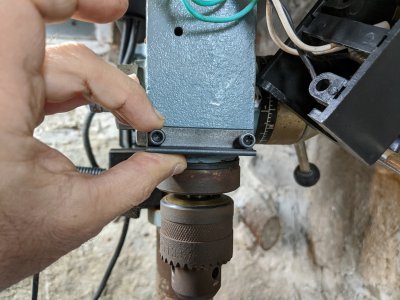
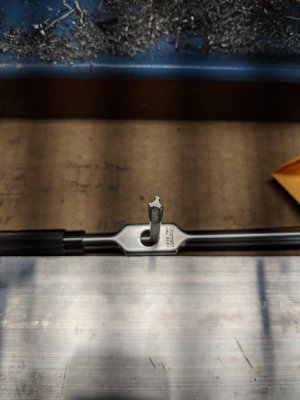
With the holes marked, they were drilled and tapped to 10-24. I only drilled in enough to get 3 threads. Used some drill stops to limit the hole depth. Fortunately, the drill did not break through the housing. Had to grind my tap into a bottoming tap to get the threads to the bottom. Hey, it was a cheap tap, I got my money's worth out of it.
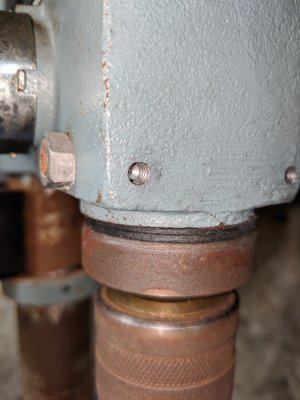
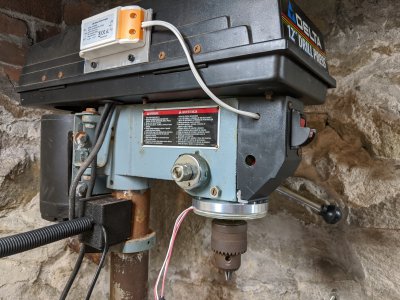
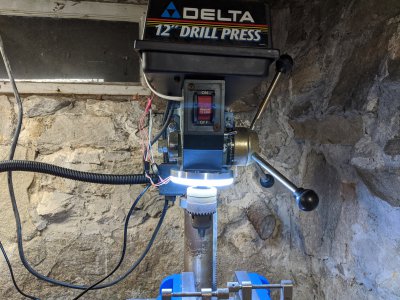
Then I had to modify the plastic cover, so it would go over the new bracket and angle iron. I did the unspeakable, used the drill press as a plastic milling machine. Besides making a mess, it came out ok. Here is everything all assembled again. Washers were used as spacers, as the casting is not quite flat across the face. It's sturdy enough for the application.
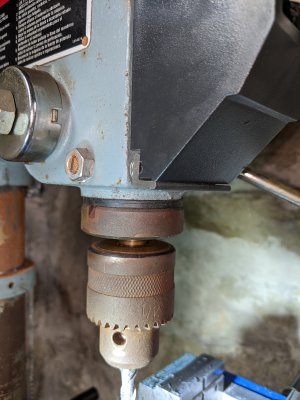
Ok, finally something for magnets to stick to on the front side! Next the light ring was disassembled to prepare for making more pockets for magnets on the front side. Onto the drill press for pockets.
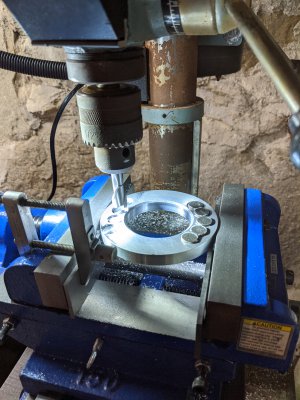
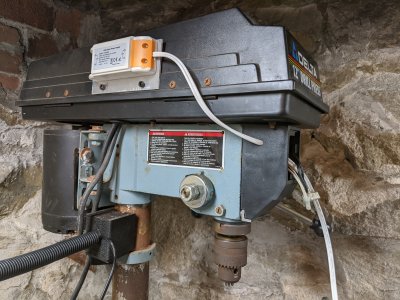
Now it's upstairs to mix some epoxy to add four more more magnets. Tomorrow, is figure out how to mount the larger power supply. The small power supply hasn't come yet. Seems to be lost in the mail, or was never sent. I'll have to cobble together a plate for the larger supply and mount it near the top cover.

The drill locations for the drill press casting were then marked with a light tap of a hammer.

With the holes marked, they were drilled and tapped to 10-24. I only drilled in enough to get 3 threads. Used some drill stops to limit the hole depth. Fortunately, the drill did not break through the housing. Had to grind my tap into a bottoming tap to get the threads to the bottom. Hey, it was a cheap tap, I got my money's worth out of it.


Then I had to modify the plastic cover, so it would go over the new bracket and angle iron. I did the unspeakable, used the drill press as a plastic milling machine.

Ok, finally something for magnets to stick to on the front side! Next the light ring was disassembled to prepare for making more pockets for magnets on the front side. Onto the drill press for pockets.

Now it's upstairs to mix some epoxy to add four more more magnets. Tomorrow, is figure out how to mount the larger power supply. The small power supply hasn't come yet. Seems to be lost in the mail, or was never sent. I'll have to cobble together a plate for the larger supply and mount it near the top cover.

 . Nice job