Lang J6, new old lathe for a newbie

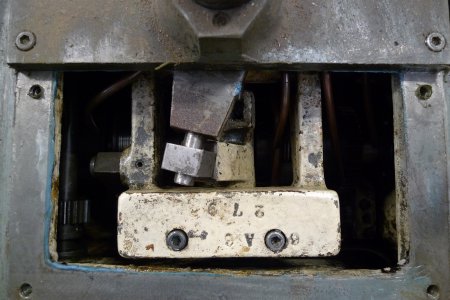
I removed the cover on top of the headstock which allows for access to and adjustment of the forward/neutral/reverse clutch. Removing the cover also allows for inspection of some of the gear train and lubrication system. The manual details how to adjust the clutch for proper engagement, so I will follow those steps.
P1010691.JPG
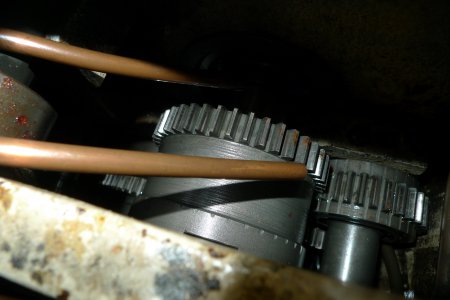
Viewing what gears I can see, I see some potential problems. The large gear in the foreground has grooves worn in to a shoulder that shouldn't have any contact with any other gear teeth I believe, the the gear on the shaft in the background has grooves worn along the width of the gear body. I have not counted teeth yet or had time to turn over by hand and really understand what is going on, but it seems it is in need of adjustment.
P1010693.JPG
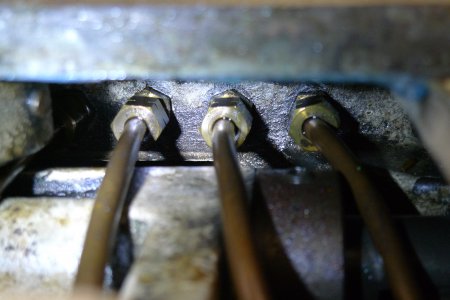
The drip oiling system is pretty cool, and appears to all be present.
P1010696.JPG
Jonathan

P1010691.JPG P1010693.JPG P1010696.JPG
 
Looks like a really nice and beefy machine.
Whats the diameter through the spindle?
 
1 5/8" is a nice size. As beefy as that machine is I thought it might be a 2"
Very SWEET
 
Hi All,

I got the machine hooked up to my shop rotary converter and ran it yesterday. Seems to run pretty well so far! There was a very apparent clicking sound, which I discovered to be the cam operated lever hydraulic oil pump. I have not yet chased every oil line, but the lines meant to drip on the headstock gears are flowing. The oil level sight glass drip however is not flowing, so that line must be plugged.

After running for a bit, I drained the oil from the headstock, as well as the change gear case. And I tried to drain from the saddle, but there wasn't any oil to drain. I then filled the headstock and change gear case to the correct level. I tried to add to the saddle, but it leaked all over - could be the reason it was dry, all of the seals may be rotten.

Thanks for following,

Jonathan
 
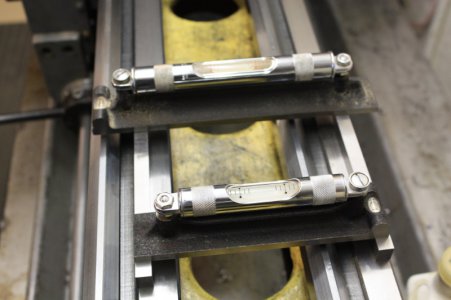
Here's a few examples of level lathe checks.IMG_9317 - Copy.JPG
Many lathes have uneven heights of V ways and it's better anyway to use the flats.
The 6" spans the gap and sits well on the parallels.
If the level is longer than the gap, then set it so it overhangs equally on each side.
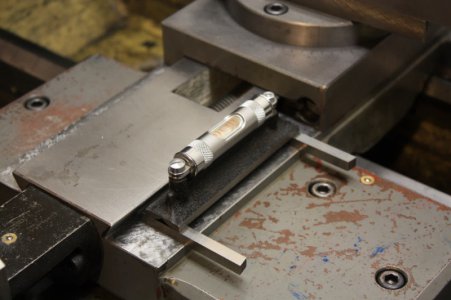
IMG_9323 - Copy.JPGThis little 4" fits well on the saddle. I put some tool stock that has been trued on a surface grinder down for parallels though this surface is flat enough that the reading is the same without them.

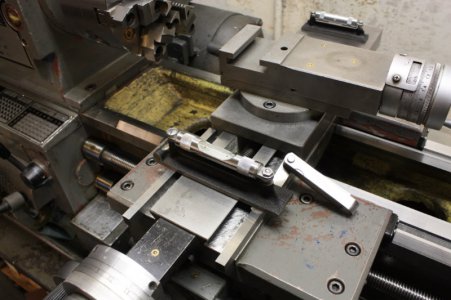
IMG_9322 - Copy.JPGHere I span the saddle with parallels.
All these levels are graduated for 0.005/foot for all lenght's of levels , however,due to temperature the bubble size might make it difficult to understand what it's telling you.
A feeler gauge can be put under the low side to get a level reading. Then whatever gauge is used is the amount out of level in the distance between parallels.

I always check my levels before and during use.
Just get a good reading on one position and the swap ends with the level to see if the readings compare.
It can take a minute or two for the level to settle down after moving so take your time.
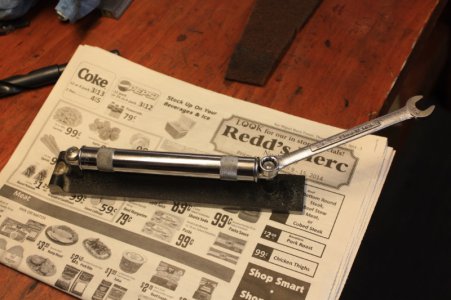
IMG_9324 - Copy.JPGSometimes the adjustment nuts are tighter than they should be and I've seen a couple grown men cry when the nut came free and they tossed the level without the vial protector closed.
I prefer to set the level on a flat, protected surface and get a good grip without crushing the vial tube.
I have a 12" but haven't needed it for the lathe.
The most useful sizes in my shop are the 4" and 6" though larger lathes like yours might need something bigger.

IMG_9317 - Copy.JPG IMG_9323 - Copy.JPG IMG_9322 - Copy.JPG IMG_9324 - Copy.JPG
 
Thanks for the info, Jim! Helpful photographs.

I do have a 4" Starrett level and a few sets of parallels, unfortunately my bed is too wide for either the level or a parallel to span with other parallels placed in the flat ways. Luckily I'm not in any rush, I'll find something.
 
Back
Top