- Joined
- Sep 20, 2012
- Messages
- 560
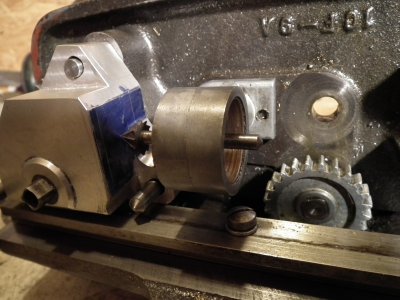
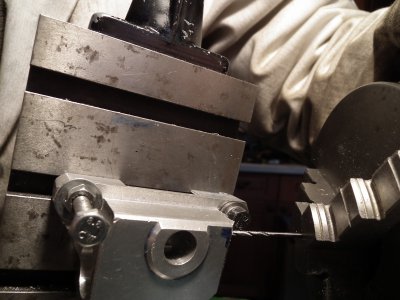
Had to come up with a way to determine the centre of the lead screw hole, so I made a transfer guide which fitted the support bearing part which took a sharp pointed countersink but anything pointy would have done. Assembled it on a spare apron and punched a mark.
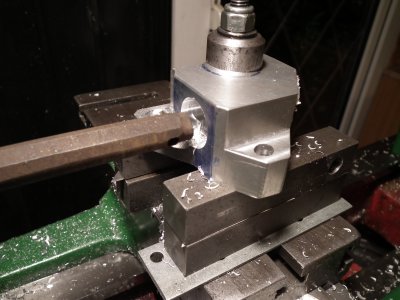
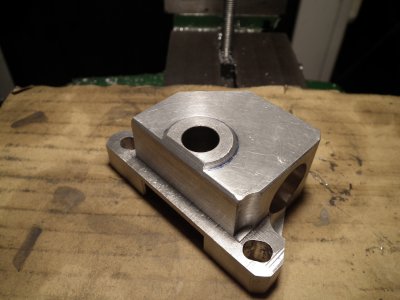
You can see my scribed lines for the top and bottom of the hole by transferring them from the old g/case with a height gauge, still no measuring..

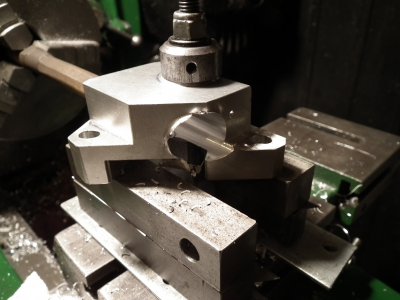
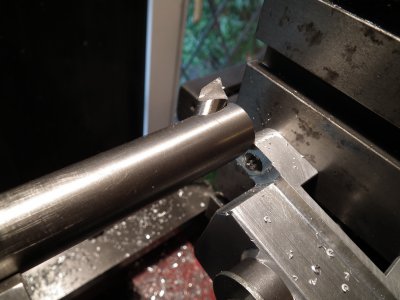
Used a rough old boring bar that had a tool in it that was just right to make the through hole.

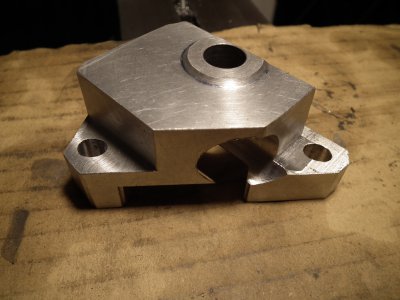
I took a couple of cuts, adjusting the tool bit out until it met the scribed lines. This hole is not round but oval to allow adjustment of the backlash in the gears, this was easy to do by moving the cross slide after I had the size correct, I kept going till I broke through into the spindle hole by near enough the same amount as on the original case.

And that's about all there is to it really..


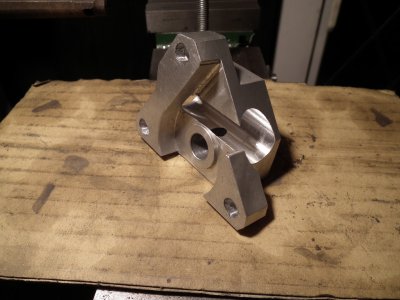
You'll have spotted the three slotted holes are a bit err... 'distressed' this is a result of the milling attachment moving as I tried to mill them, I'll be hand finishing them later, lesson learned!
It would be preferable to have done those by pecking with an end mill, against a fence or some such fixture in a drill press, but as nothing except the positioning of the spindle hole is critical in this part I think I've got away with it on this hidden part!
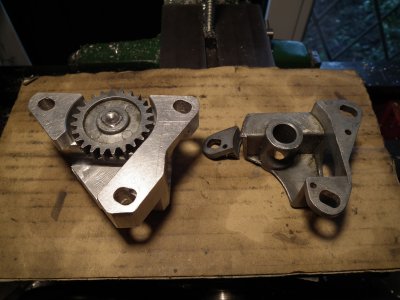
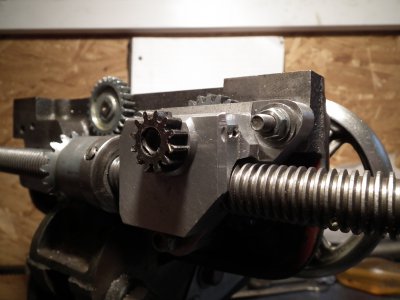
I still need to finalize the lug area nearest the headstock where the fixing nut will clash with the cheese headed screw (may have to counter sink that one) that holds the part Atlas calls the 'bearing plate', as this lug is the area that seems to fail first I need it to be as stout as possible.
I'm leaving that until I've made a new spindle with integral small gear, which is my next challenge to study up on.....
Bernard


You can see my scribed lines for the top and bottom of the hole by transferring them from the old g/case with a height gauge, still no measuring..

Used a rough old boring bar that had a tool in it that was just right to make the through hole.

I took a couple of cuts, adjusting the tool bit out until it met the scribed lines. This hole is not round but oval to allow adjustment of the backlash in the gears, this was easy to do by moving the cross slide after I had the size correct, I kept going till I broke through into the spindle hole by near enough the same amount as on the original case.

And that's about all there is to it really..


You'll have spotted the three slotted holes are a bit err... 'distressed' this is a result of the milling attachment moving as I tried to mill them, I'll be hand finishing them later, lesson learned!
It would be preferable to have done those by pecking with an end mill, against a fence or some such fixture in a drill press, but as nothing except the positioning of the spindle hole is critical in this part I think I've got away with it on this hidden part!
I still need to finalize the lug area nearest the headstock where the fixing nut will clash with the cheese headed screw (may have to counter sink that one) that holds the part Atlas calls the 'bearing plate', as this lug is the area that seems to fail first I need it to be as stout as possible.
I'm leaving that until I've made a new spindle with integral small gear, which is my next challenge to study up on.....
Bernard
