HTP Arctic Chill TIG Cooler Mod, a la This Old Tony

Weldo

Registered
Registered
Joined
Sep 7, 2019
Messages
674
Thanksgiving write up time! It's been a while since I shared a project so here goes!

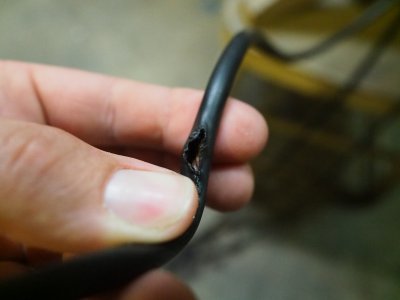
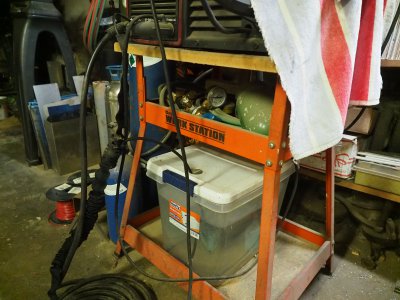
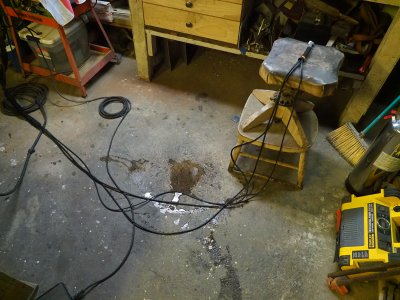
Firstly, the impetus for this project was the meltdown of my TIG torch using a cobbled together cooler system. It was just a submersible pump in a bucket of water.
EM520662.JPG

EM520655.JPG

EM520658.JPG


I believe the failure occurred due to improper plumbing of the lines. Based on the diagram for the torch (Weld Tec 20), the water is supposed to go from the pump to the torch via the dedicated water hose and return to the water tank via the power cable. I had it backwards with the water going TO the torch via the power cable. In this way the water is being heated up the entire time it is en-route to the torch head, couple this with my pump's anemic flow capability and a high amp setting, and the water likely boiled in the torch head and burst the hose at the weakest point by steam pressure. At least that's what I think happened.

I then decided it was time to step up and get a proper cooling system. I weld only occasionally for hobby purposes but I like doing it and I want it to work properly when I need it to. I looked around the net and settled on the HTP Arctic Chill 5460. The coolers from Weld Tec were very nice but also very expensive, like $900! I kind of wanted to avoid cheaper unbranded ebay coolers as well. At the time HTP had a demo model on sale in the clearance section of their site for about $380, so the savings were decent over a brand new one. And I like that I can contact HTP for service/support if needed.

So I got the thing, filled it with distilled water and a splash of the recommended lube/algaecide (also from HTP), and hooked it up to a new torch. I was a little disappointed in the noise level. I work in a small corner of a basement, it's maybe 100 square feet so it's nice if I could keep the noise level down while in the shop. I ran across a video from YouTuber This Old Tony a few months ago about this very issue so I re-watched it and got inspired to do a similar mod. The vid is below if you care to watch it, but basically he replaces the mechanical fan with a group of 12V case fans, like you'd use on a computer.


Thus motivated by TOT's work, I ordered up some parts!

More to follow...
 
I settled on fans from a company called Arctic since that's what TOT used. They seem like good quality fans and he mentioned they got good reviews.

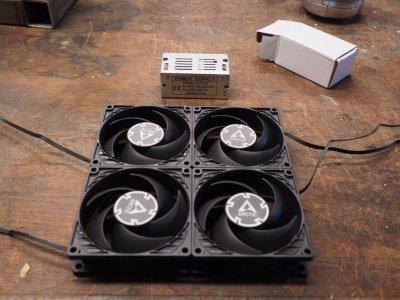
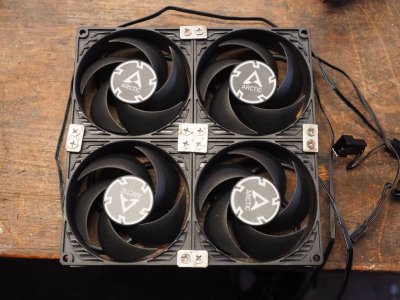
I decided to go with different fans than he used, opting for smaller 80mm fans. Also the ones I chose were supposedly optimized for use with heat exchangers by producing a focused column of air that is more efficient at penetrating the cooling fins. These are the ones I used, the P series:

P8_PWM_PST_S04_EN.jpg
P8_TC_01.jpg


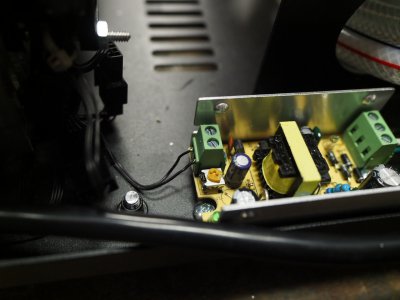
Each fan runs 0.09A so I got a small 12V power supply off ebay. The power supply is 1A which is still well over double what is needed for a few fans.

EM520671.JPG


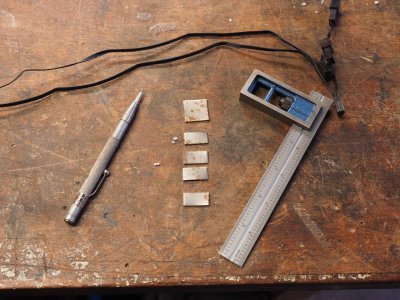
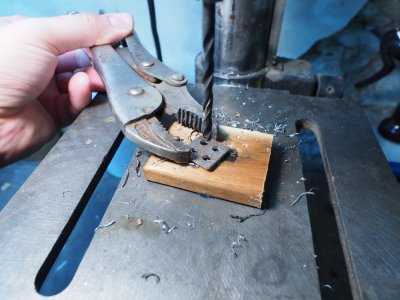
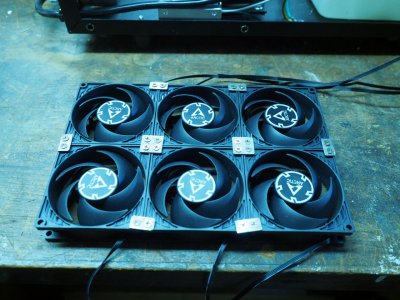
I then set to making small tabs to hold them together.

EM520672.JPG


EM520673.JPG


The fans come with small screws meant to mount securely to the plastic case, so I used them in lieu of using screws and bolts.

EM520674.JPG


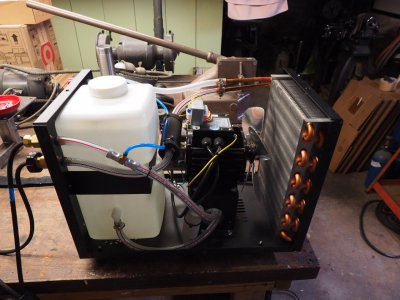
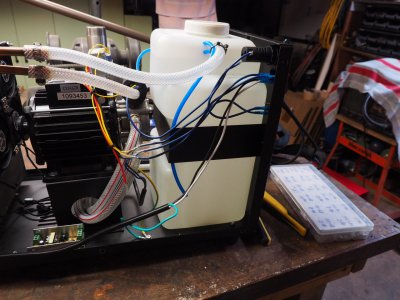
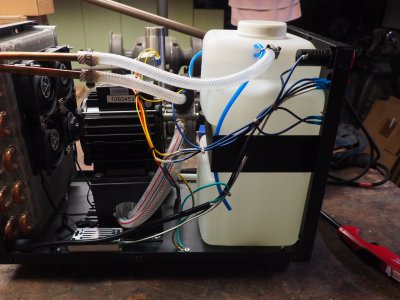
Here we see the innards of the HTP cooler. It's simple and looks well made. The pump and motor are made in Italy, though the cooler as a whole is made in China.

EM520676.JPG


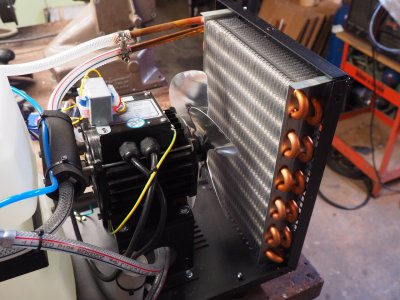
A close up of the fan/heat exchanger.

EM520675.JPG


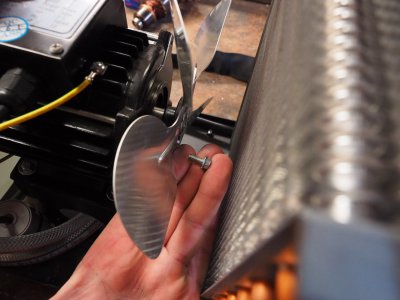
The fan blade is easily removable with a single center screw. It's reverse threaded so "righty releasey"

EM520677.JPG


The 80mm case fans fit well on the width of the cooler...
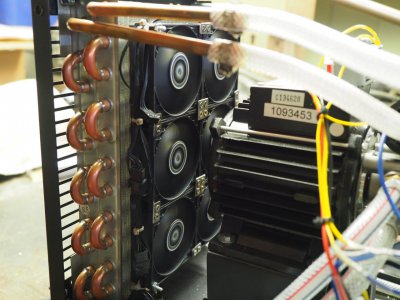
EM520678.JPG


However there's still plenty of room on the radiator...
EM520679.JPG


For perhaps even more fans!

EM520680.JPG


6 fans will fit no problem so I decided to buy some more. Originally I bought a 5 pack and rather than buy just one more I got another 5 pack. The cost per fan is actually much cheaper this way and maybe I can use them for other projects.

While I awaited another delivery I worked on the wiring.
 
The wiring is very straight forward.

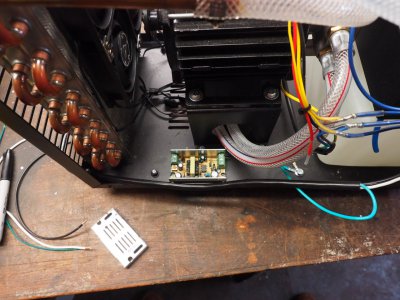
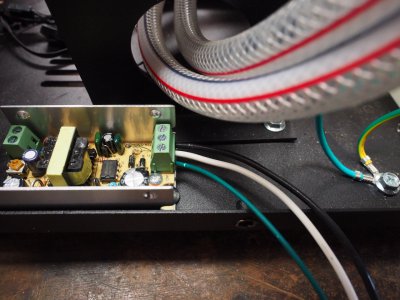
First I found a place to mount the power supply.

EM520681.JPG


Then I located the 110V wires to tap into. You can see the white and black wires from the power cord. The astute among us may note that these are probably not the correct wires to tap into. If you're not sure why (as I wasn't), read on!

EM520682.JPG


I found some short pieces of 16ga wire to use for tapping.

EM520683.JPG


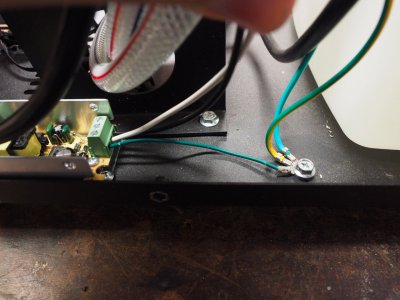
The ground is easy, just a ring terminal to the existing ground.

EM520684.JPG


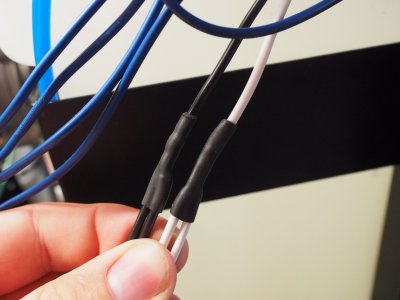
Then it's white to white, black to black.

EM520685.JPG


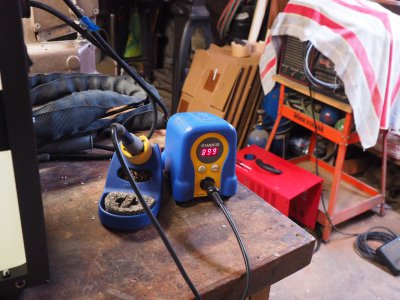
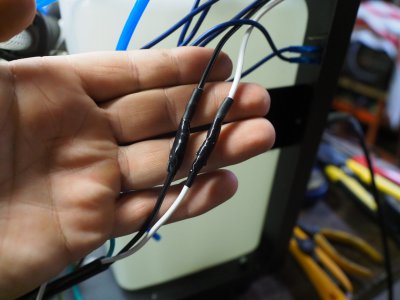
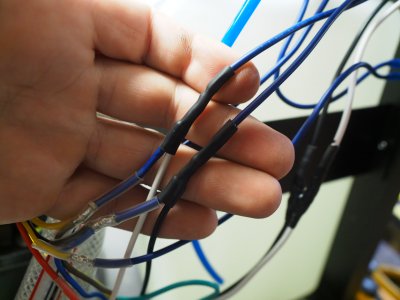
I chose to solder rather than cut and use crimp connectors. Regarding soldering, if you dabble in electronics and don't have a good iron, you're missing out! I used to use an old Radio Shack iron and it never worked for me. I hated soldering and it almost always ended in failure. One day I bought a used Hakko soldering station on ebay and it has made a huge difference. I'm sure if you're good you can solder with anything, but I'm not very good and the Hakko unit makes it easy, at least for me. It heats up to 900 degrees in about 7 seconds and the tips are well made and tin very easily. With this thing I actually enjoy soldering jobs!

EM520686.JPG


Follow up the soldering with a little heat shrink. Looks very professional!

EM520687.JPG


Finish up with zip ties.

EM520688.JPG
 
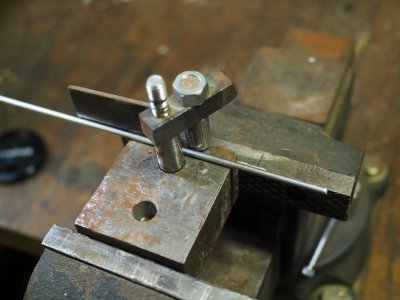
Next I set to mounting the fans to the cooler. I decided to mount them directly to the radiator by using hooks on the rad pipes. Here's how I made them.

I had this tiny bender I made for a project a few years ago. It was made to create even and repeatable radii in 1/8" rod.

EM520710.JPG


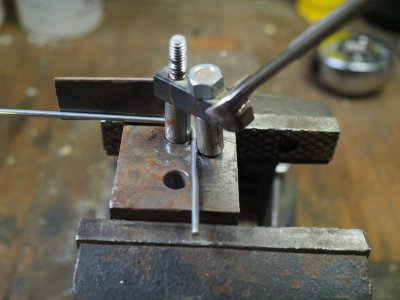
I used 1/8" aluminum welding rod for the hooks.

EM520711.JPG


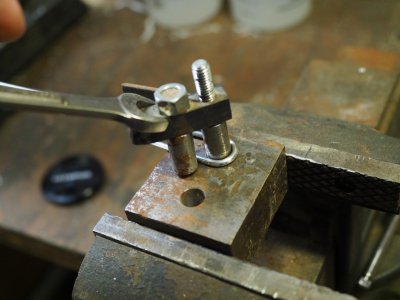
The aluminum can be easily bent by hand or with help from a wrench.

EM520712.JPG


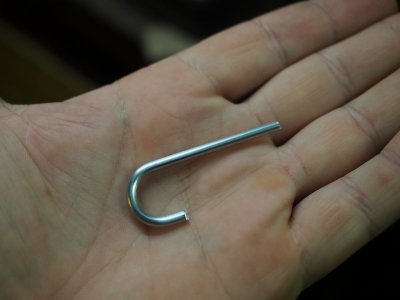
I works quite well!

EM520713.JPG


After the bending is done I trimmed them to length on both ends.

EM520714.JPG


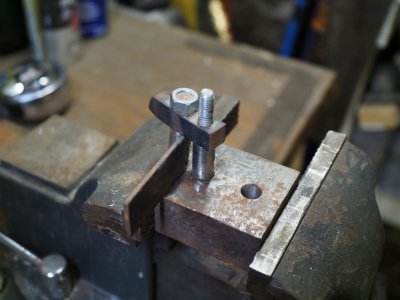
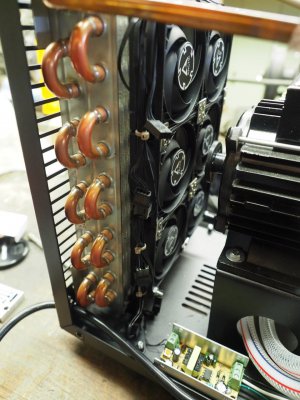
I then clamped each hook in the bench vise and ran a 6-32 die over the long end for about 1/2" of threads. The 1/8" aluminum is slightly bigger than #6 requires but the soft metal threads easily. Now this will hook onto the radiator pipe at 4 locations and the long end passes through the mounting holes in the case fan housing. A 6-32 nut secures the fan housings tightly to the heat exchanger, but be sure not to over tighten and crush the cooling fins.
 
A few days later I got the remaining fans. I made some more tabs to tie them all together.

EM520695.JPG


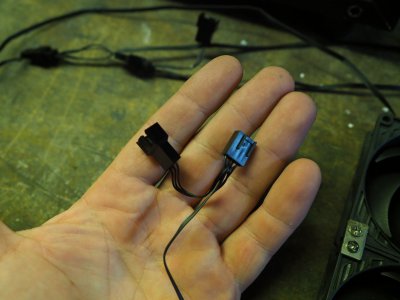
One of the great things about the Arctic fans is the ability to daisy chain them together. The fans that are sold with the "PST" feature have dual plugs so wiring them together is super easy. PST stands for "power sharing technology".

EM520696.JPG


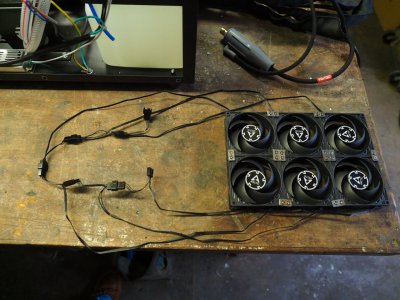
They all just plug into their neighbor and power is supplied to a single plug at the end of the line.

EM520697.JPG


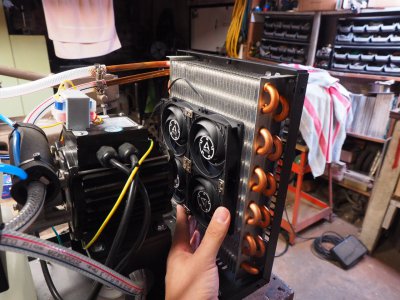
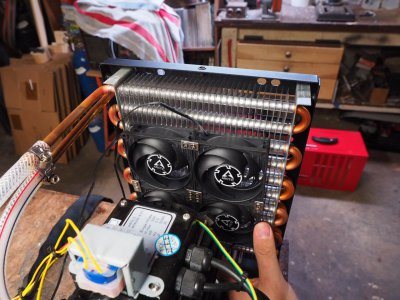
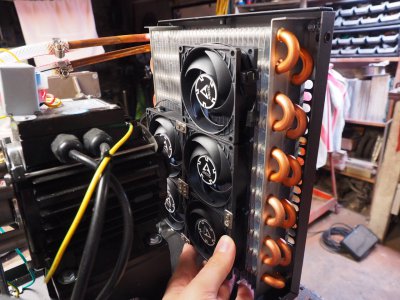
Now to mount the fans! I didn't get a good pic of the mounting hooks but you can just see the lower ones. The threaded portion of the hook sticks through the fan housing and is secured with a nut. There is one hook on each of the 4 corners. Lining them all up was a pain!

EM520698.JPG


The plug on the end of the daisy chain was removed and the wires clamped into the power supply. I chose to cut the plastic plug off from around the pins and used the pins to insert into the power supply. I did this because the wires are very tiny and this gives the clamp a bit more to purchase onto. Alternatively maybe you could just strip the wires back and tin them before inserting.

EM520700.JPG


At this point I did a test. Switch off and plug the cooler into the wall. The fans come on instantly, even with the switch off. D'oh!
 
Never one to shy away from raining on someone's parade, if the goal is low noise, larger fans are always quieter than small ones, and move more air. Two large fans can be made even quieter by running them in series.
 
Last edited:
Thus comes to fruition the earlier foreshadowing.

I realize that I tapped the 12V power supply into the power cord directly, BEFORE the on/off switch! Ugh. Well it's an easy fix.

I cut the wires off from the power cord and taped them up. The shrink wrap is the type with glue inside so removing it would've been a real pain.

EM520702.JPG


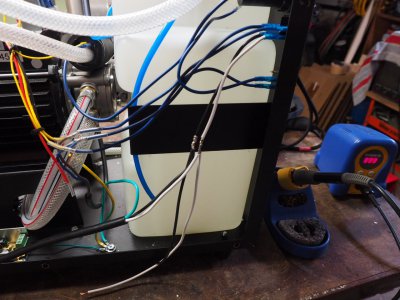
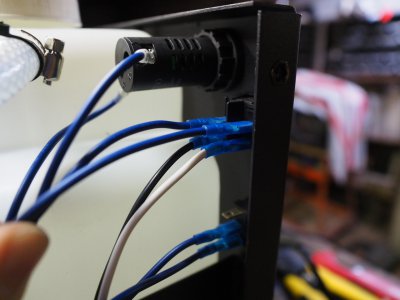
I then soldered the power supply wires to the switched side of the on/off switch. They're the blue ones on top of the black/white ones.

EM520701.JPG


I just made the same type of solder joint. Stripped about 1" of the blue wire, wrapped the other one around the bare section and apply solder. Shrink wrap to finish.

EM520703.JPG


Now it works as intended! Live and learn, right!

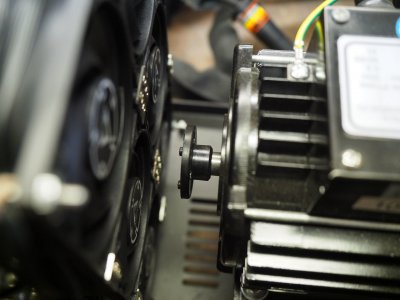
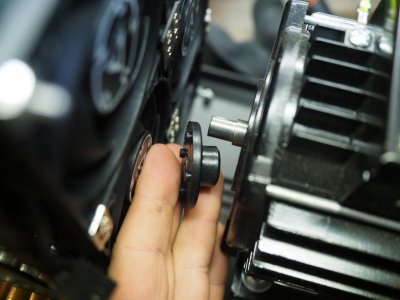
The last thing I did was remove the plastic fan drive hub. Somehow it seems to run slightly quieter with this thing removed.

EM520704.JPG

It pries off easily with a flat screwdriver.

EM520705.JPG


That's it! Here's the fans running. They are almost silent and you can't hear them over the sound of the pump anyway. The air movement seems to be adequate, I can feel a decent breeze out the back of the machine.

EM520707.JPG


I might even consider some sound proofing for the motor/pump. Maybe a little fiberglass insulation on the inside of the sheet metal cover? It would be nice if it were quieter but it's for sure better than it was with the aluminum fan.

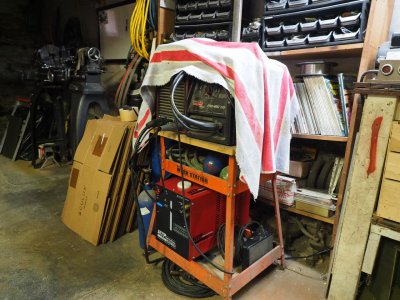
Anyway it fits nicely on a small table beneath my welder. Overall, job done. I'm finally up and welding again!

EM520709.JPG


Thanks for reading! And Happy Thanksgiving!!!!! I'm thankful that this project is done! I'm also thankful for this community, it's wonderful to be a part of it! Keep up the awesome work everyone!
 
Never one to shy away from raining on someone's parade, if the goal is low noise, larger fans are always quieter than small ones. Two large fans can be made even quieter by running them in series.

No worries, man. The fans are super quiet. In fact the pump/motor might've been louder than the original aluminum fan ever was!
 
The cooler on my Miller is pretty loud as well. One time I had to unplug it and was shocked how quiet the welder was in comparison. The noise is all from the pump; the fan only comes on when the water gets warm.
 
Last edited:
Back
Top