- Joined
- Feb 2, 2013
- Messages
- 3,916
A flash of inspiration came over me, this weekend past.
from my mind, came the idea of constructing an ab roller from materials i had laying around.
this is the progression,
enjoy!
I started with hot rolled steel, 3/4" diameter.
the bearings 2) 6303-RS C3, i had chosen them for sheer abundance in my shop.
a 6303-2zz C3 is a double dust shielded (the 2zz part of the part #), C3 precision bearing.
the dimensions: 17mm Id x 47 mm Od x 14mm thick.
I needed to reduce the shaft to 17mm.
here's a video of part of the process
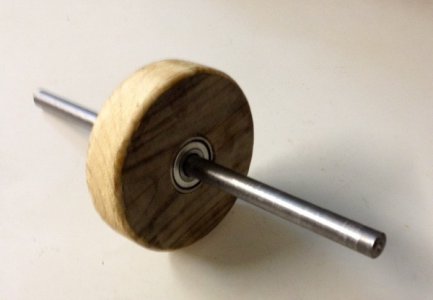
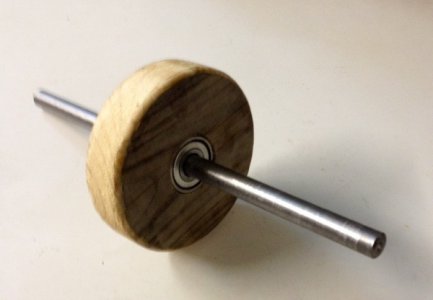
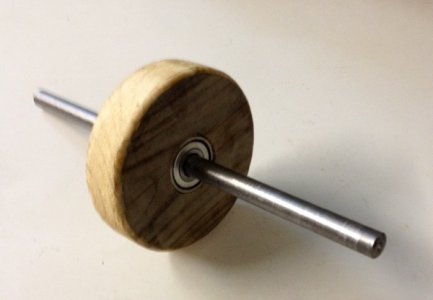
the finished shaft with 2 6303-2zz bearings installed

i made the shaft to exactly 17mm and froze the shaft for a couple hours.
i warmed the bearing to approximately 100*f and banged the bearings on the shaft.
the end result is a strong press fit upon temperature equalization.
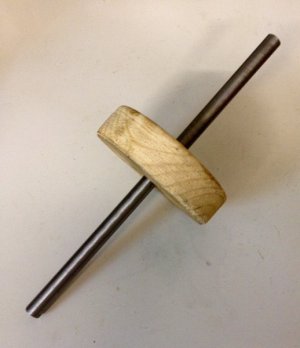
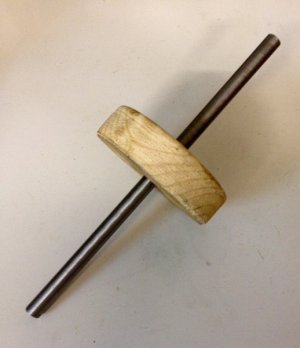
i cut out a 6"rim from scrap 2x8 construction fir with a 6" holesaw.
then milled the stepped center hole with a rotary table on my vertical mill.
i used a 4 flute HSS endmill and a small rotary table to achieve the 47mm bore, to accept the shaft and bearing assembly.
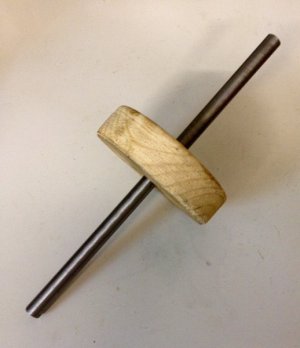
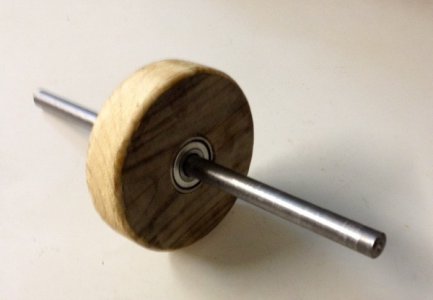
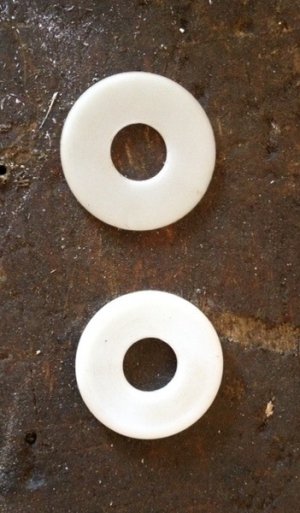
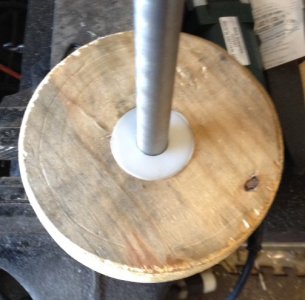
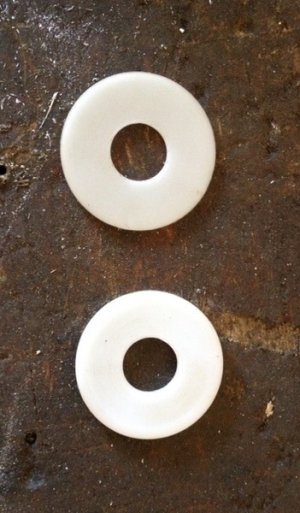
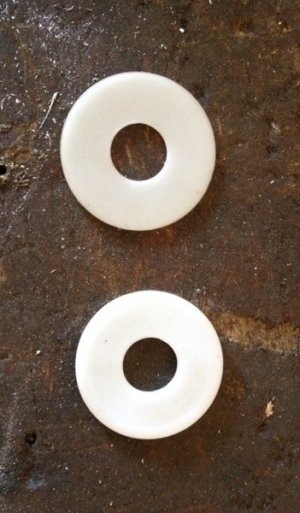
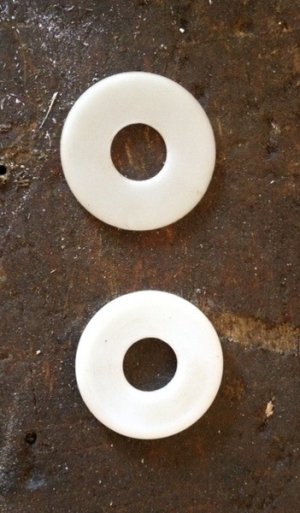
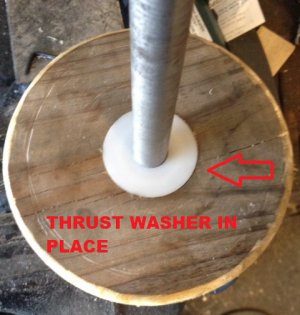
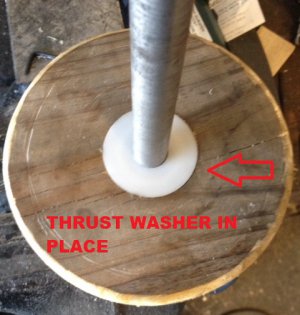
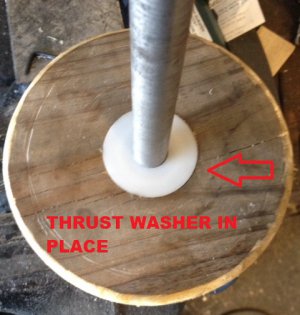
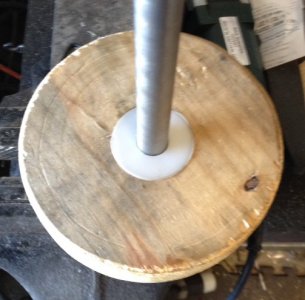
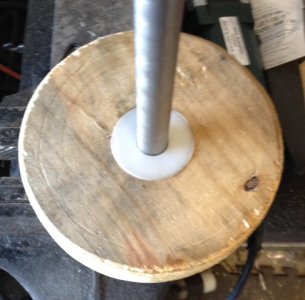
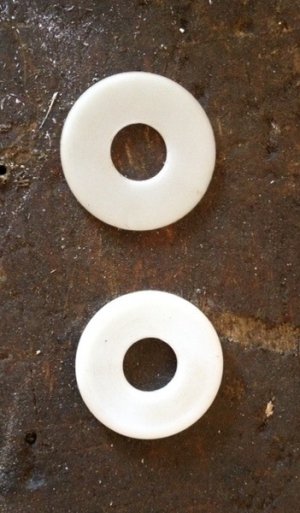
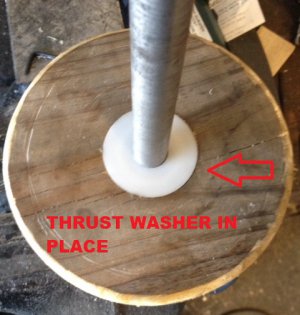
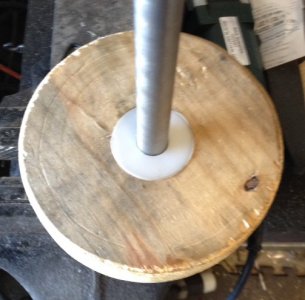
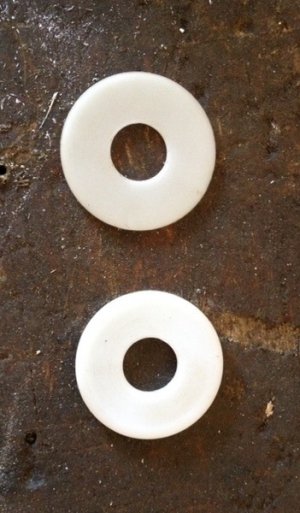
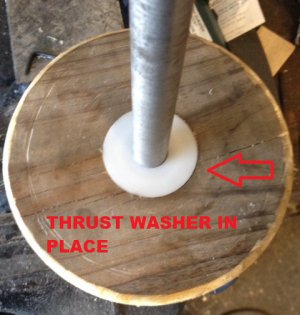
I turned a pair of delrin thrust washers to keep the bearings at zero thrust clearance
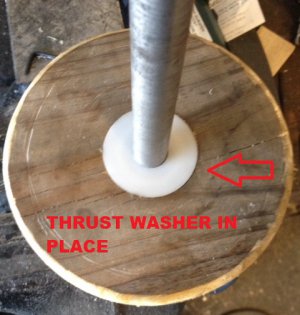
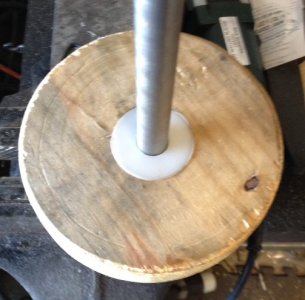
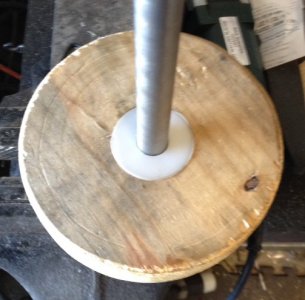
and the opposing side,
i reclaimed a bearing support from a PVC overwrap machine.
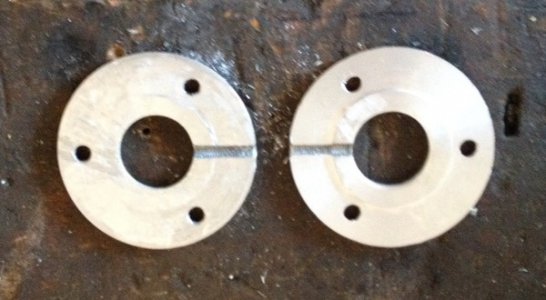
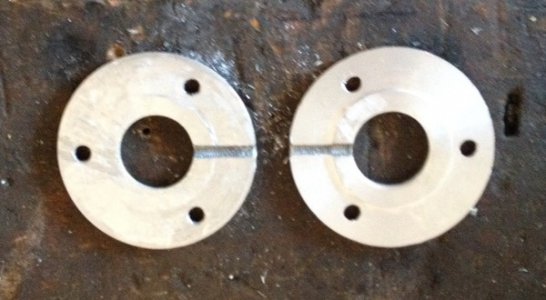
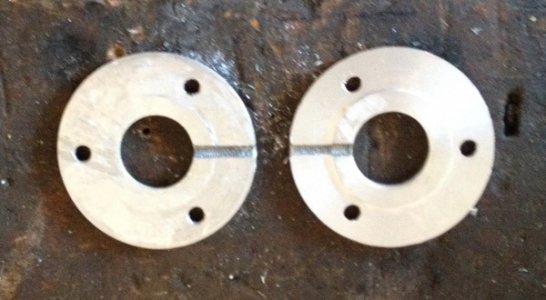
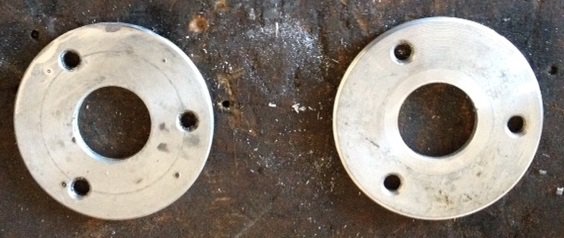
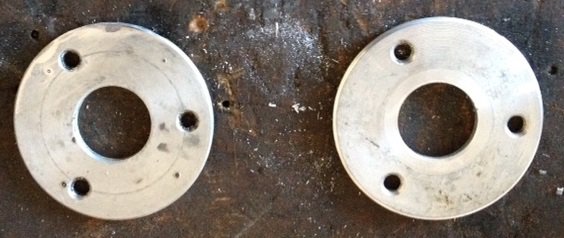
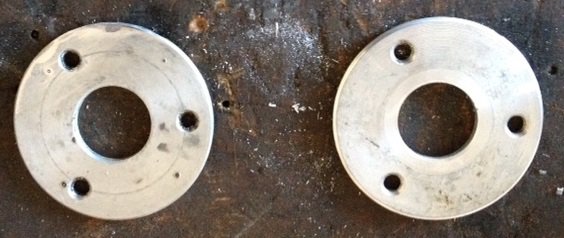
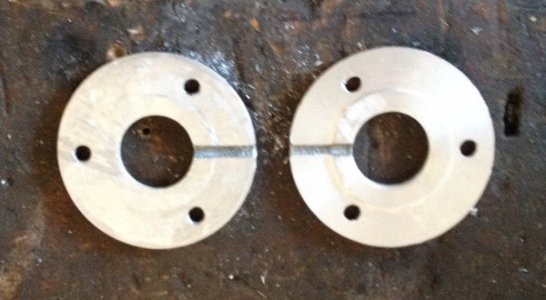
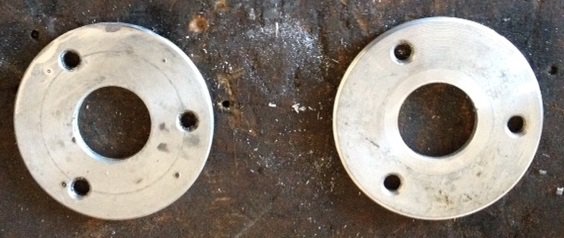
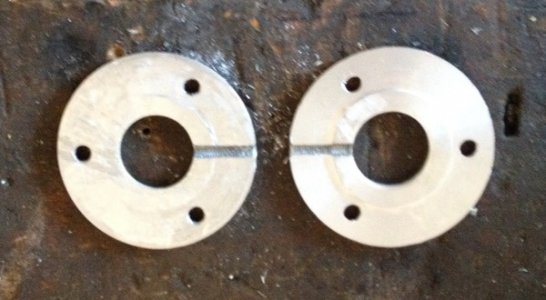
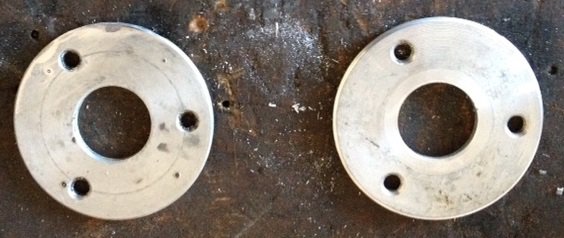
i bisected the flange and turned the 2 halves to make 2 stepped bearing retainers.
here's a couple pictures post bisection of the flange,
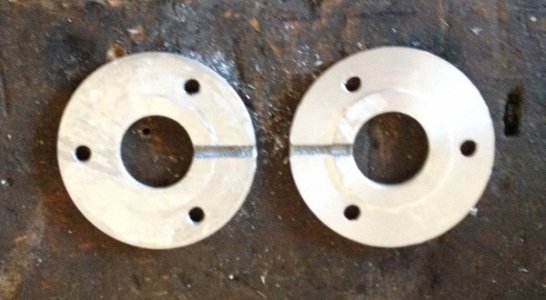
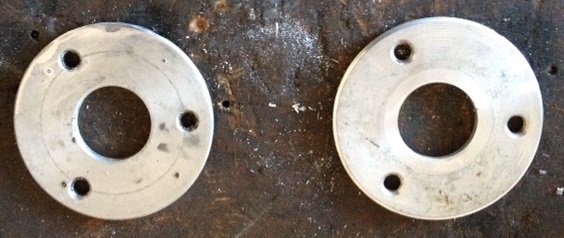
i installed the bearing retainers and secured them with #10 drywall screws.
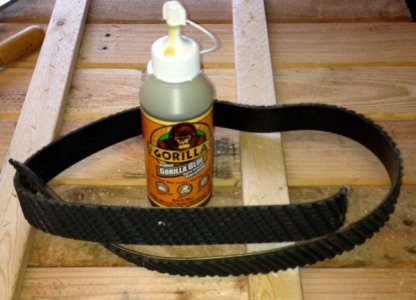
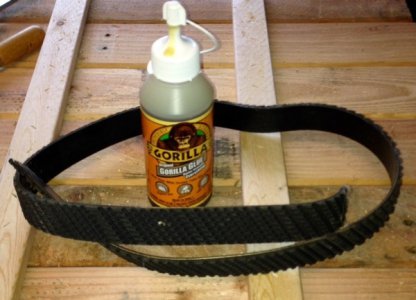
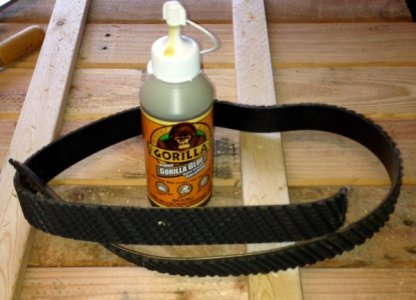
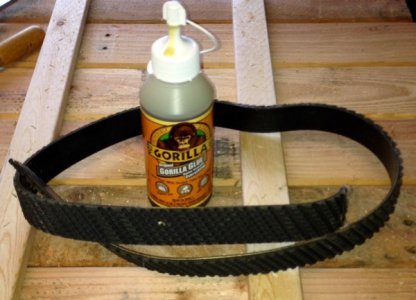
Every rim needs a tire,
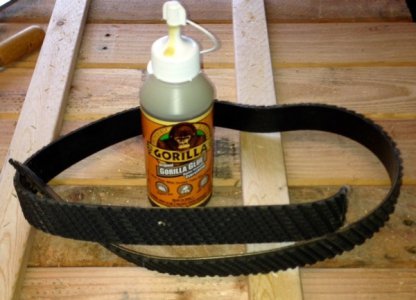
so i thought of a way of doing just that with what i had on hand...
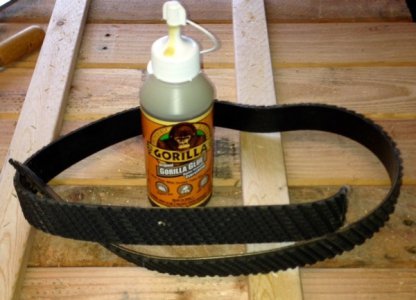
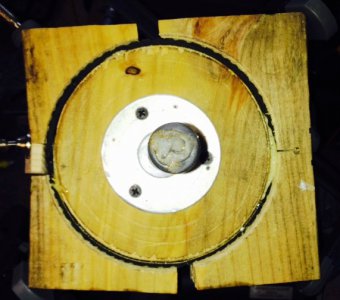
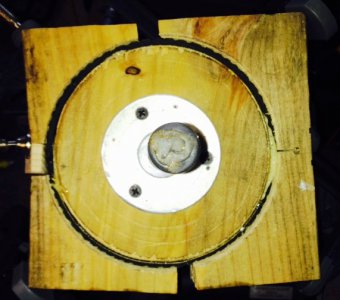
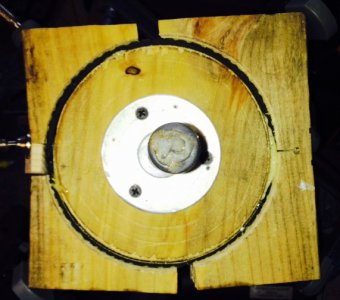
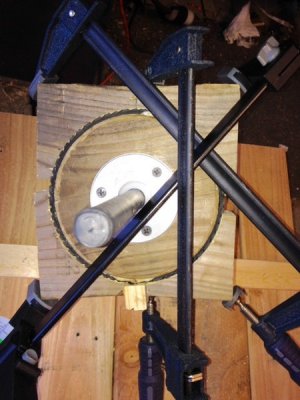
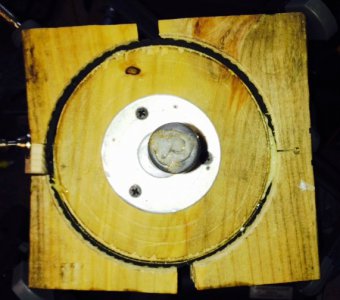
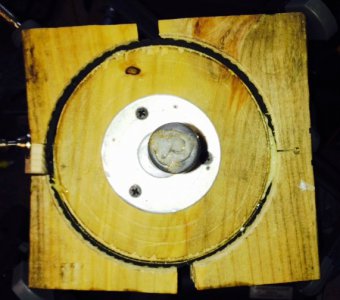
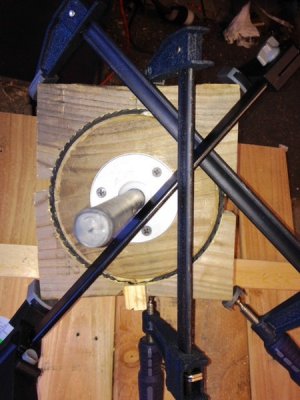
i used the drop from the rim rendering operation as a form to clamp the tire during the glue up
prior to glue up i drove a antique tack into the tread to keep the tread centered.
i also skived and joined the belt ends to make a continuous tire surface.
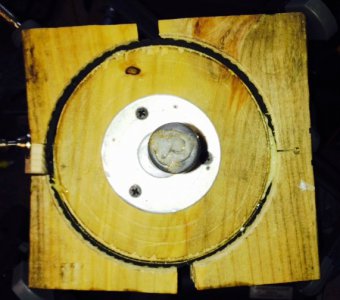
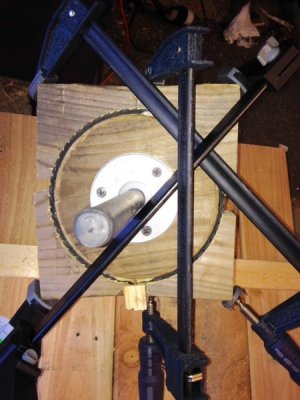
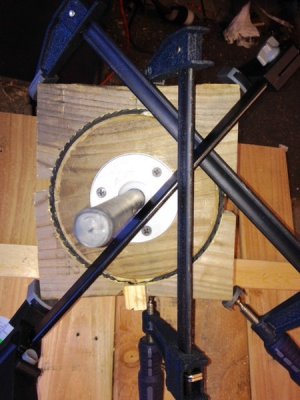
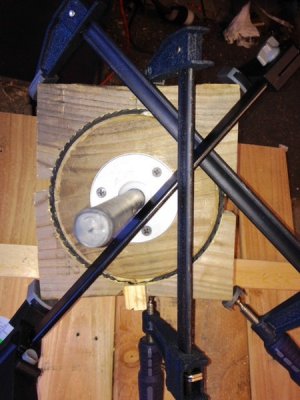
and a shot of the glue up, clamped in the strangest way- but it worked!!!
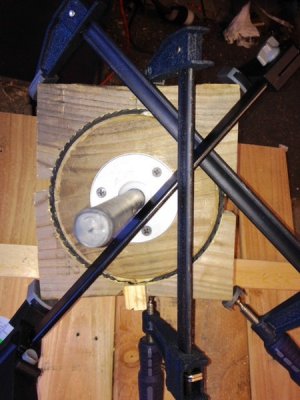
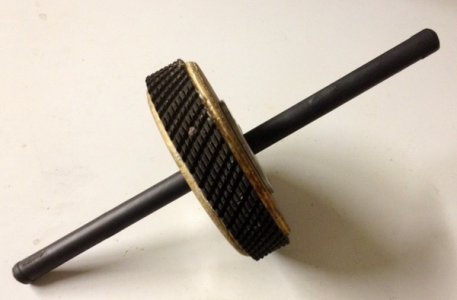
after a 2hr cure the clamps were removed and the tire was ready.
i used 3/4" shrink tubing to cover the hot rolled shaft to give a more finished look.
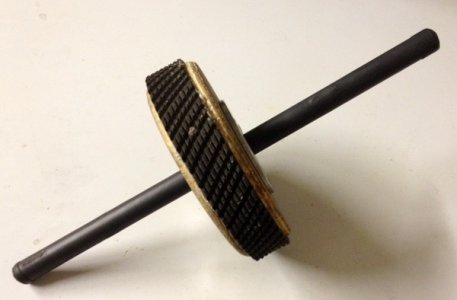
thank you very much for looking!
i hope that these words and images inspire others to do something, out of the ordinary,
whenever possible


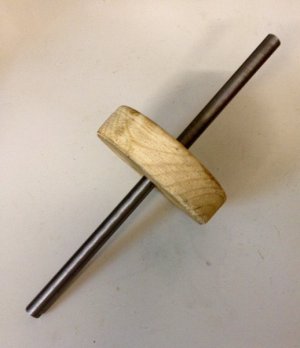
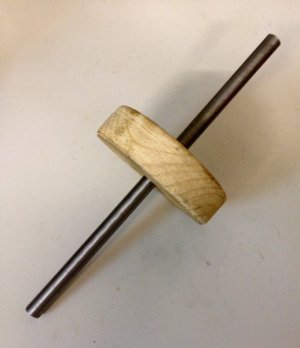

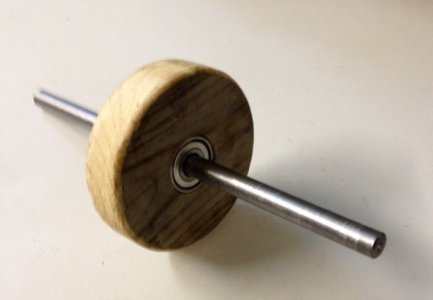
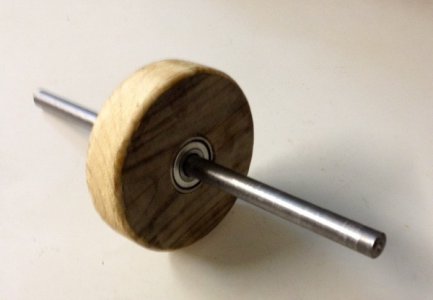
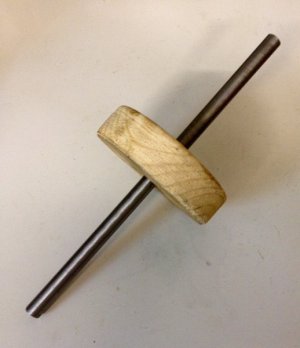
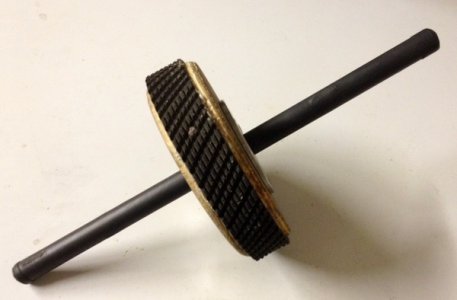


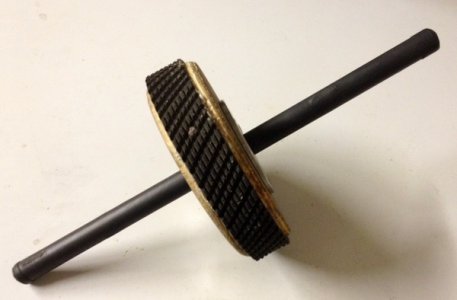
from my mind, came the idea of constructing an ab roller from materials i had laying around.
this is the progression,
enjoy!
I started with hot rolled steel, 3/4" diameter.
the bearings 2) 6303-RS C3, i had chosen them for sheer abundance in my shop.
a 6303-2zz C3 is a double dust shielded (the 2zz part of the part #), C3 precision bearing.
the dimensions: 17mm Id x 47 mm Od x 14mm thick.
I needed to reduce the shaft to 17mm.
here's a video of part of the process
the finished shaft with 2 6303-2zz bearings installed

i made the shaft to exactly 17mm and froze the shaft for a couple hours.
i warmed the bearing to approximately 100*f and banged the bearings on the shaft.
the end result is a strong press fit upon temperature equalization.
i cut out a 6"rim from scrap 2x8 construction fir with a 6" holesaw.
then milled the stepped center hole with a rotary table on my vertical mill.
i used a 4 flute HSS endmill and a small rotary table to achieve the 47mm bore, to accept the shaft and bearing assembly.


I turned a pair of delrin thrust washers to keep the bearings at zero thrust clearance


and the opposing side,

i reclaimed a bearing support from a PVC overwrap machine.
i bisected the flange and turned the 2 halves to make 2 stepped bearing retainers.
here's a couple pictures post bisection of the flange,


i installed the bearing retainers and secured them with #10 drywall screws.
Every rim needs a tire,
so i thought of a way of doing just that with what i had on hand...

i used the drop from the rim rendering operation as a form to clamp the tire during the glue up
prior to glue up i drove a antique tack into the tread to keep the tread centered.
i also skived and joined the belt ends to make a continuous tire surface.

and a shot of the glue up, clamped in the strangest way- but it worked!!!

after a 2hr cure the clamps were removed and the tire was ready.
i used 3/4" shrink tubing to cover the hot rolled shaft to give a more finished look.

thank you very much for looking!
i hope that these words and images inspire others to do something, out of the ordinary,
whenever possible


Last edited:

 Now we need a picture of you using it.


