Home Built Tap Wrench Project

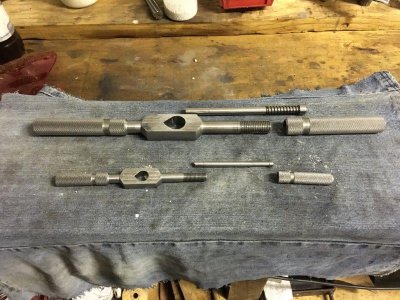
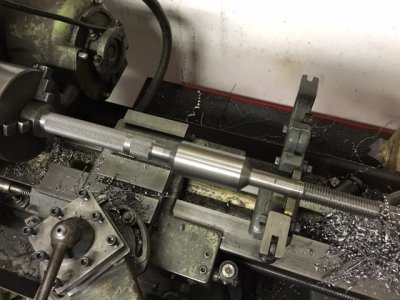
I think it is quite an elegant design (still have to finish it and confirm that it works). Ignoring the spring - which we all have a container full of salvaged from dead devices - it is only three component to manufacture. And the body can be 90% finished in one set up on the lathe.

This evenings progress
IMG_0084.JPG
 
Last edited:
I have two questions. What is the purpose of the spring? How do you make the odd shaped hole for the tap? (I'm guessing the answer to question 2 will be the next episode.)

Thanks

Rich
 
I would assume the apeasiest way to make the fixed jaw shape is with a file.
 
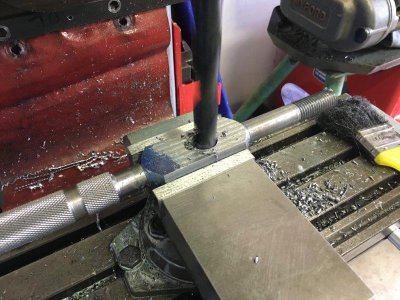
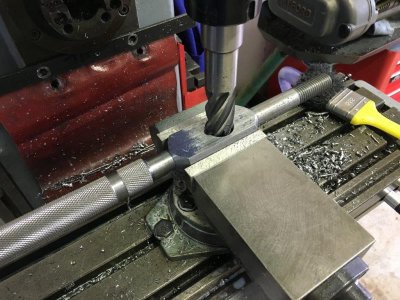
My thinking is drilling a small hole near the 'V' of the fixed jaw, then the big hole, then file out the rest. I have been doing a lot of trigonometry to figure out how far off center the big hole has to be so that a tap shank in the middle of the wrenches range will be on center (as only one jaw moves a larger or smaller shank will be slightly off center - but I want to try and minimize that by making a tap in the middle of the range exactly on center). So my tap wrenches now have a spreadsheet to calculate the dimensions for each size. Once I get the taps finished and refined I will tidied it up and post it with the drawings.
While I'm pretty sure they will work, perfecting them is a balance between strength, weight and leverage.
My main concern at present it they will be too heavy and you will loose the 'feel' of the tap which could lead to breaking smaller taps. Will wait till I have milled flat the middle section which will cut out a lot of weight and see.
 
Thanks for the explanation, seems like a great tool that will be easy to use!
 
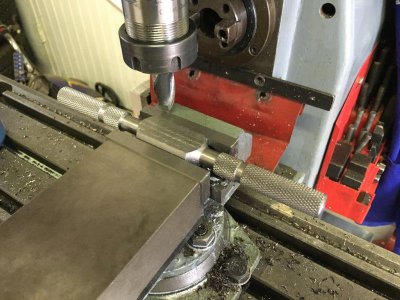
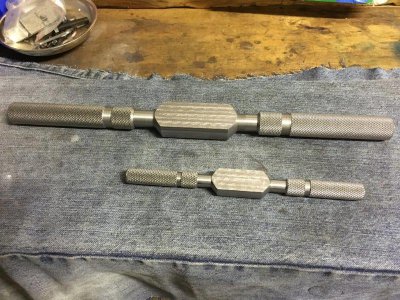
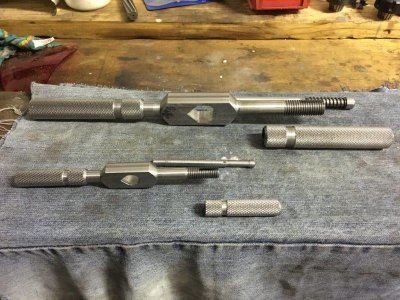
Finished the lathe work for the body and handle of 'big brother' and milled the middle section flat on both today

IMG_0087.jpg

IMG_0088.jpg

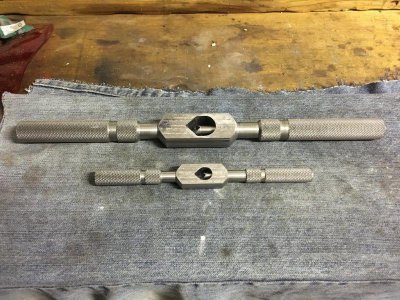
Sorry, didn't put anything in the picture to give an idea of scale - the large one is approx. 380mm long and the small on 230mm. I'm thinking I may need one in between in size and one smaller just to complete the set - but will get these two finished first. Drilling and filing tomorrow.
 
awesome work and you'll have a couple of really lovely tools to use when you're done. As for feel, you'll just hold the handle closer to the tap for the smaller taps to get more feel. that's what I do anyway :) One of my favourite small tap holders is a 0-1/4 Jacobs drill chuck on a 1/2in straight shank. I drilled a cross hole in the shank for a T-bar, but for 4-40 and smaller taps I tend to just hold the shank. Another plus is that the tap will tend to spin if it jams.
 
Drilled out and filed the holes today.
IMG_0107.jpg

IMG_0109.jpg

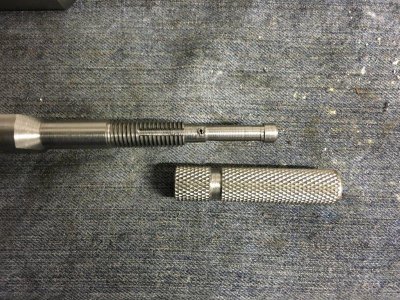
For the larger one I ended up making the plunger with a removable top to allow easy installation of the spring which is captive in a reduced diameter section of the shaft. On the smaller one the spring is only slightly smaller in ID than the shaft so I just stretch the spring on (a bit of a pain to get on and off so I wont put it on again until after the heat treatment). The two piece plunge is a bit more versatile in allowing to size the shaft to whatever spring you have available (as well as easier to get the spring on and off).

IMG_0118.jpg


IMG_0122.jpg

Also milled a small slot in each handle and inserted a pin in the plunger as an anti-rotation measure so the movable jaw stays in line as the plunger is advanced and withdrawn.
IMG_0119.jpg

Nearly complete. Still have to do a little more filing to finish them up and then heat treating of the jaw and the first two will be finished.
IMG_0123.jpg

Ironically, in making these I managed to snap the handle off my die holder - so another one added to the list and I will end up with matching tap and die handles.
 
Last edited:
Back
Top