Help me translate caliper to mill measurements

So what I learned is that from 0-10 (10 divisions) on the z-axis, you get 0.025mm cut - each individual division is 0.0025mm. Also learned the z-axis lock definitely helps! And as for 'why 60 divisions', I have no idea. To further confuse matters, the y-axis dial is 80 divisions, although same graduations.

So I was measuring 3.170, and needed to hit 3.125. That's 0.045, and equals 18 divisions. So I zeroed, turned 18 divisions, made the cut, and ended up with 3.120! \o/ Pretty sure the 0.005 difference was due to vise jaw lift, and either way, this is well within my expectations, especially given my newbieness.

The x- & y-axis dials are set with the same divisions, so now I just need to take the time to properly calculate my x and y cuts (match divisions vs. measurements), and I should be good to go! (also discovered I do not have a calculator, at least one I can find...)

Thanks everyone for the input, lots of lessons still to learn...

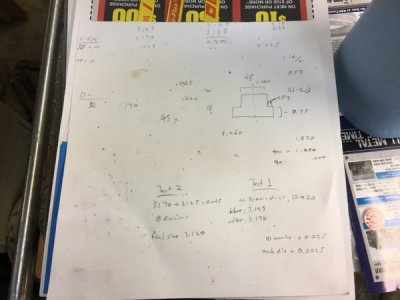
Scribbled notes
Need to be a little more systematic with my measurements... :)
2018-03-08 21.57.21.jpg

Really need to learn to apply my z-axis learnings to the y-axis :D
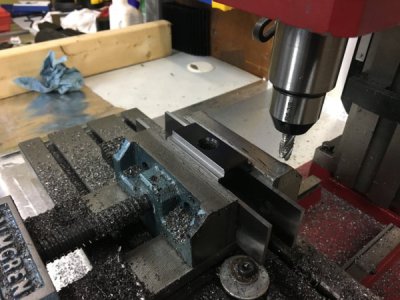
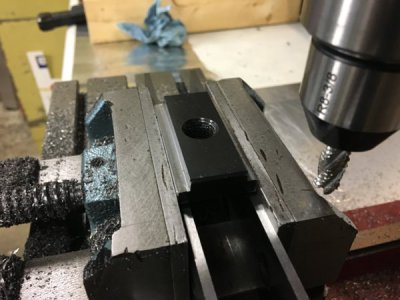
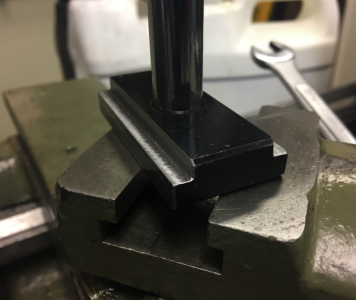
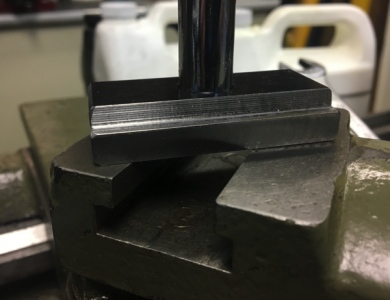
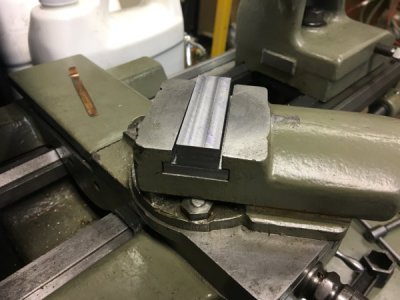
This is the part I have been working on - T-nut for my new AXA toolpost. Pretty sure I'll have to re-do it...but I think to start it should work. Still needs the threaded hole in the middle.
2018-03-08 21.57.25.jpg
 
So what I learned is that from 0-10 (10 divisions) on the z-axis, you get 0.025mm cut - each individual division is 0.0025mm. Also learned the z-axis lock definitely helps! And as for 'why 60 divisions', I have no idea. To further confuse matters, the y-axis dial is 80 divisions, although same graduations.

So I was measuring 3.170, and needed to hit 3.125. That's 0.045, and equals 18 divisions. So I zeroed, turned 18 divisions, made the cut, and ended up with 3.120! \o/ Pretty sure the 0.005 difference was due to vise jaw lift, and either way, this is well within my expectations, especially given my newbieness.

Chris,

FWIW, you’re off by one decimal place.
3.170 cm - 3.125 cm = 0.045 cm = 0.45 mm
Each division on the dial = 0.025mm as marked, not 0.0025mm.

Find that calculator. ;)

Tom
 
Hahaha dagnabbit!! Thank you!!!! Ok, that starts to make sense of everything. I'm going to write up a chart to put on the wall next to the mill so I can easily figure stuff out. Plus have a calculator and pad of paper.... :)
 
Hahaha dagnabbit!! Thank you!!!! Ok, that starts to make sense of everything. I'm going to write up a chart to put on the wall next to the mill so I can easily figure stuff out. Plus have a calculator and pad of paper.... :)


I thought that was the whole allure of the metric system.....easy...LOL
Don't feel bad plenty of us US guys get the decimal in the wrong place on occasion too.
 
After discovering that I do not have the necessary tap/drill combo to actually finish this part, I went back and re-cut the original t-nut blank they sent me. This time got it much closer - should have it finished in the next few days, woohoo!

I have a method now for dealing with moving specific distances, but it's rather slow and prone to error if I'm interrupted whilst counting, haha. (probably why DROs are so popular :) )

Regardless, it helped me get to within 0.010cm (4 thou) - and previously I managed to hit 0.005cm (2 thou). I think, given patience and time (one of which I'm usually short ;) ), I can probably get it to within 0.0025cm (1 thou).

\o/

2018-03-12 07.25.52.jpg
2018-03-12 07.25.57.jpg
 
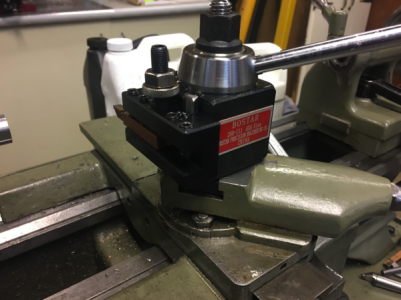
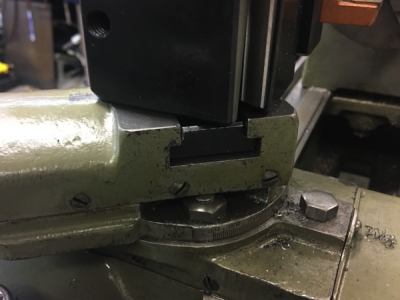
Looks nice. Does not need to be super accurate, but why not? A common mistake with making t-slot nuts is leaving the center portion too tall. Make sure that when the t-nut is pulled up by the tool post bolt that it is still well below the top of the compound rest. If that happens, nothing is holding your tool post down, and it will cause all sorts of problems by being loose. Simple thing, but it needs to be correct. I like to look along the length of the top of the t-nut after installation and tightening and make sure I see daylight between t-nut and tool post, and a bit extra space in case there happens to be swarf in the gap sometime when you tighten it down.
 
Ohp. My post got nuked in the backup-splosion.

Anyways, we're done here! There is plenty of space below the toolpost - the supplied t-nut blank was about 1/8" short of my existing t-nut height. I tested it out, works excellent, was a great first project. The next item will be some vise clamps.

Thanks everyone!

mill-lathe_tnut_project1.png

mill-lathe_tnut_project2.png

mill-lathe_tnut_project3.png

mill-lathe_tnut_project4.png
 
Back
Top