Heavy 10 project

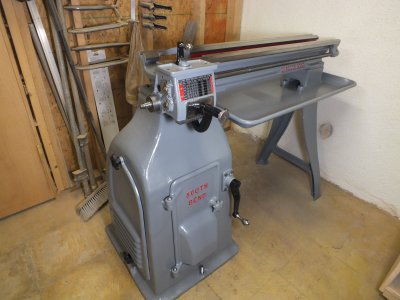
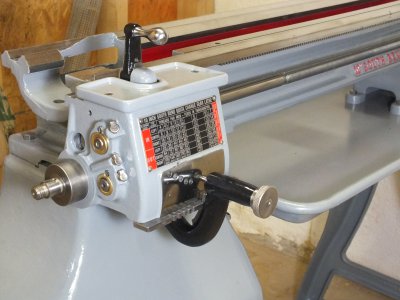
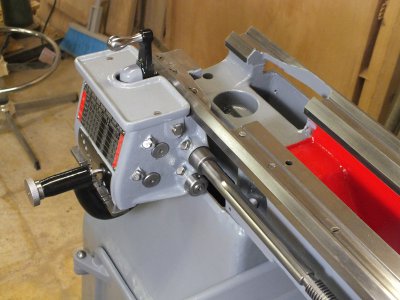
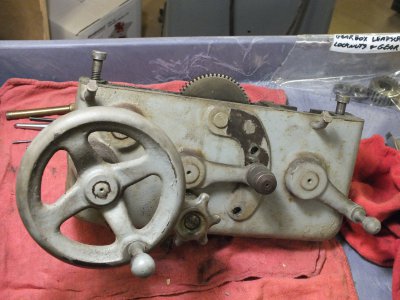
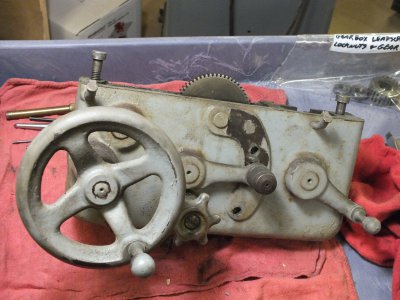
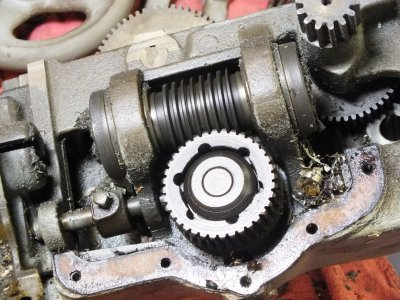
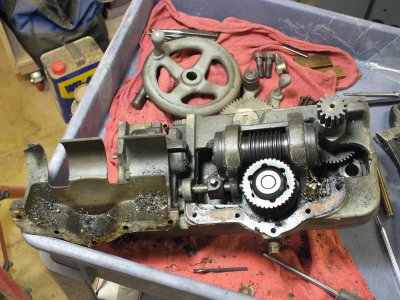
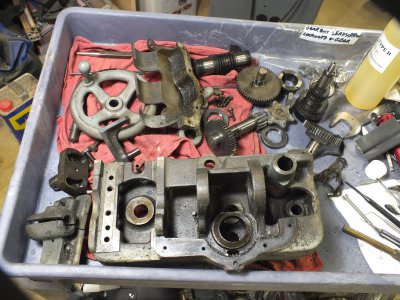
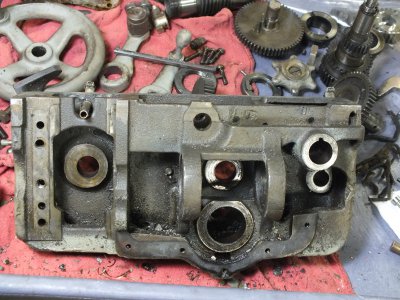
finished gearbox 020.JPG finished gearbox 021.JPG finished gearbox 022.JPG finished gearbox 023.JPG This is the completed gear box installed on the lathe temporarily, I will have to remove it to install the apron when that is completed and then install the lead screw jam nuts. It's starting to look like a lathe again! Also here's a pic of the next victom to go on the operating table for a little cosmetic surgery and some physical work too! The very dirty apron, it will get the same treatment.
 
Last edited:
Greg,

I think your work is fabulous. You have really cleaned every micron of that lathe and it looks better than factory. Nice accent color (Black) on handles, etc... Thanks for the show!

Question,
you mentioned how smoothly the gearbox is operating now...... did you replace any bushings, bearings?

Thanks for the kind words! I'm glad you are enjoying my pics! I think that how I am refurbing this lathe is a little different than how some might do it, but it shows there are many ways to do something. I am doing this for low dollars and lots of elbow grease, it's a labor of love. No bushings or bearings needed to be replaced, no wear grooves or scoring, just a good cleaning and lubricating as it sat for years, and reassembled with the proper oil. I also removed and replaced all the oiling wicks as they where hard and packed with crud. The cool thing about doing a project like this is I will know every single piece of this lathe when it's done and that will make operating it and maintenance easier.
 
I'm working on my 65' heavy 10. Got the countershaft assembly finished and working on the Steel cabinet now. Next will be the gearbox - it is a double tumbler style. I can wiggle the leadscrew quite a bit and it wobbles (I think) within the gearbox bore. This has me thinking it is wallowed out.....but it is a long leadscrew that extends 36+ inches from a casting, so this type of play may me normal. I suppose I can only really tell once I get into it and clean, inspect.

What wicks / felt sizes and types are you using? Or did you go with the SB heavy 10 kit from ebay?
 
May I offer my congratulations, and praise, for your work on that Heavy - very, very nice! And this come from a guy that KNOWS what an undertaking a project like that can be, and yet at the same time be such a blast!

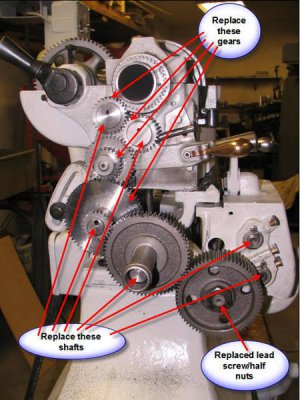
Last summer/fall I did a 1942 Heavy 10, it was in much, much worse condition than yours and I spent quite a bit more money on it than looks like what you will be in to yours. But, in a lot of ways I'm kinda glad it was so bad, I learned, and did, stuff that I never thought I would have - or could have! (I learned to cut all my gears and shafts)

Heres a hint at what I had to do --and a link to my photobucket site with a bunch of other pics you might like

http://s22.photobucket.com/albums/b301/pace1980/South%20Bend%20Heavy%2010/#!cpZZ2QQtppZZ20

Gearshaftsreplacesnag-it.jpg

Gearshaftsreplacesnag-it.jpg
 
I'm working on my 65' heavy 10. Got the countershaft assembly finished and working on the Steel cabinet now. Next will be the gearbox - it is a double tumbler style. I can wiggle the leadscrew quite a bit and it wobbles (I think) within the gearbox bore. This has me thinking it is wallowed out.....but it is a long leadscrew that extends 36+ inches from a casting, so this type of play may me normal. I suppose I can only really tell once I get into it and clean, inspect.

What wicks / felt sizes and types are you using? Or did you go with the SB heavy 10 kit from ebay?
I bought the rebuild kit and the book of ebay and I highly recommend them. The kit is high quality and includes everything you will need. The book is excellent also and explains everything as far as proper order and how to disassemble and reassemble without damaging anything. The book has step by step photo's and is well written in easy terms to understand.
 
May I offer my congratulations, and praise, for your work on that Heavy - very, very nice! And this come from a guy that KNOWS what an undertaking a project like that can be, and yet at the same time be such a blast!

Last summer/fall I did a 1942 Heavy 10, it was in much, much worse condition than yours and I spent quite a bit more money on it than looks like what you will be in to yours. But, in a lot of ways I'm kinda glad it was so bad, I learned, and did, stuff that I never thought I would have - or could have! (I learned to cut all my gears and shafts)
Thank you for posting the link to your pics, I enjoyed them. I did read your thread and all the trials and tribulations you went through, and it inspired me. Restoring one of these is a labor of love, I am enjoying the project and look forward to the day that I can use it and get it dirty. They say that their only new once, but I think the people that restore them make them new again! Great job on yours too!
 
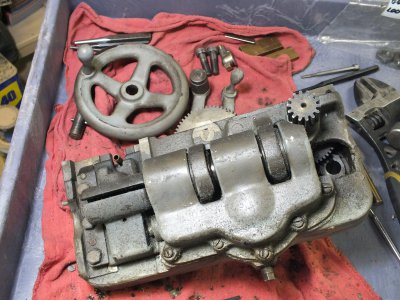
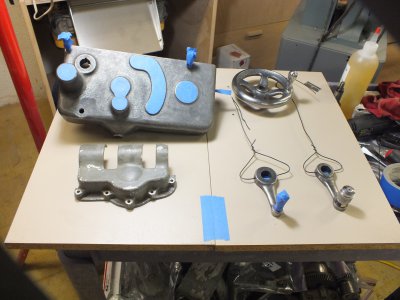
finished gearbox 023.JPG Apron teardown n clean 001.JPG Apron teardown n clean 002.JPG Apron teardown n clean 003.JPG Apron teardown n clean 004.JPG Apron teardown n clean 005.JPG Apron teardown n clean 006.JPG Just so you guys don't think that I have been slacking, I have been working on the lathe when I can. Work has been just insane lately since I got back, working a full time job and a part time job takes a lot out of me sometimes but I gotta take it when I can. Here's some pics of what I have gotten done so far. Started with a dirty apron assembly and stripped it for a trip to the parts washer to clean it with wire brushes for a better inspection of the parts. The sump had some chips in it as expected but not to bad. I have seen some guys sumps just packed with crud! Everything looked real good and no surprises so I wire wheeled all the paint off and buffed up the handles in preperation for painting. got everything all masked off too. I did get the first coat of paint on today, hope to have some more pics next weekend!
 
Last edited:
Greg,

Don't think anyone who refurbishes a SB is a slacker.....too many parts.....haha. Looking good.
 
You are doing great. I never would of thought how addictive the stuff could be lol
 
Back
Top