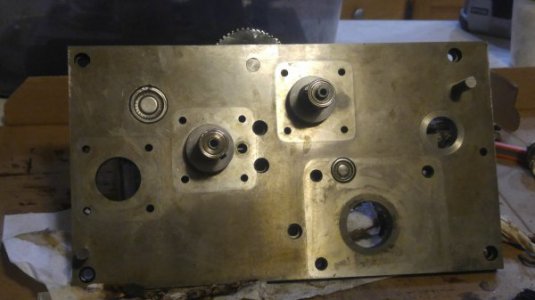
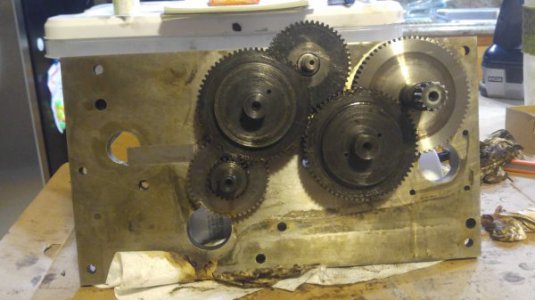
Hardinge Hlv (early Model - Ca 1950 - S/n 102) Restoration

The fact that it was built in ~1950 further deepens how truly old this machine really is to me -- I was born in 1950!
 
I find that I do OK at big projects like this if I just treat it as hundreds of small projects, with my goal being to do the logistics of keeping everything organized so it makes sense to me later -- and so it all gets done. I need to force myself to get started with the most difficult and time consuming portions early on and stick with them so they can be ready when all the easy stuff is done and waiting. Lots of photos, a few drawings of confusing things, and little bags and boxes for keeping things organized and identifiable really help later on after memory has faded some. Written lists are also important to keep track of parts and supplies so they can be on hand when needed. I also find it imperative to understand how everything works and how it works together with the other components. It is really difficult to repair, recondition, or even operate something that I don't know how it works...
 
Indeed, that's how I'm going about it. Ziploc baggies for all small parts labeled for pre and post-clean processes. Big snap-loc storage containers for dipping and storage of parts like the apron and so forth.

Lists and lists of things:
dimensions of parts
gear assemblies and gear knowledge
missing or busted parts
parts that I need dimensions for to replicate
tools I need to make

For example:
can someone tell me the "new" dimensions on the 3-jaw chuck dog setscrew non-threaded boss? All the little spindle driving dog setscrews on the chucks, faceplates and so forth have been busted off at some point in time, and shoddy replacements were made, so I have no idea what the actual dimension were or need to be ( diameter, length of non-threaded portion, and OAL of set-screw unit).

In reality, I suppose that it doesn't matter too too much as long as it works properly; but again, I'd like to put it back to as new as possible condition, and if someone has the time and ambition to get some dimensions for me that has the same type of spindle nose / part, that'd be super.

The clutches are interesting mechanisms. Looks like they assembled it in place, as opposed to as a unit, as there are some pinholes for a spanner on the back face (interior of the apron) of the gear for each clutch pack.
 
Apron progress:

Bearings in "outer" apron assembly:
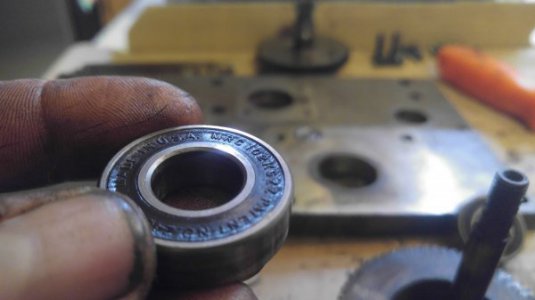
(Qty 2 - $21.96 ea @ Amazon - MRC): Torrington MRC 102KSZZ - Long and Cross feed clutch assemblies
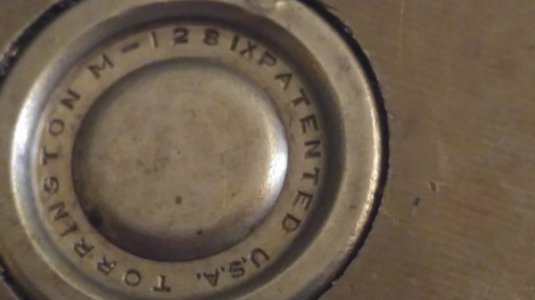
(Qty 1 - $39.26 ea @ Amazon - Koyo): Torrington M1281 - closed cup, 90 tooth gear needle roller bearing
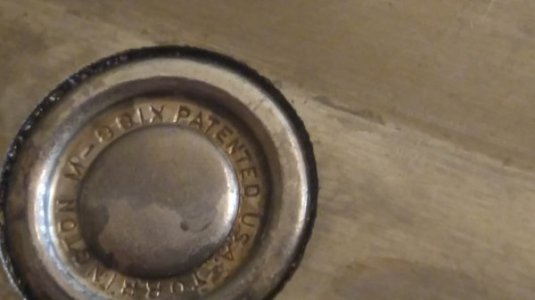
(Qty 1 - $5.51 ea @ Amazon - Koyo): Torrington M881 - closed cup, power feed mesh gear needle roller bearing

Bearings on gears:
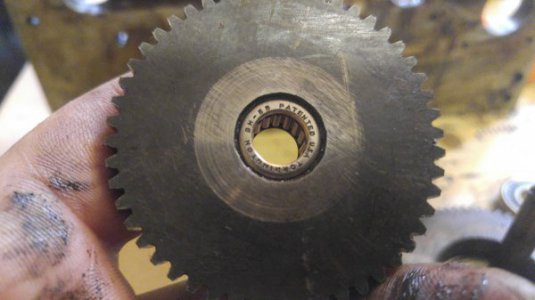
(Qty 1 - $5.01 ea @ Amazon - Koyo): Torrington BH-68 - cross feed gear bearing

The above is just after a general search, so pricing I'm sure will change with time and hunting (and deals).

Anyway, photos of the above:
MRC 102KSZZ
Apron Bearings - Track Down (5).jpg

M1281
Apron Bearings - Track Down (3).jpg
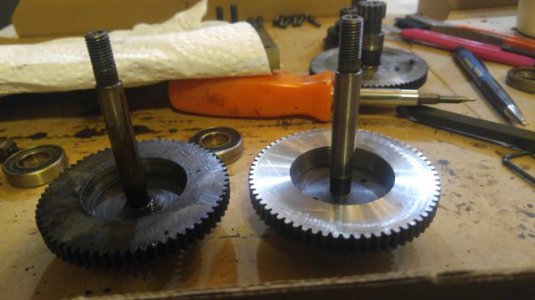
If this were a better picture, you'd see chooch marks at about the 11 o-clock position from someone thinking it was an oil cup or something at some point in time, instead of a sealed end bearing. This bearing is def. shot. and as a result has lead to some wearing on the 14-tooth gear that is attached to the 90 tooth carriage wheel gear.

M881
Apron Bearings - Track Down (2).jpg

BH68
Apron Bearings - Internal - Track Down (3).jpg

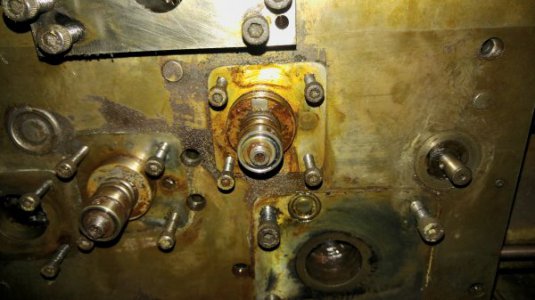
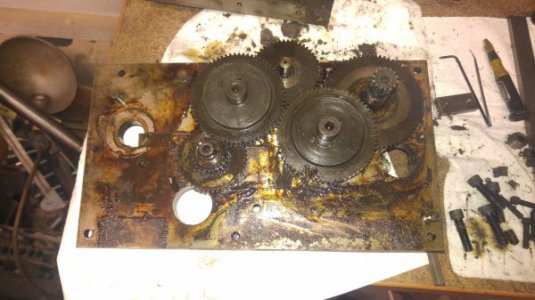
I stripped all the varnish off the front and rear of the apron face, pulled out the entire gearing assembly, checked the current condition of the bearings and gears, disassembled the clutches and interlock plunger assembly, and cleaned the living daylights out of everything. I've still yet to polish the steel to get it prettified.

Reassembled everything for now until I can acquire replacement bearings after cleaning with light coats of 3-n-1 oil just so things stay rust-free and I don't forget where I left off.

As a reminder - varnished up!

Apron - No Handles (1).jpg
Apron Internals (5).jpg

From suck to shiny:
Apron Progress (2).jpg

Cleaned and lubed (for now):

Apron Progress (8).jpg

Apron Progress (10).jpg

There is some wear on the small 14-tooth gear that meshes with the rack that I've lightly touched up / deburred with some fine grit paper and a board. The M1281 and 102KSZZ bearings will need to be replaced. The little M881 and BH68 are seemingly fine though, which is nice.

More to come tomorrow - hopefully the cleaning and reassembly of the clutch actuators. I might possibly get into the back side of the apron as well, but again - cleaning is teeeeeeddddddiiiiioooouuuussss. I may whip up a pseudo parts washer out of found items at some point this week.

Take it easy,
Mike
 
Great project and documentation Mike.
You'll undoubtably enjoy the machine when you get it up and running. I have the younger brother of yours made in 53.
Wonder whats involved with resetting the spindle bearings in the factory? As far as I know mine, serial number 400 was the first that had a user removable spindle.
I used Varsol and a brass brush to remove the crusted lube on mine, lots of it.
The clutches as you've discovered are assembled on the machine and adjusted as required. They operate incredibly smooth and offer a safety device in the fact that they can slip. I found having two separate handles for the longitudinal and cross feed took some getting used to, I'd reach for the wrong one to disengage the movement. With the clutch mechanism you can hold the hand wheel and the clutch will slip avoiding a crash.
I need to make a new pin for my 3 jaw so I'll get you the dimensions. They don't appear to be hardened, probably to act as a shear pin in a crash. I don't expect my dog drive plate has been used much, so should be measurable.
The pinion that engages the rack was damaged on mine, a broken tooth, expect the carriage was bumped with a forklift or something while it spent decades in a warehouse before I got it. I made a new one, machined the old one away then heat shrunk and pinned its replacement on. If yours is worn it may result in a cyclic motion when driving the carriage that might affect the finish when turning. It won't be a true rolling action between the teeth.
I'd intended to add a DRO to mine but after using it found the dials to be so accurate it wasn't necessary. May still do it at some point but its not a priority for now.
Keep up the excellent work and please keep posting.

Greg
 
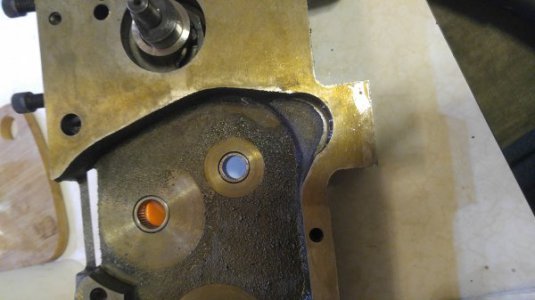
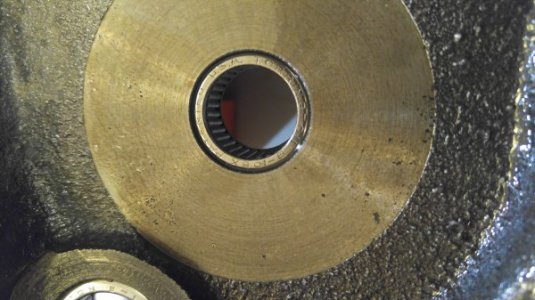
Some more news: started working on the internal apron assembly and jotting down notes of bearings and making sure things are proper.

However,
1) The clutch caged thrust bearings are a pain in the tuckus
2) One of the clutch handle springs is wonked, so I'll have to remake / replace that.
3) The interlock lever pin is busted, so I'll have to remake the pin.

Anyway, bearings:
(Qty 1: $5.01 ea @ Amazon - Koyo): Torrington B-88 (Power feed gear cluster seat bearing)
(Qty 2: $10.84 ea @ Amazon - Koyo GB-108?): Torrington B-108 (Long. and Cross clutch gear seat bearings)
(Qty 1: $7.12 ea @ Amazon - Koyo): Torrington B-128 (Carriage gear seat bearing)

In retrospect, and since everything is apart, I really need to take proper ID, OD and depth measurements, as opposed to just locating the proper Torrington part number and hoping that the Koyo (or whoever) equivalents will work. I imagine they will, but I can't definitively say that.

Anywho, some more bearing pictures:
Caged clutch thrust bearings
(these little dudes are causing me no end of grief, mostly because the cages are shot, and don't hold the balls properly. Anyone know how to specify a cage? I imagine it's by # of balls and diameter of balls and OD of cage, but...)
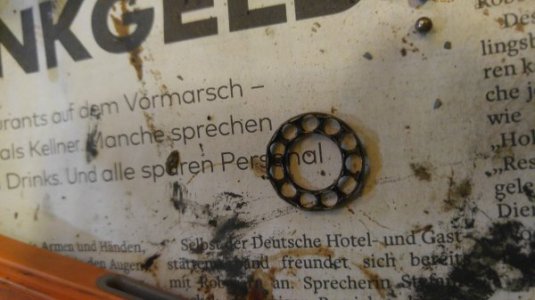
Clutch Caged Bearings (2).jpg
Clutch Caged Bearings (1).jpg
Clutch Caged Bearings (3).jpg

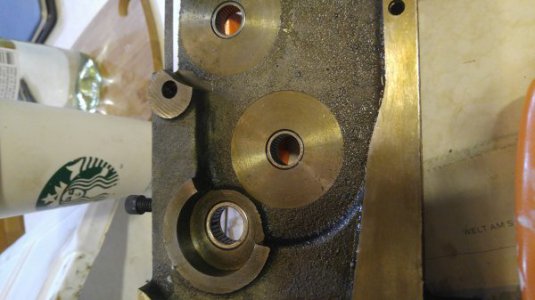
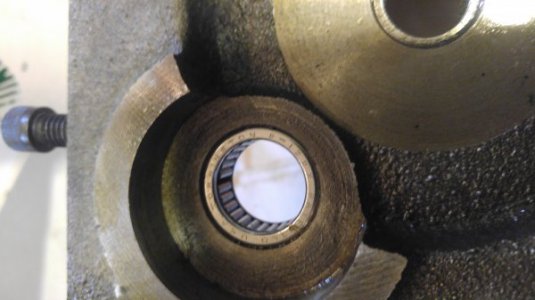
Inner Apron Bearing pictures:

Power Feed shaft bearing:
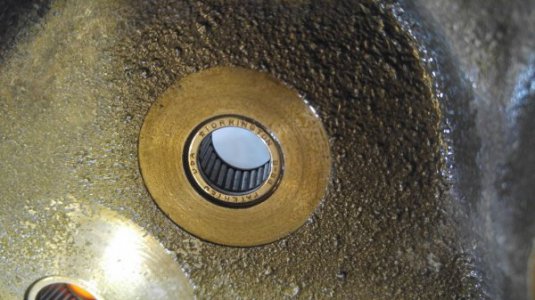
Apron - Internal Bearings (5).jpg
Apron - Internal Bearings (7).jpg

Clutch shaft inner bearing:
Apron - Internal Bearings (8).jpg
Apron - Internal Bearings (13).jpg

Carriage gear inner bearing:
Apron - Internal Bearings (14).jpg
Apron - Internal Bearings (13).jpg

Of course, all these photos are rotated because I didn't hold my phone properly, and there's no rotation feature in this forum software - sorry about that, I'll try to be more diligent in the future.

I'm going to polish everything this evening, and I'll do another round of photos after that again - except it won't be assembled for the remake of the broken / mashed up pieces I have to take care of first.

Question: what lubrication should I be using within the apron, and how much (ounces, pint, etc.) should I use? I see in the later HLV-H manuals that I should be using ATF up to the sight glass, but I have neither a sight glass, nor drain plug and all that jazz, so I'm rather mystified - any help on that front?

Regards,
Mike
 
Last edited:
Nice photos. I know someone who is working on serial number HVL 106. I'll try to find where you are posting because what you are doing is very interesting.
 
I'm still going to post here, I've just been incredibly swamped at work, so I've not had any time to work on the lathe of late. It regretfully hasn't progressed past where I last posted, with one exception ... I removed the outer gear box to begin that tear down and examination. But that's as far as it's gotten. Have to acquire / make some pin spanners when I have some free time so I can properly remove the collars that hold the gears.

Additionally, I'm still trying to research how / if I should remove the spindle to change the belt out, and what exactly that means for an early model HLV (e.g. bearings replacement and so forth). I may just end up going with a segmented belt for the pulley->spindle pulley length. Honestly not sure yet.

Regards,
Mike
 
I have been sourcing most of my bearings, as well as o-rings and seals, from Motion Industries, they have branches all over and will transfer out of stock items from another location to one near you without charge, usually only takes overnight in my experience. Helpful staff, very good prices, high quality stuff, and easy to deal with as well.
 
Back
Top