FTV-1 Head Rebuild

akjeff

H-M Supporter - Gold Member
H-M Supporter Gold Member
Joined
Aug 21, 2020
Messages
706
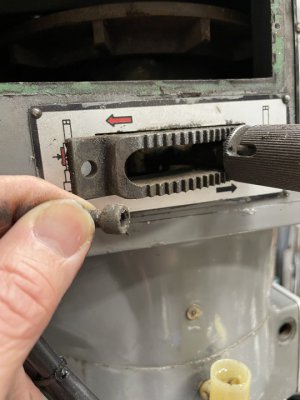
Was running the mill last Sunday, and started hearing an unusual rattle, and immediately shut it down. While looking it over, found the serrated plate for the brake lock, was completely loose, with both screw holes empty! Fished around with a magnet for half an hour, and lucked into one of the M4 cap screws, but no joy locating screw number two. No choice but to start taking the head apart and either A.) Find screw number two, or B.) Confirm it's not inside, and fell out at some point in the past 44 years of it's life. As it turned out, it was option B, but there was only one way to find out. Really wasn't as bad a job as I thought it would be, and when I got stuck a couple of times, Carmen at Lagun was kind enough to talk me through. My mill is so old the main cover casting, and the way the tilter plate is attached is different than what's shown in the manual. Another huge help was Barry's( H&W ) youtube videos, as for the most part the mill comes apart very much like a Bridgeport.

Will now give it a thorough deep cleaning, replace the bearings/bushings/belts and send the spindle down to C&M Precision Spindle, and have them replace the bearings and re-grind the R-8 taper piloted off the new bearings. My taper has some flaws/dings that I've wanted gone, so this will be the perfect time to do so. The spindle is the one part of the job that I'm happy to have a pro do. The rest is pretty basic mechanic work.

The cause of this learning opportunity.
IMG_9567.JPG
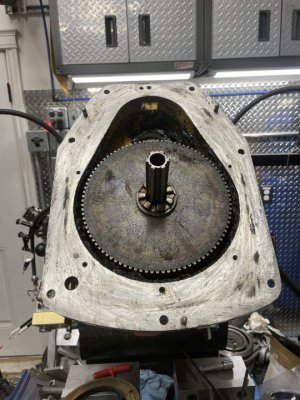
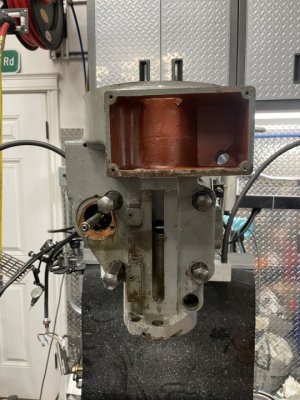
Expected to find the other screw somewhere here in the bull gear housing, as there is a hole big enough for it to fall through, when it is in low range, but found nothing.
IMG_9586.JPG
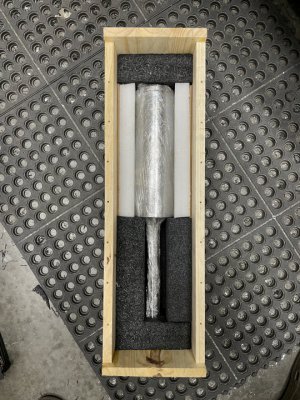
This is where it's at now. Need to make a small crate for the spindle, and start ordering the bearings, etc......
IMG_9611.JPG
 
Gave the quill/spindle assembly a coating of LPS-3, and crated it up for the trip to C&M Precision Spindle in Oregon. They'll replace the bearings, and then grind the R-8 taper to run true in the quill. Still lots of cleaning to do on the other assemblies, and parts to order.
IMG_9630.JPG
 
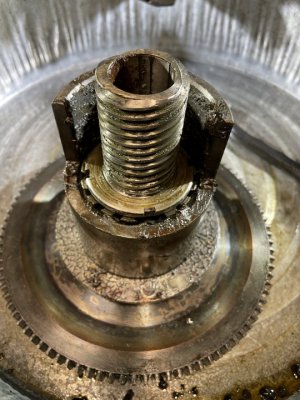
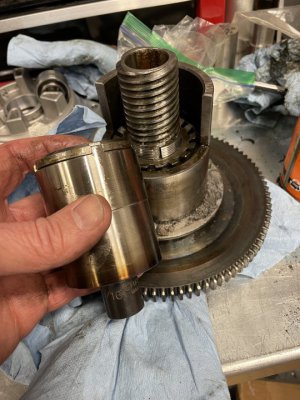
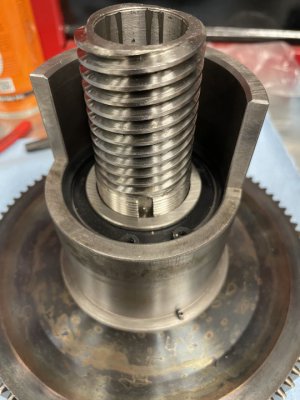
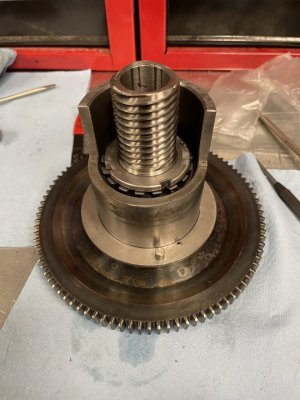
Broke down the large bull gear assembly, for a thorough cleaning and bearing replacement. Had to make a spanner to remove the lock nut that holds the assembly together. That sucker was tight! Needed a rattle gun to break it loose. It has a RH thread, but I was beginning to wonder! The rest came apart without any drama, and is pretty self explanatory. Waiting on the bearings to get here. Spindle made it to C&M in Oregon. Hopefully, they won't find any surprises when they disassemble and inspect it.

Edit to add spanner dimensions, in case any of you need to do this some day. O.D. is 58mm I.D. is 53mm( to the inside of the "teeth". You can leave more meat in the wall of the socket to register on the top of the nut, to help keep it square ). The "teeth" are 5.8mm wide, and 4mm tall. I used a scrap piece of schedule 80 pipe, welded on a top plate, and sacrificed a 1/2" drive socket welded to the plate.
IMG_9633.JPG
IMG_9635.JPG
 
Last edited:
Slowly beginning to reassemble, as parts come in. The NTN 6008 LLB bearings arrived today, so the bull gear assembly was on the bench. Lagun puts theirs together a little differently than Bridgeport.

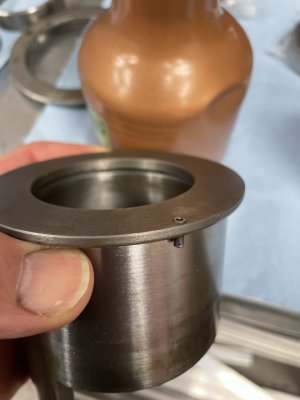
There's a small rolled pin that holds the lifter spring plate in place until it's under pressure. Be sure the back side is peened and can't drop down out of it's hole.
IMG_9667.JPG

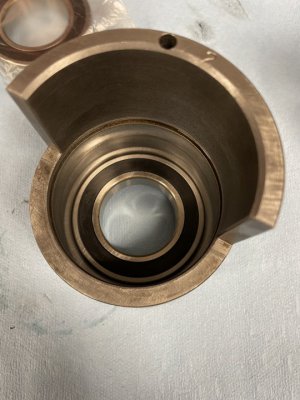
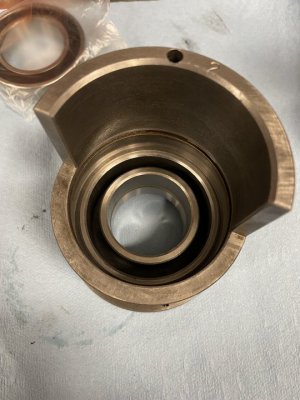
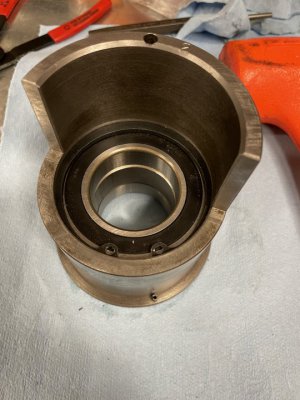
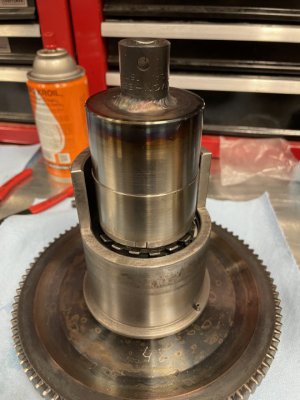
There is a spacer for both the inner and outer bearing races, and they are then retained by a snap ring, so be sure your new bearings are direct replacements. Measure and confirm, then bottom out bearing #1 on the lip of the housing.
IMG_9668.JPG

Then inner and outer race spacers.
IMG_9669.JPG

Followed by the second bearing and snap ring. ( sharp shoulder of snap ring facing up )
IMG_9671.JPG
I'll break this up into multiple posts due to photos.
 
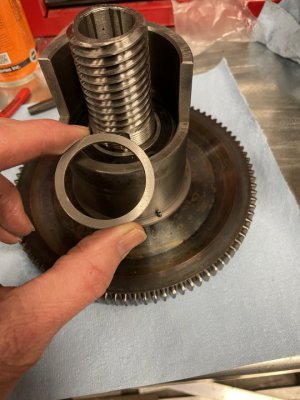
Bearings in place and contained via snap ring, seat the assembly on the gear shaft( that's been pressed into the bull gear, key in place. ) until it seats against the shoulder that stands proud of the gear. Once there, place the ground spacer on the inner race of top bearing.
IMG_9673.JPG
IMG_9674.JPG

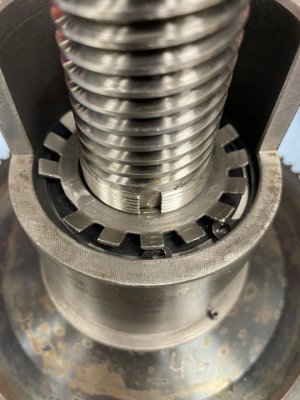
Next is another of the ways that a Lagun differs from a BP. There is a locking tab washer that goes next. The inner locating tab seats in the key slot in the shaft. Note that one of the outer tabs is missing. That is the tab that was used to lock the nut when it was removed. I'm not a fan of reusing such things, so it was removed to eliminate the possibility.
IMG_9675.JPG

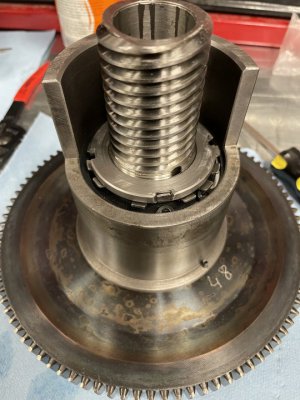
Time for the nut. When I removed it, this sucker was extremely tight. To the point that I had to make a socket spanner and use a rattle gun to break it loose. This seemed odd given that it has the tab washer. So, I talked with Carmen at Lagun( very helpful, very knowledgeable guy ) and asked if it was necessary to torque it to that degree. He said that no it was not, and to simply tighten it firmly, and then continue until one of the tabs lines up with a notch in the nut. Before proceeding further, give it the spin test, to be sure there's no interferences. Then, bend the tab fully into the notch, and give it another spin test.
IMG_9677.JPG
IMG_9678.JPG

Finally, I seated the spring locating ring on the housing, and a final spin test. Large bull gear assembly ready to go.

IMG_9679.JPG
 
Gave the quill/spindle assembly a coating of LPS-3, and crated it up for the trip to C&M Precision Spindle in Oregon. They'll replace the bearings, and then grind the R-8 taper to run true in the quill. Still lots of cleaning to do on the other assemblies, and parts to order.
View attachment 397540
Do you mind sharing the cost for the regrind? I've read online that Wells Index does spindle regrinds in the ~$800 range. Just wondering if this is still true.
 
Do you mind sharing the cost for the regrind? I've read online that Wells Index does spindle regrinds in the ~$800 range. Just wondering if this is still true.
Not at all. C&M has their pricing up front on their web site. I went with the "5-Pack" package, which is a spindle bearing replacement( with an additional pair of bearings replacing the spacer ) followed with an R-8 taper grind with the spindle in my quill. This package is $650. I don't know what they charge for just a taper grind only.

 
Nicely detailed procedure. Thanks!
Thanks mikey. I'll not bore everyone with the entire rebuild, but would like to highlight the parts where a Lagun differs a bit from a BP/clone. Barry, and the gang at H&W did a good job on their youtube channel to give folks the gist of a bulk of the operations.
 
It may not happen right away but one day one of the guys will need this information and because of you, it will be there. Good job!
 
Back
Top