- Joined
- Aug 3, 2017
- Messages
- 2,437
So, I am travelling next week, so I wanted to get to a good stopping point. SO, I worked a TON this afternoon.
First was finishing up the hobber spindle housing. I need a bore for some bearings, plus some holes for the clamp that holds the bearings in place:
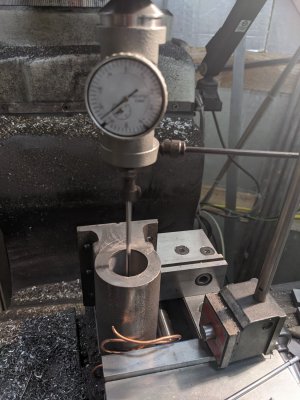
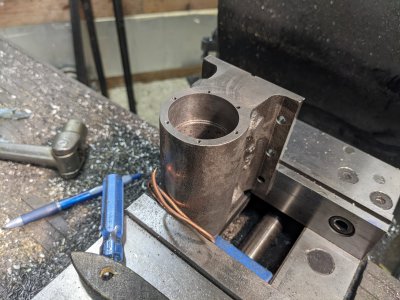
A boring head + the DRO made short work of those things
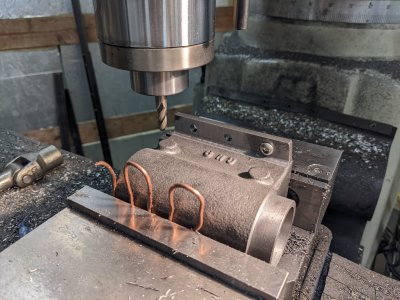
Next, in order to get it to bolt down more nicely, I flattened the mounting flange:
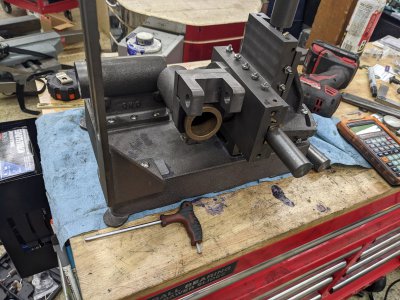
After that, a test fit:
Next,I need a quadrant for the hobber side. I used my fixture plate to flatten it best I could. The dimensions in the plans for thickness weren't possible due to the castings thickness, so I just did my best to get it cleaned up here.
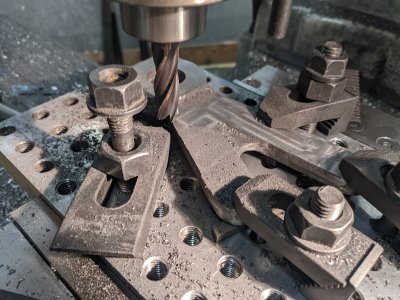
I used the fixture plate for a everything on the part I could, including the big bore. I got a bit of chatter, plus idiot marked my fixture plate, but was able to clean it up enough. The big bore is a touch oversized, but it works out in the end.
Finally, I had to make the clamp, which was a facing op, drill, tap, counter drill, and slitting saw. The setup is a little scary, but I took it easy and had no problems.
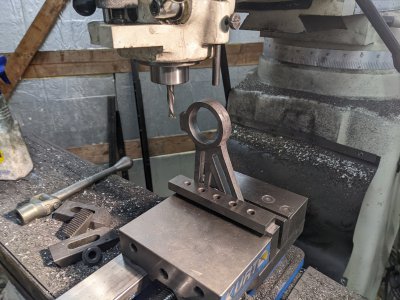
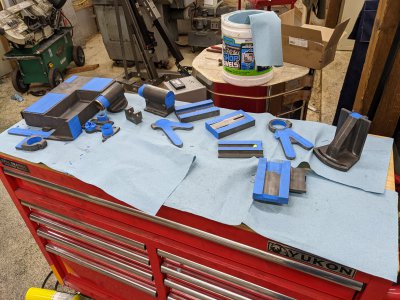
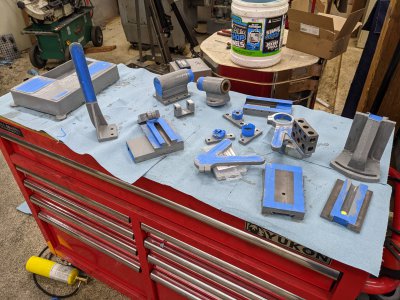
So, that is ALL the castings complete! As far as I know, there are no operations left for those!
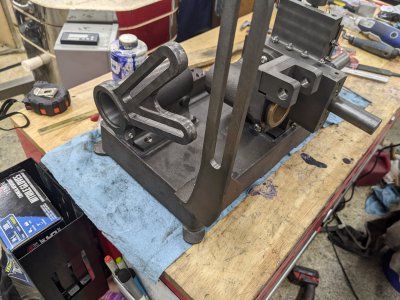
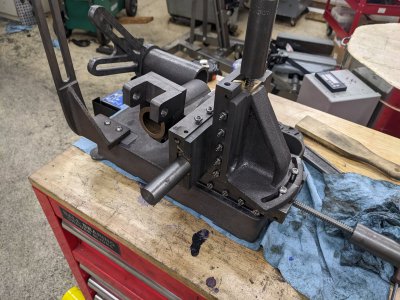
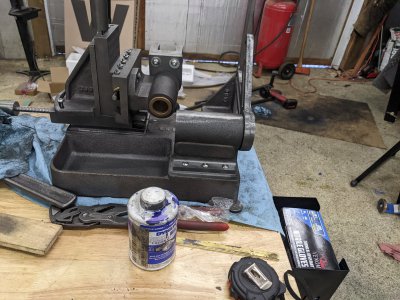
Next I think I'm going to get the lead screws squared away. Off camera,I cut them to length and glued on an extension, so I have to turn those plus everything they goes on it.
After that of course, is the entirety of the drive line, which will obviously be the more time consuming half if this project. I might paint the castings soon though, just to get them protected.
First was finishing up the hobber spindle housing. I need a bore for some bearings, plus some holes for the clamp that holds the bearings in place:


A boring head + the DRO made short work of those things
Next, in order to get it to bolt down more nicely, I flattened the mounting flange:

After that, a test fit:

Next,I need a quadrant for the hobber side. I used my fixture plate to flatten it best I could. The dimensions in the plans for thickness weren't possible due to the castings thickness, so I just did my best to get it cleaned up here.

I used the fixture plate for a everything on the part I could, including the big bore. I got a bit of chatter, plus idiot marked my fixture plate, but was able to clean it up enough. The big bore is a touch oversized, but it works out in the end.
Finally, I had to make the clamp, which was a facing op, drill, tap, counter drill, and slitting saw. The setup is a little scary, but I took it easy and had no problems.

So, that is ALL the castings complete! As far as I know, there are no operations left for those!


Next I think I'm going to get the lead screws squared away. Off camera,I cut them to length and glued on an extension, so I have to turn those plus everything they goes on it.
After that of course, is the entirety of the drive line, which will obviously be the more time consuming half if this project. I might paint the castings soon though, just to get them protected.

