DoAll MP-20 Transformer

TwinDad

Registered
Registered
Joined
May 22, 2018
Messages
15
Hello,

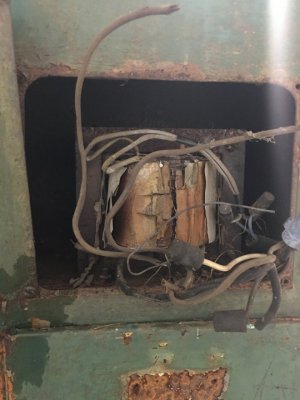
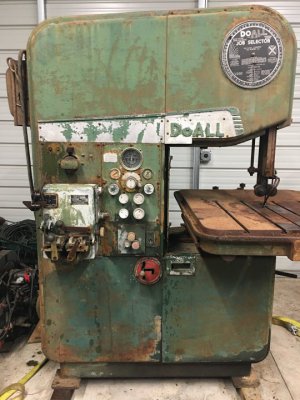
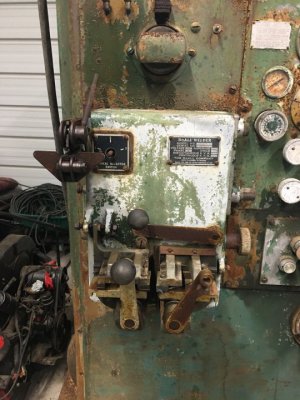
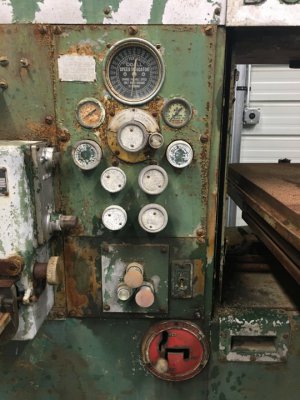
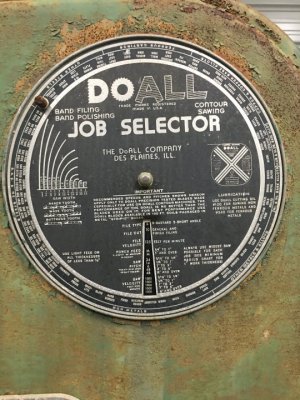
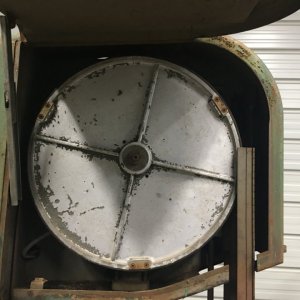
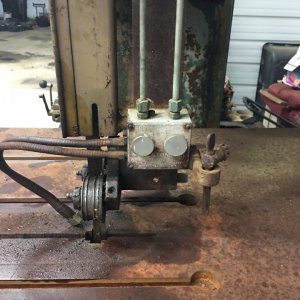
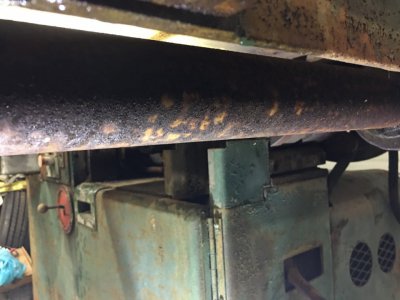
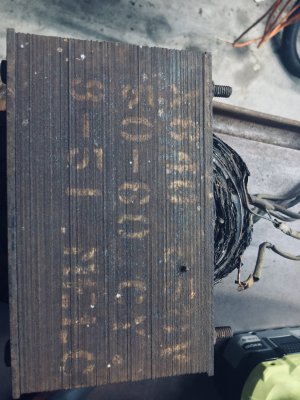
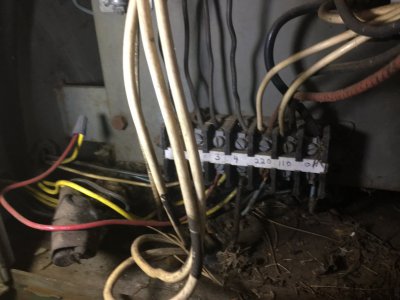
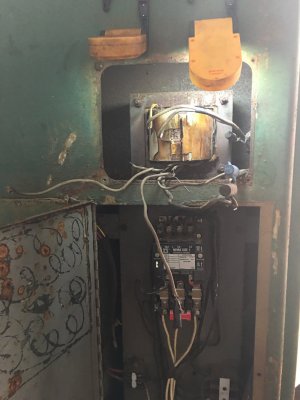
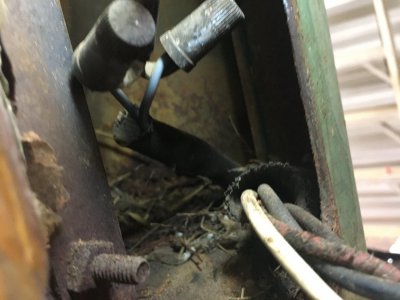
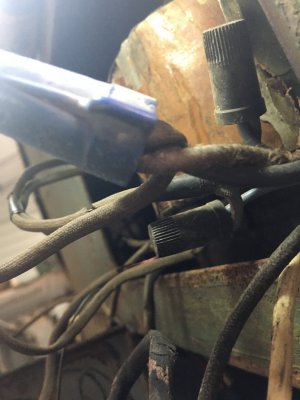
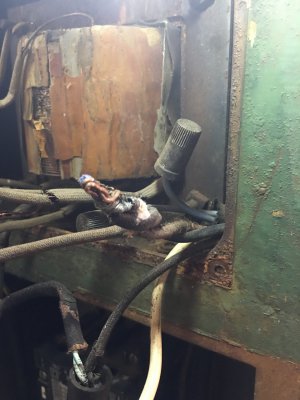
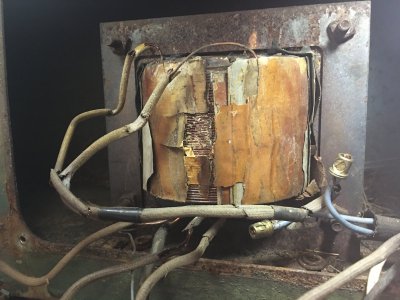
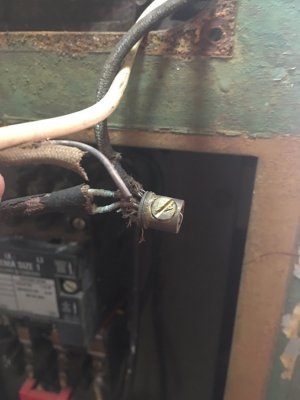
I recently purchased a DoAll MP-20 which appears for the most part in good condition, especially considering it was under a tarp on a trailer under a carport for several years. I know I have some cleaning on my hands but the area that concerns me is the transformer. I've attached some pics of the machine. Anyone know where I can get that transformer repaired, if it is necessary, or where I can get a new/good used one if it is beyond repair. I'm guessing the transformer takes the incoming 460V 3phase the machine was wired for and lowers that to 120V single phase or am I way off on that? There were some bird nests in there so I was at least planning on removing the transformer and making sure there aren't any bare wires which would make touching the machine shocking. The motor is capable of being wired 240V 3phase which was my plan. Any help on this would be greatly appreciated. Thanks for your help,

TwinDad
 

Attachments

  • IMG_9629.JPG
    IMG_9629.JPG
    62.5 KB · Views: 35
  • IMG_9624.JPG
    IMG_9624.JPG
    93.2 KB · Views: 34
  • IMG_9625.JPG
    IMG_9625.JPG
    95.8 KB · Views: 29
  • IMG_9626.JPG
    IMG_9626.JPG
    92.8 KB · Views: 26
  • IMG_9627.JPG
    IMG_9627.JPG
    123.9 KB · Views: 25
  • IMG_9639.JPG
    IMG_9639.JPG
    77.5 KB · Views: 23
  • IMG_9644.JPG
    IMG_9644.JPG
    108.2 KB · Views: 28
This is looking to be the candidate for a great before/after contrast. If you haven't come across it already, look through the whole restoration of the big Do-All Saw by Steve Summers. That was where I first came across the circular speeds-and-feeds calculator.

The transformer is clearly unsafe! I have, when younger, simply taken apart a transformer like that, and put it together again with some some refurbishments. I glued up a new bobbin from fibreglass, and I wound the wire back using Kapton tape between the windings. I lost a few turns on the way, but it did not matter.

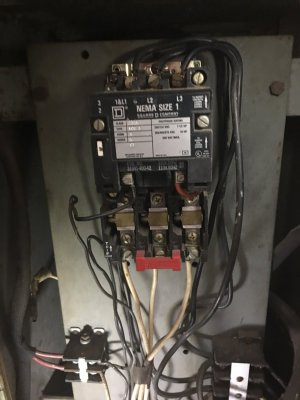
I don't actually know the full circuit in the Do-All machine, but normally the three-phase inputs would be switched by latched contactor to the motor. This would likely have been without the need for a neutral. All the latching, E-stop, and other control circuits, and any voltages that would go to control push-buttons, light indicator lamps, limit switches, etc. would have been at much lower voltage, perhaps not even 120V, supplied by that transformer. Most machines I have delved into use 24V. That said, I have known a few contactors that use mains voltage coils.

The transformer primary would be across two of the three phases incoming, and the secondary low voltage winding would then be available as a completely isolated, and therefore safe supply, which would not have any a route to delivering a mains shock, even if some part got drenched in coolant, for example. Given the transformer condition, you have nothing to lose by taking it apart, and counting the turns as you do so, to discover the step-down ratio.

A simple, standard step-down transformer from the line voltage you intend to use, down to suitable voltage to drive all the rest, is not very expensive to replace, and be the way to go if you are not the type who would just rewind it. Somehow, somewhere, is the build circuit for that machine. If not available here at HM, maybe try and contact Steve Summers. He might have a manual.

Maybe this one --> https://www.ebay.com/sch/i.html?_from=R40&_trksid=p2380057.m570.l1313&_nkw=284074589317&_sacat=0


[Edit: Let's also commend you for the excellent set of pictures :) ]
 
Last edited:
Very nice!
I believe the transformer is only for the light bulb and the two prong plug. I don't think it will affect the running of the saw. I don't believe it has anything to do with the welder either. Remove it until you get a replacement.
I would go thru as you mentioned about the wiring. These saws are pretty much bullet proof, so a little cleaning, oiling, and maintenance and you have a saw that pretty much will run forever.
I have the same type of saw so I can try and be of some assistance as you proceed.
Cheers
Martin
 
Last edited:
Looks like a typical .250 kva step down control transformer.
Look on the access doors and see if there is an electrical schematic.
Don't pay alot for a replacement as they are pretty common.
 
Hello,

Thanks all for the great info and advice. Any advice on cleaning the rods on the hydraulic cylinders and the rods under the table? I was thinking about using 3M pads and a rust remover like Evapo Rust. A friend recommended Sher Kem paint for the saw any thoughts?
 

Attachments

  • IMG_9630.JPG
    IMG_9630.JPG
    93.1 KB · Views: 10
I might need to look at another picture but that rod looks to deeply putted to use..
I personally like to keep a "layer" of oil or penetrating oil or transmission oil on the part and the scotch brite pad.
It seems as though the rust removal works better with the absence of air.
I find this technique works no matter if I am using a wire wheel or abrasive paper.
I don't know anything about paint.
Hello,

The picture makes the pitting appear much worse than it is thankfully. I don't believe it goes any deeper than 5-10 thou. More than I would like but not so bad I'll need to replace them. I'm thinking about using a drill and some roll sandpaper taped together to try and clean these up. I'm not trying to be lazy just have a muscle/nerve condition that causes me pain and limits how much work I can do before my muscles get too sore and I have to rest. Most of the reason it takes me so long to get stuff done. Thank goodness the doctors I have are absolutely no help :) it would be hell if they actually tried to help versus suggesting I think the pain away. Oh well enough of that crap. Just giving you all a heads it that it will be a while for the MP-20 to be looking good. Once again thanks for the help everyone.

TwinDad
 
have you checked the data plate on the motor, and welder? that will tell you what power you need. As mentioned above, the light and accessory socket are usually 110, and possibly the small blade grinder motor. Often the main motor is 220 3 phase, as these were normally an industry tool and not for a home shop (until now).
I have an older model ML with schematic intact, but it may not help with your saw. I'll be glad to help if I can.
Peter
Hello,

I'll check and see. Been pretty busy here lately and I haven't had much time to put into the saw. I had some flare up from facet injections in my back and that's slowing me down as well. I have the idler and controller for a 20hp rotary 3ph converter which my electrician is supposed to be installing hopefully pretty soon, been like pulling hen's teeth trying to get him back out to finish the job. I'll try and keep you all apprised and I appreciate any help you can offer as electrical is not my thing. Thanks,

TwinDad
 
Hello All,

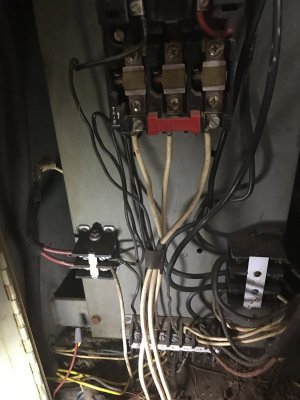
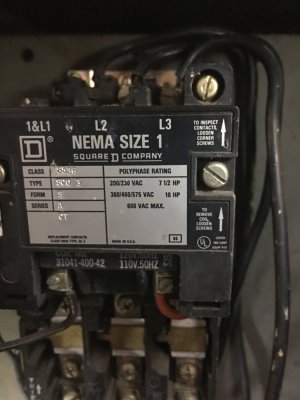
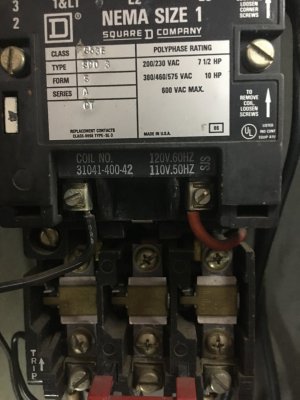
I was able to get the transformer out and took some pictures of the wiring and the transformer. There's a Square D piece in there that says something about 120v and I was hoping you all could let me know if that is a transformer because it looked like the original transformer that I pulled out wasn't really hooked up. Thanks for the help and sorry for the delay.

TwinDad
 

Attachments

  • IMG_0004(2) - Copy.JPG
    IMG_0004(2) - Copy.JPG
    335.9 KB · Views: 11
  • IMG_0013(2).JPG
    IMG_0013(2).JPG
    369.5 KB · Views: 10
  • IMG_0019(2) - Copy.JPG
    IMG_0019(2) - Copy.JPG
    189.2 KB · Views: 9
  • IMG_0020(1) - Copy - Copy.JPG
    IMG_0020(1) - Copy - Copy.JPG
    207.2 KB · Views: 8
  • IMG_0023(2) - Copy.JPG
    IMG_0023(2) - Copy.JPG
    200.8 KB · Views: 9
  • IMG_0024(3) - Copy.JPG
    IMG_0024(3) - Copy.JPG
    206.1 KB · Views: 9
  • IMG_9975.JPG
    IMG_9975.JPG
    203.5 KB · Views: 10
  • IMG_9978.JPG
    IMG_9978.JPG
    346.6 KB · Views: 9
  • IMG_9982.JPG
    IMG_9982.JPG
    195.4 KB · Views: 9
  • IMG_9983.JPG
    IMG_9983.JPG
    213.5 KB · Views: 8
  • IMG_9988.JPG
    IMG_9988.JPG
    424.8 KB · Views: 8
  • IMG_9990.JPG
    IMG_9990.JPG
    148 KB · Views: 11
Back
Top