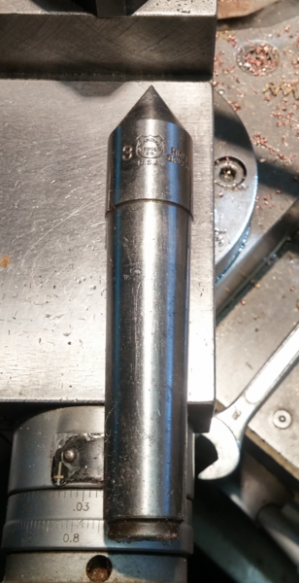
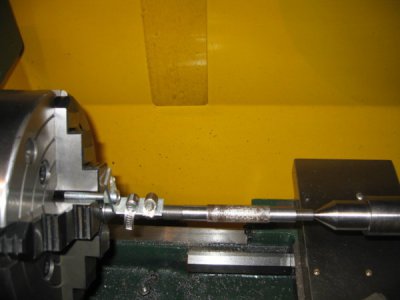
I would think for something like the video, just mount a dedicated cylindrical 60-deg point in the chuck (or collet or whatever) & re-dress the cone prior to a polishing session. You could make it from 0.5" dia tool steel as an example. Turning it in-situ will ensure its running concentrically about as accurately as can be expected. The thing is, even if you found a ground & hardened cylindrical dead center accurate to 0.0000001", if that was mounted in a 3J chuck with 0.002", then that dictates how your center will run.
Also, note that this is hand polishing, not turning. He may well might be taking 2-5 thou off with the paper/coarse pad before it gets to the finishing & shine stage depending on how it was turned (or not) beforehand. This is called polished potato syndrome. Its shiny all right, but whether it fits another part or meets a certain dimension is another matter. He is basically using the centers to get at the full surface as opposed to an end held in a chuck.
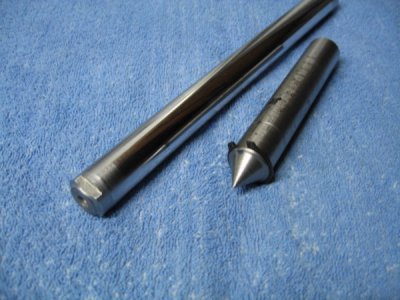
But getting back to the cylindrical (non-tapered) shank dead center, actually I was looking for a 'tool' with 0.5" shank, accurately ground & ideally hardened like a regular dead center. As you fond, 99.9% dead centers seem to be taper shank. I want to put this in a boring head used in a tailstock (offset taper) installation. I've pretty much resigned to making my own from tool steel & either run it unhardened or maybe just the very tip to minimize distortion & need for dress grinding. So that would be an example of where its 'made' may not end up being where its ultimately used, so accuracy counts on the initial making.


