Dalton B4 Restoration

Hammer, sounds like the split rivets are original. Mine had them also. I just didn't like the bent tail ends on the inside of the housings grabbing stuff -fingers, shirt sleeves, oil and dips, etc. so replaced with solid shaft peened kind. Actually found them quite interesting to install. Look forward to seeing your photos.

P.S., you may also consider joining the Dalton Bunch Yahoo group. Dennis Turk moderates. This is the Dalton Lathe email group. Several hundred Dalton owners on it. Dennis is very knowledgeable about Dalton operation. Wealth of info when you get ready to set it up to operate.

Glenn
 
Hoooah! Dalton forum taking shape! thanks Randy!!
 
So I did get some work done, but my phone/camera died. It was a four year old phone, so it was time. I'll have a new one and pictures up in a few days. A bunch of parts from the compound and back gear assy. came out of the electrolysis tank and got primed or dipped in oil.
Right now the most work I am doing is scrubbing the carbon off after de-rusting and trying to keep the parts from RE-rusting after I rinse the electrolyte solution off them. I'm fairly certain if I try a dip in phosphoric acid right after I pull them from the tank it will stop the flash rust dead in its tracks. But for scrubbing the carbon off, do you think a trip back through the parts cleaner solution would help?
 
Definitely rinse in Ospho - trade name for Phosporic acid- if flash rusting is a problem. You might not want to let the Ospho set on the metal for long. If no iron oxide present, the phosphoric acid will just sit there staining the surface until it evaporates. The other draw back, is phosphoric acid chemically reacts with the iron oxide(rust), to create phosphoric oxide. This hrey residue has a noticeable thickness, that is sometimes not desirable to leave on a part - for example, machined surfaces. So wire wheel it off is the order of the day. Otherwise the upside is, the residue can be left in place and used in lieu of a primer coat. Just paint over it.

Usually with machine parts, After derusting, I often quickly wash down the part with with phosphoric acid, then wipe it clean with solvent - paint thinner or diesel, and a dry rag. Usually this protects for days to weeks, until ready to paint.

Another way to clean up the parts after derusting is buff off the residue with a wire wheel mounted on a grinder. This gets rid of the residue and polishes up the surface for painting.

Glenn
 
Last edited:
So, I'm waiting on new carbon anodes. In the mean time my dad actually came up with something cool. He 3D printed new headstock bearings at his work, from home, on a Sunday morning. I went over with the dimensions I took off the babbit, housing, and spindle. He drew two cad drawings of the old bearings, then we removed some of the shoulder on both to make room for needle thrust bearings instead of fiber washers. Then he sent the file to his work, and we watched the machine print them through a secured live feed from his laptop.

Long story short, when I got them home and cleaned up they were a *VERY* tight fit to the headstock. Once I get the spindle back, I will check the bore. My question to you is this: should I have the bearings made to perfectly round with .001 clearance from the spindle, cut them with a .030 slitting saw and shim them .030? Or should I split the stock, glue them together, machine them, and then install .001 shims? The latter is the "correct way I've heard from many people, but wouldn't the ID be oval?
 
Dalton paint (1).jpg
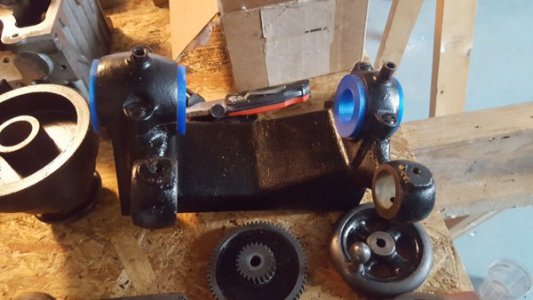
First coat of paint on headstock, plastic bearings in place.

Dalton paint (2).jpg
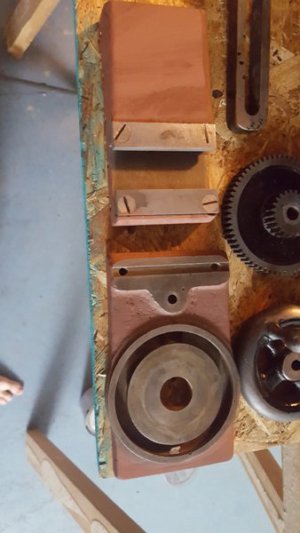
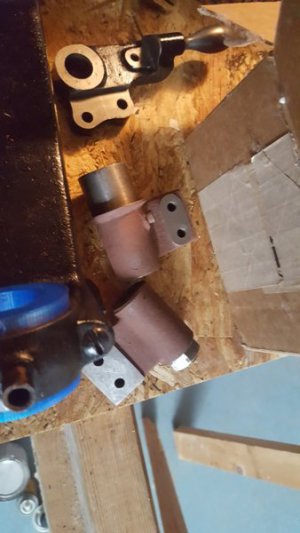
some parts from the compound

Dalton paint (4).jpg
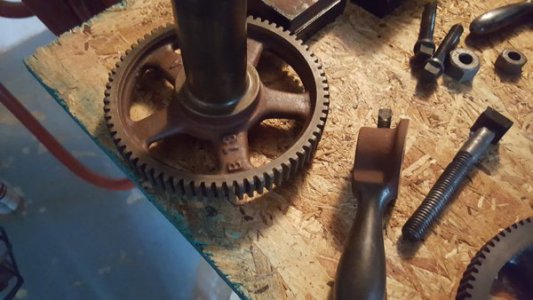
back gear and handle

Dalton paint (5).jpg

Lead screw ends
 
Lathe bed de-rusting (1).jpg

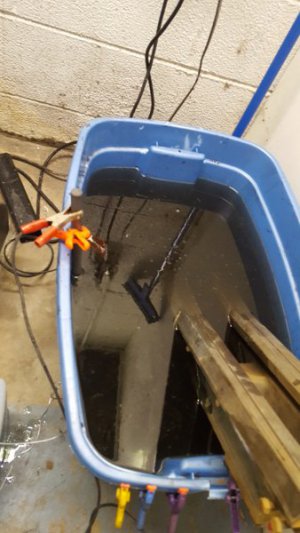
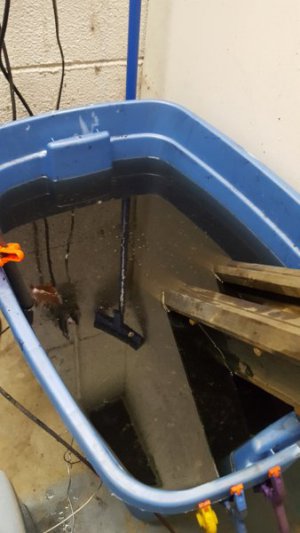
Ok, So dilemma here. Lathe bed does not fit. When I flipped the ends, the one sticking out flash rusted, even with phosphoric acid. I'm thinking of leaving the flash rust, taking it to work and using phosphoric acid to clean the flash, the pressure washing and priming it as fast as possible.

Lathe bed de-rusting (2).jpg
 
Yikes, I would pull the ways out of the electrolysis tank right away. You don't want to risk any unnecessary loss of material off the machined surfaces-e.g. The v ways that the saddle and tail stock ride on. Ospho is fine for non critical surfaces. I apologize for not making that distinction in an earlier post.

The lathe bed and ways were hand scraped to tenths (1/10000") when new, so usually half a thou or less of flatness across the way. So every .001" imperfection in the way is a hit against precision ever afterward. A lot of professional machinists never clean new machines ways with anything stronger than diesel, way oil and a soft, lint free rag.

To directly answer your question about flash rust - particularly on the ways, I think your best bet would be to use Evaporrust. Wipe it on, let sit for 20 minutes. Wipe/light scrub off with aforementioned rag until the metal is clean. Then wipe down the ways with way oil, even diesel for short term, and paint. Oil will inhibit rust formation on the exposed surfaces. It can be cleaned off with paint thinner when you prime and paint...

Evaporust actually lifts the rust molecules off the surface, whereas Ospho Chemically chemically reacts with the surface - leaving an iron phosphate coating on the ways. Any non machined surface- ospho (phosphoric acid) is fine - it actually seals the surface against further rusting!


Regarding your headstock bearings: what material are they printed from? Hopefully they are some form of brass or bronze that won't gall the surface of your spindle. Regarding closeness of fit. You will want to have around .001" clearance between the spindle and surface of the bearing. The machine oil that Lubes the bearing and spindle needs this clearance to flow around the mating parts. Also the oil provides the necessary support in the bearing interface during operation.

Sure, ok to split the bearings with a thin splitting saw. Split bearings are designed to work with some thin gap between upper and lower edges. The usually method is to scrape the bearing to achieve proper fit. So Maybe you could bore out the bearings to .001" overage and then shim and scrape to fit. I found when I shimmed and fit my bearings, that when I tighten the bearing cap down, to achieve less than .002" spindle play, it distorted the bearing halves around the shaft a bit, causing binding at the 3 and 9 0clock positions.So most of my scraping was on the "sides" of the bearings.

Glenn.
 
Glen,

Electrolysis is physically incapable of removing any steel if you use a certain electrolyte (sodium carbonate: AKA washing soda). Also as I mentioned, the lathe bed is no longer in good shape, it really needs work... I have oil on the exposed ways right now to stop the flash rusting. The printed bearings are ABS, they are simply there for a test fit before I make the bronze set.

Thanks for the info on the bearings! Is there torque spec for the bearing cap screws?

-Arrmon
 
Back
Top