- Joined
- Dec 30, 2014
- Messages
- 259
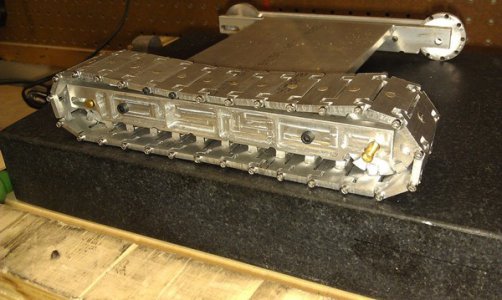
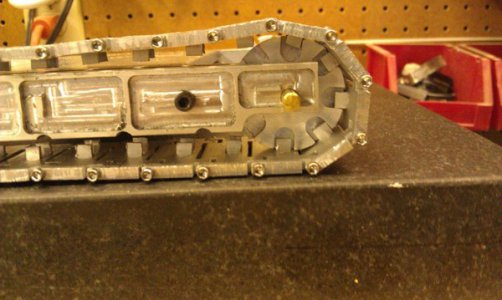
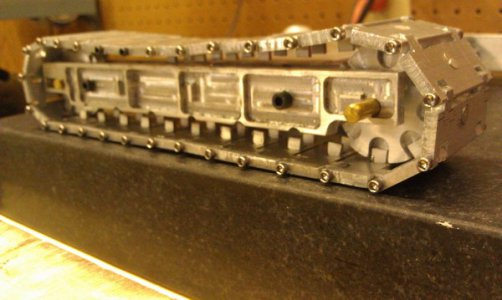
How would you make these idler rollers?
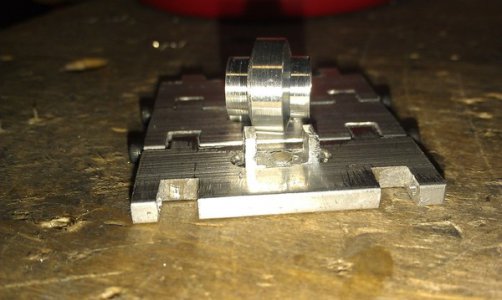
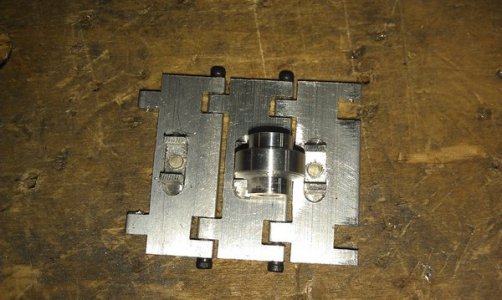
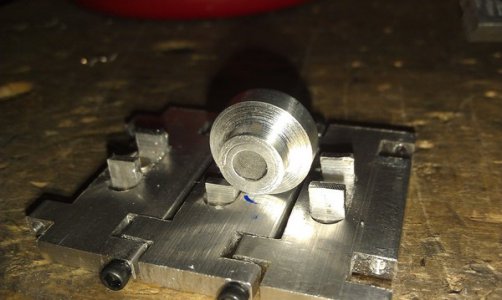
I need to make 12 of them. I am starting with 3/4" round aluminum stock. They have a taper to help clear the drive dog tabs on the pads. This is one of those things that I look at and think " that shouldn't be too hard", and then when I start making them I end up with two or three and NONE of them are the same. I had been trying to make the taper using the side angle on my right hand turning tool bit, but that is problematic when it comes to doing the second (or left hand side if the part stays chucked up for the entire process, which I think it should). So, now it finally dawned on me, use the compound to make the taper.
My problems are:
Keeping concentricity. (I think I solved this by NOT over drilling the center hole, so that when I pull the stock out, I don't start off on the next part with an off center hole.)
Getting the same length on the shoulders on each side.
Getting the center rib in the center.
I am using my dial indicator on a mag base to move the carriage in as I turn the shoulder.
Should I be doing this with the part chucked once for the entire part? If so, should I be using a left hand turning tool for the left hand shoulder and Turing away from the chuck?
I think this all comes back to one of my very first questions when I got started with the lathe, "how do you know what steps and what order and how to decide what tool or procedure"?
Thanks for any tips or suggestions.
Jim

