-
Welcome back Guest! Did you know you can mentor other members here at H-M? If not, please check out our Relaunch of Hobby Machinist Mentoring Program!
You are using an out of date browser. It may not display this or other websites correctly.
You should upgrade or use an alternative browser.
You should upgrade or use an alternative browser.
Burke #4 Restoration by RMack898
- Thread starter rmack898
- Start date
- Joined
- Feb 25, 2014
- Messages
- 349
Thanks for the kind words. That mill took way too long to get finished, it was almost 4 years start to finish but actual time spent was about 3-4 weeks.
If anyone ever needs to tear into one of these mills and has questions, I hope my pictures can answer them because my memory is not the greatest but I'll try to help the best I can.
I'm working on restoring a lathe right now and have a SB shaper and bigger horizontal mill to do after that. Way too many projects and not enough time.
- Joined
- Jan 11, 2013
- Messages
- 1,834
Man, this is great. I learned so much from your pics and descriptions!
PLUS, beautiful job on the mill! Man that looks pretty! ... And a fun machine to work on too
Bernie
PLUS, beautiful job on the mill! Man that looks pretty! ... And a fun machine to work on too
Bernie
- Joined
- Jun 22, 2012
- Messages
- 1,552
Don't know how I missed this, but wow, what a great build. I didn't have to do that to mine. The po fixed mine all up before I got it, just cleaned and oiled her up and put it to use. But yours sure looks great!
- Joined
- Jul 2, 2014
- Messages
- 107
Wonderful!
Re: Burke #4 Restoration by Robert Mac Cormack
I don't have the cat # for the DRO but there is a link to it in one of Cutter's Mildred threads that I can't seem to find again.
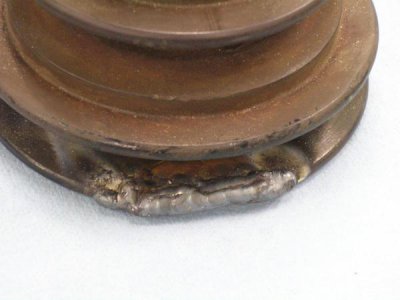
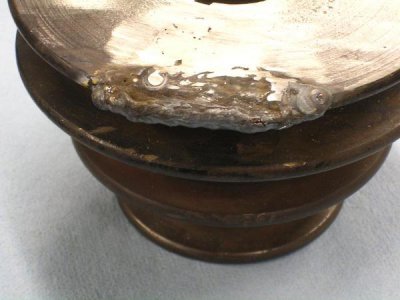
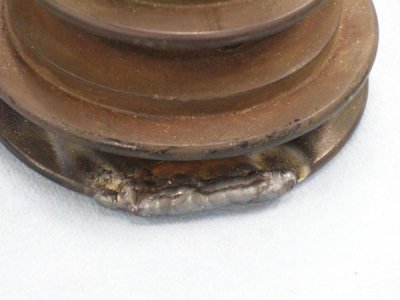
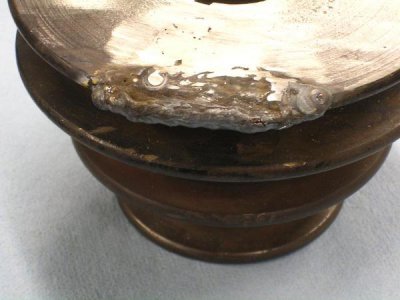
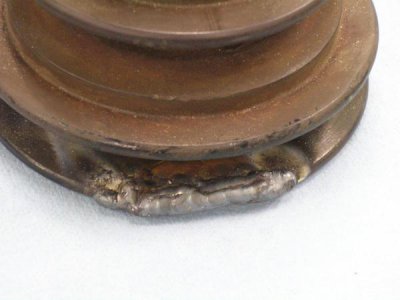
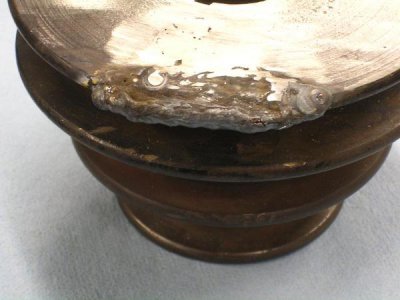
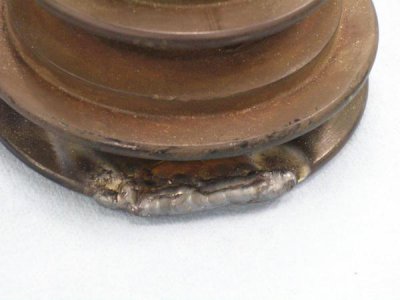
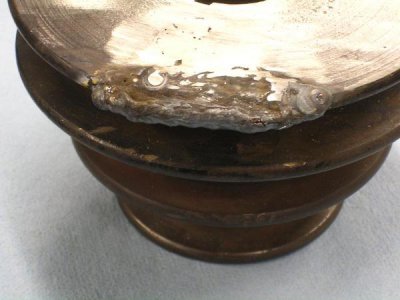
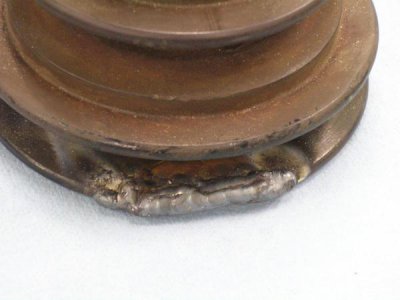
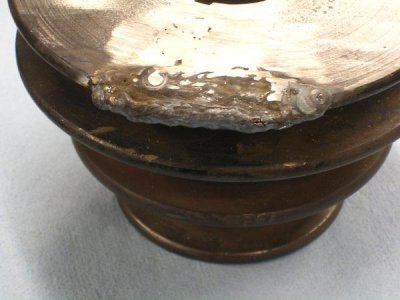
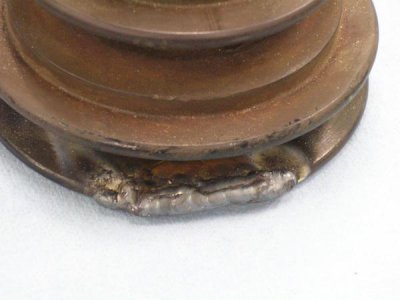
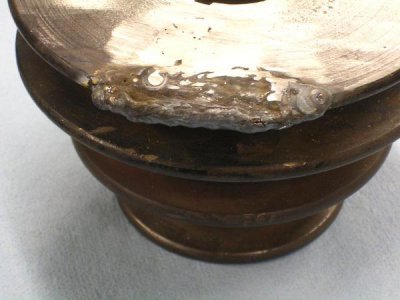
I wound up grinding all of the old brazed repair out of the pulley. We discussed the options at work and decided to TIG it up. Pre heated the pulley and laid down several passes to build it up and wrapped it up for a slow (4 hour) cool, it didn't crack.
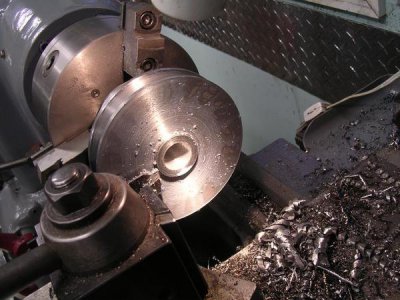
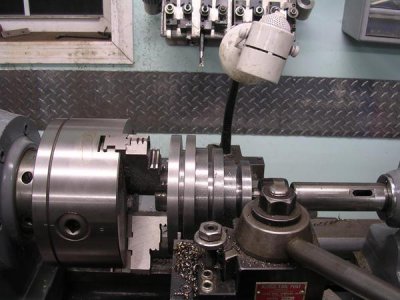
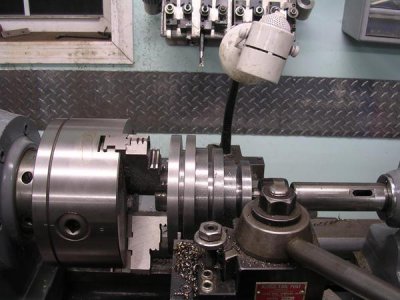
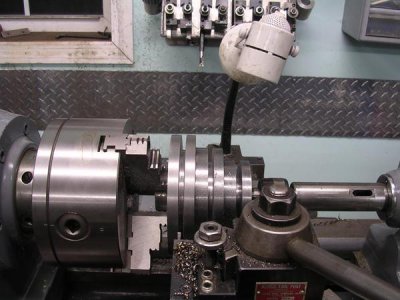
I chucked it up in the lathe to turn it down but the repair is too hard for any of the tooling I have. I will be dressing a stone and rigging up a way to put the pulley in the spindex on the surface grinder. If that fails, I guess I will be making a second pulley.
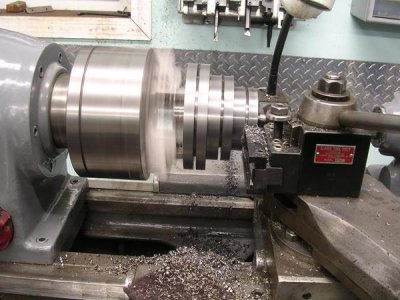
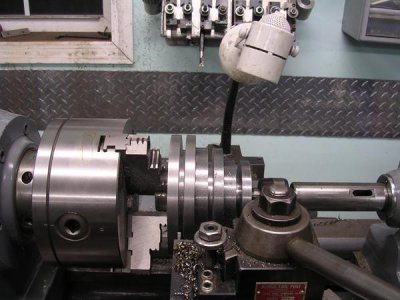
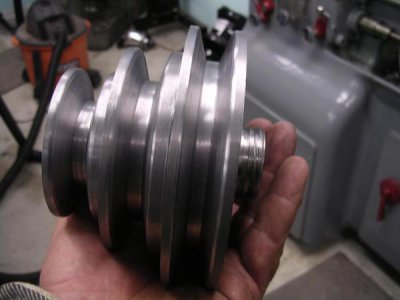
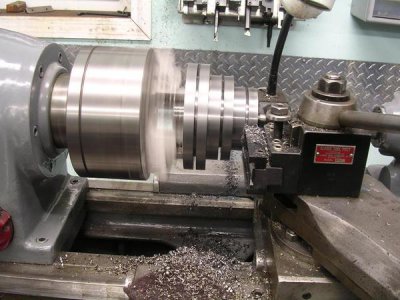
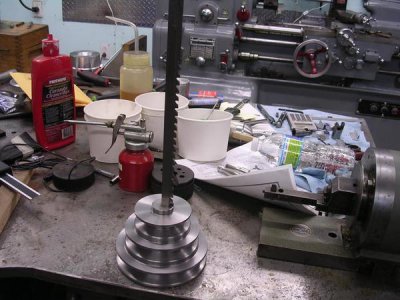
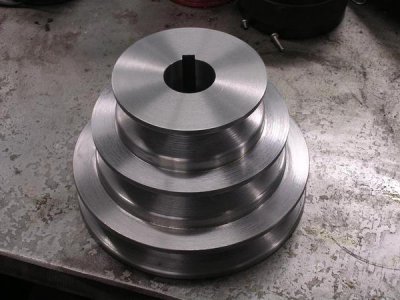
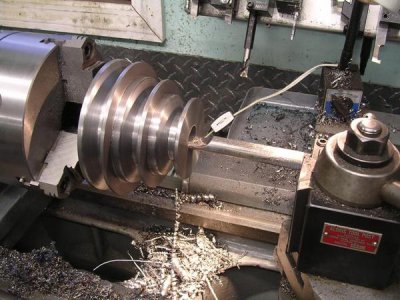
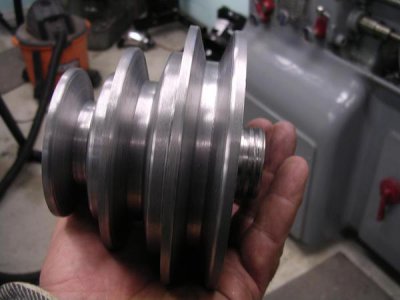
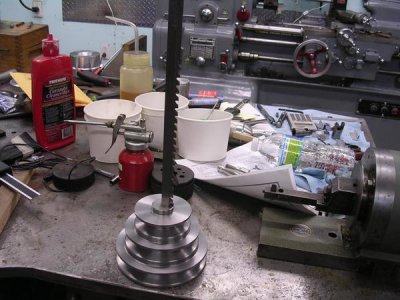
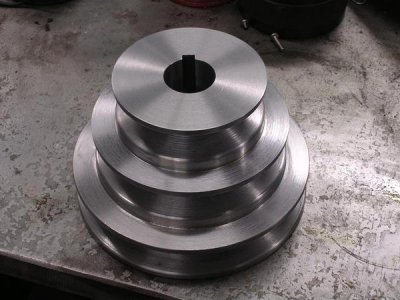
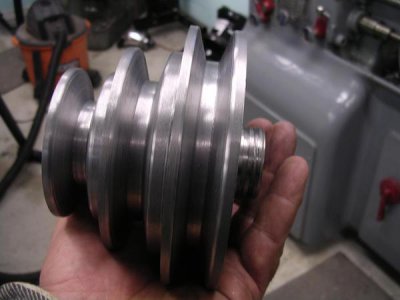
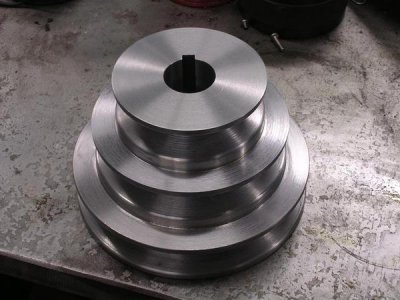
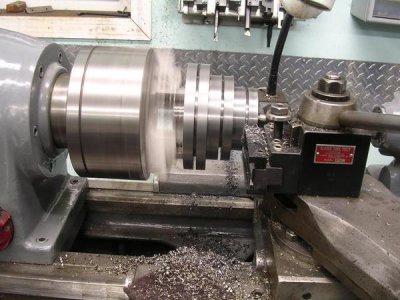
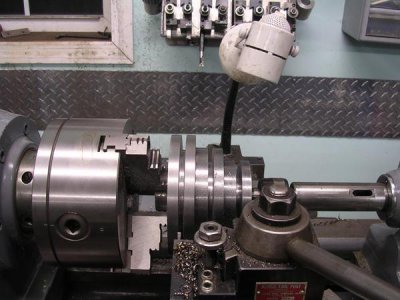
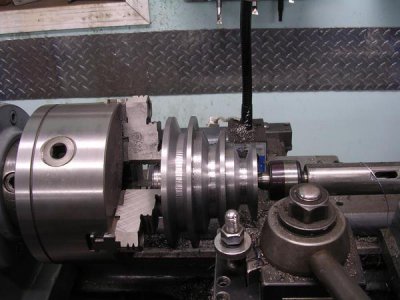
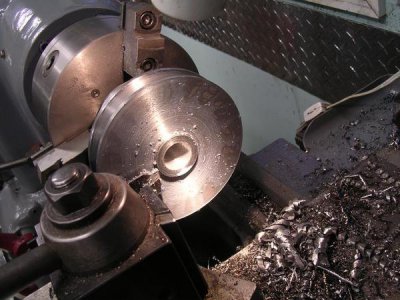
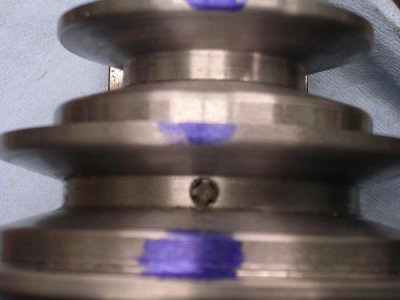
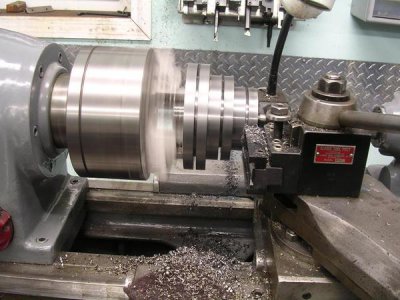
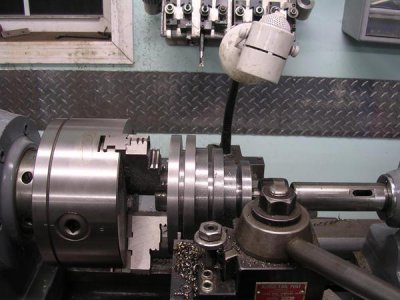
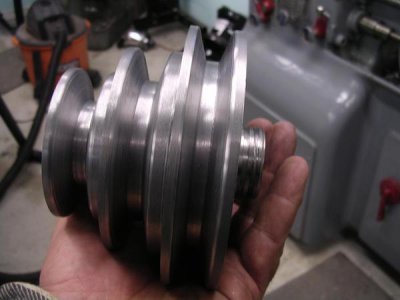
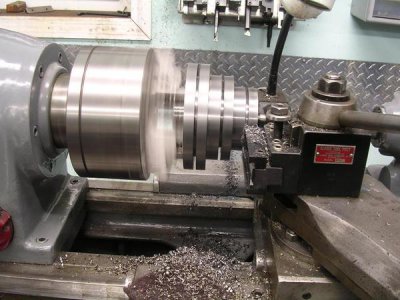
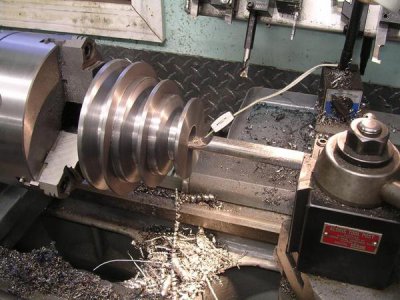
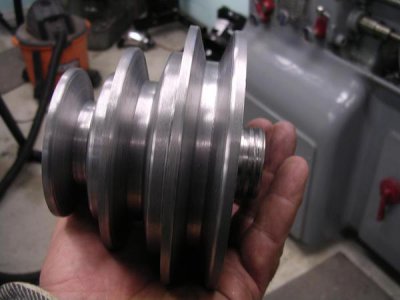
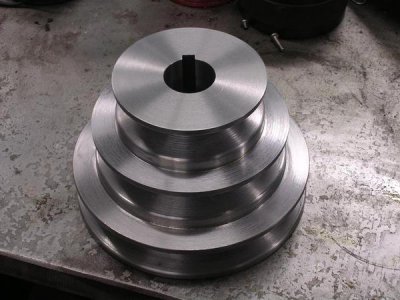
For the 2 nights that I had the upiddy girl running I managed to almost finish the motor pulley. When I roughed out the blank for this, I turned a 1-1/4" section on one end to chuck it up with and center drilled the other end for a live center.
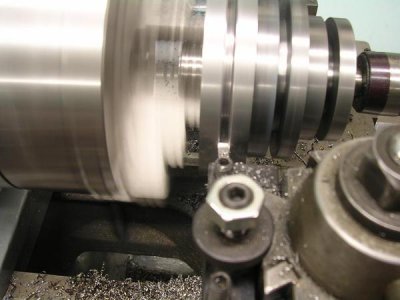
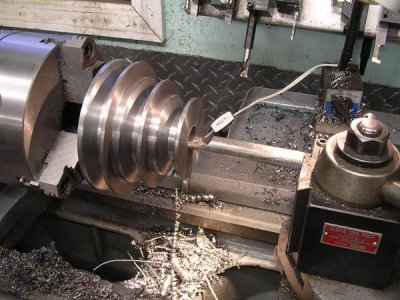
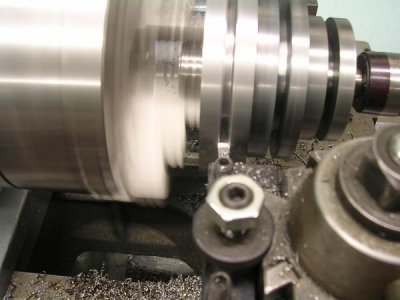
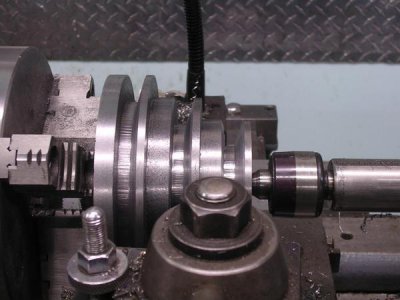
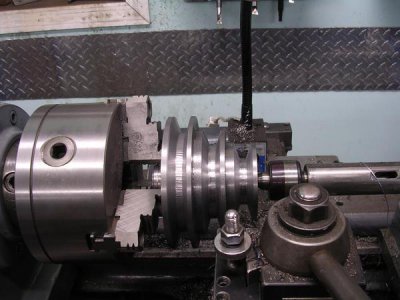
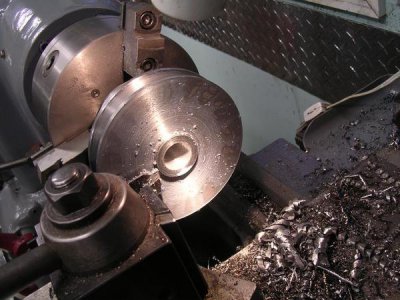
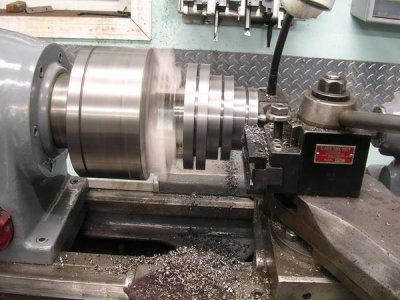
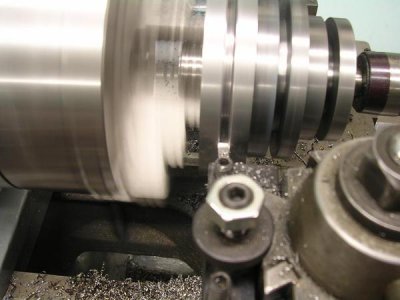
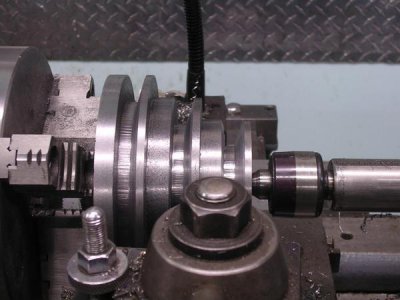
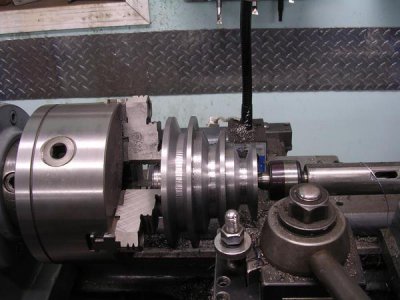
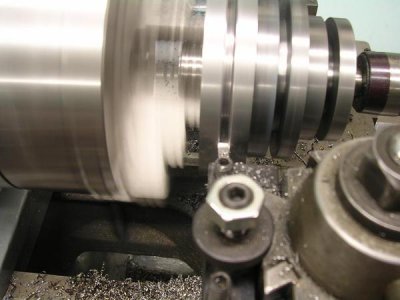
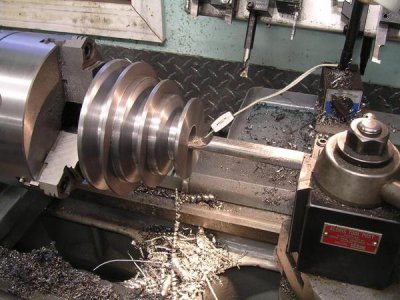
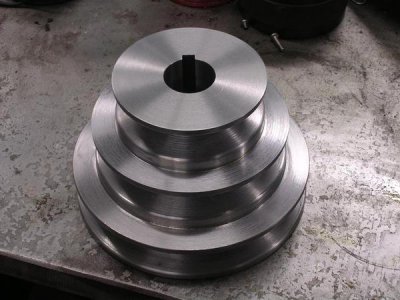
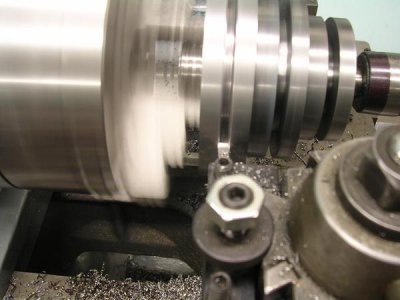
I found the center of each sheave and plunged the minor diameter of each sheave with a parting tool and then took a pass on each side of the center plunge to get me close to the finished width. Then I ground a HSS parting tool to the needed finished width and cut the grooves to the finished depth.
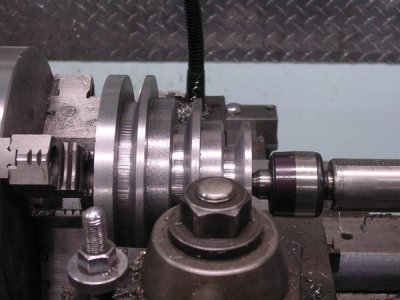
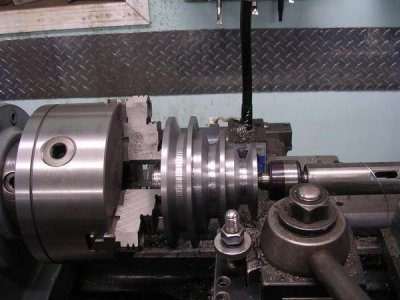
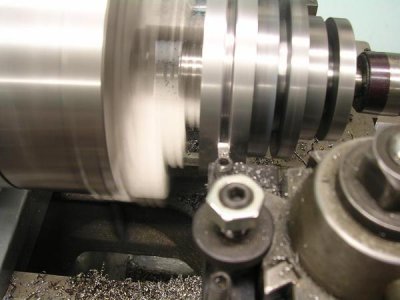
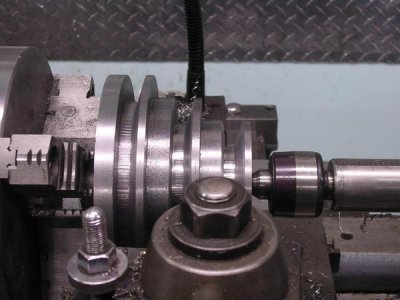
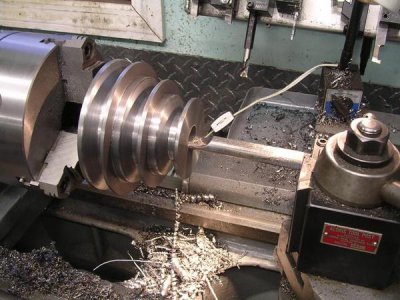
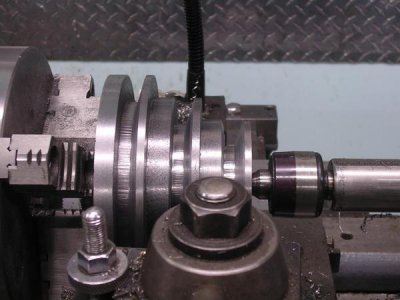
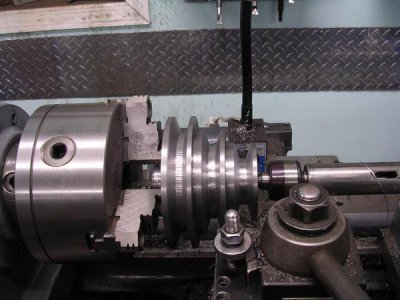
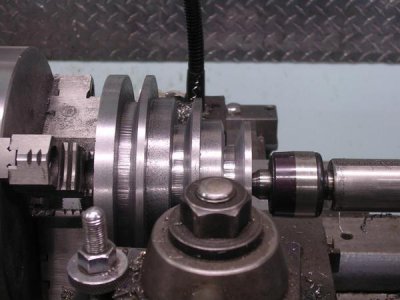
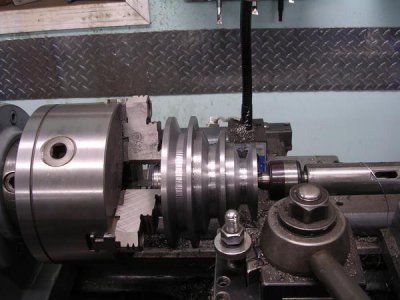
I then set the compound over 17* and cut half of the 34* angle for the belt on all 3 sheaves. Then I shifted over 17* on the other side of center and cut the other side of the pulley.
I ground a radius tool to finish off the edges of the pulley and when I had it all set up, the upiddy girl quit on me again. Tomorrow the defective transformer comes out and a replacement gets ordered.
1 The center plunge cuts
2 The center groove after 3 passes
3 Cutting the center grooves to finished width
4 One side of the sheaves cut
5 Both sides cut
I grabbed whatever was laying on the bench and have no idea what I grabbed.
Quote:
It's steel, I think it is 1041.
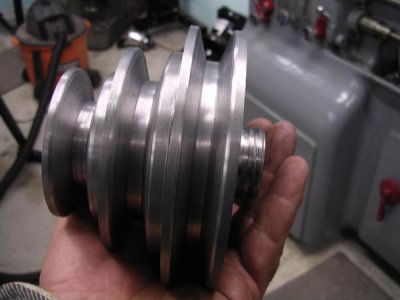
Since I got my issues with the girl sorted out, I wanted to get this pulley for the motor done and move on.
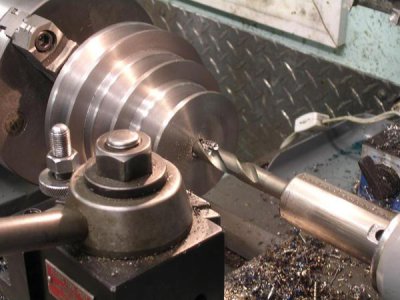
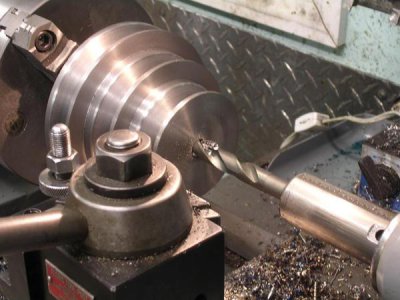
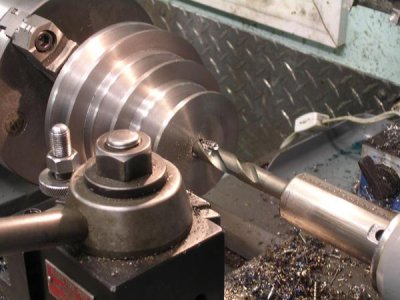
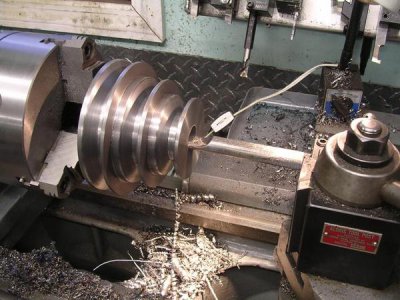
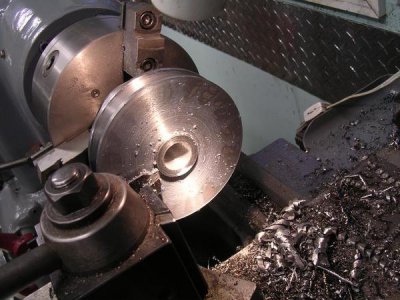
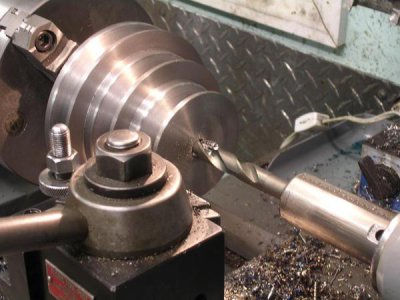
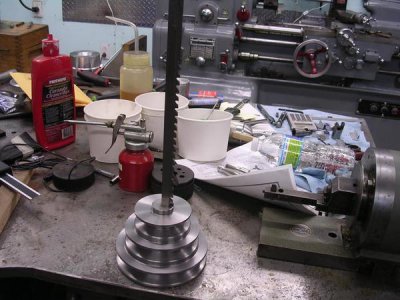
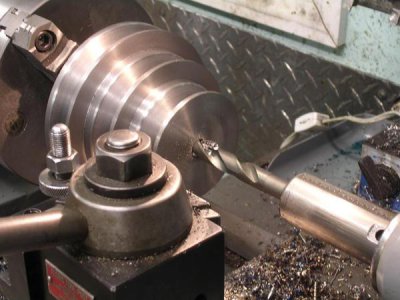
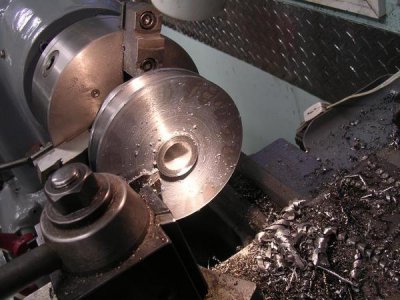
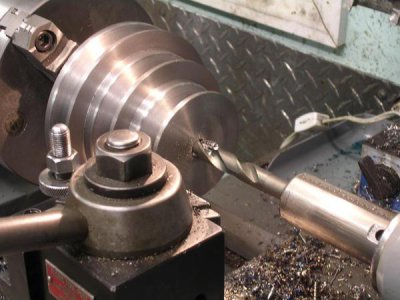
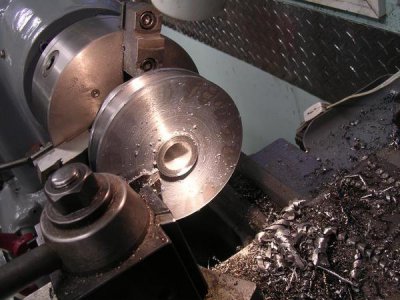
I cut the radius on the outside of the sheaves. Since I had it chucked up on the boss that I turned on the blank, I was able to do all operations in one set up. I removed the live center and step drilled the pulley 1/2", 5/8", and 15/16". Then I bored it to 1"
I then took it out of chuck and flipped it 180* and parted the boss off the back side of the pulley and gave it one last face cut to make it look nice.
1 Drilling the pulley
2 Boring it to 1"
3 The boss that I had it chucked on
4 Parting off the boss
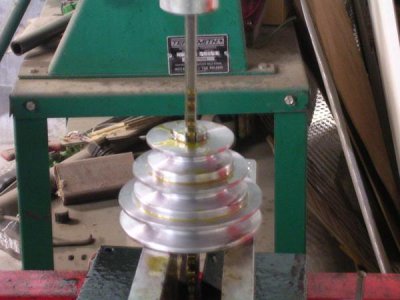
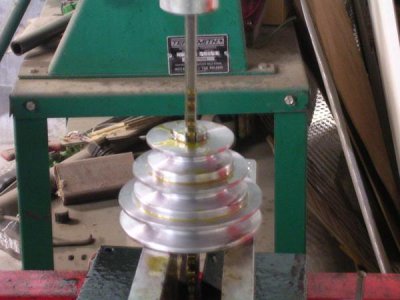
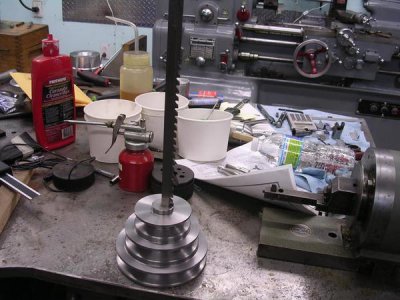
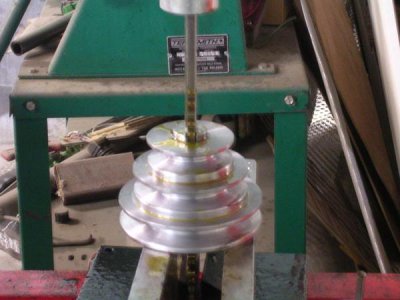
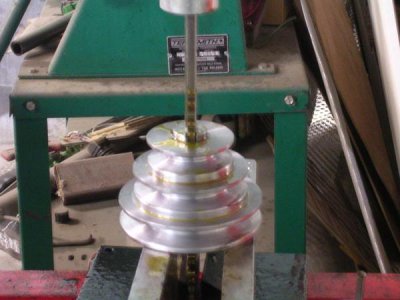
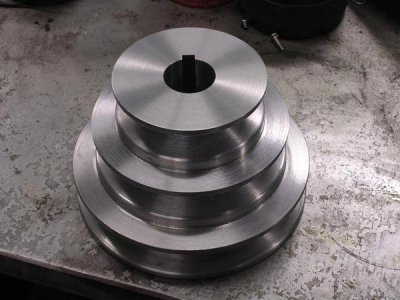
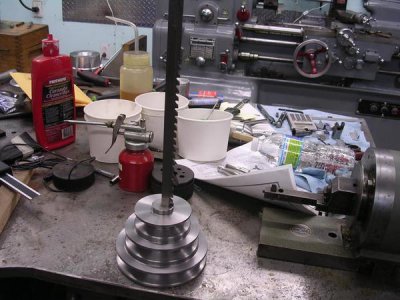
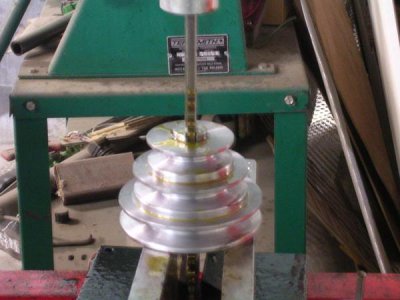
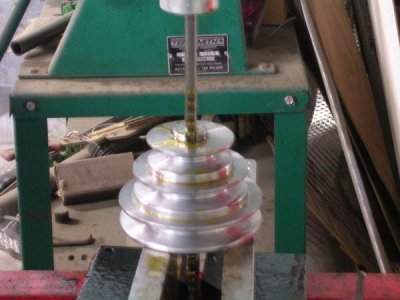
Next up was putting a 1/4" keyway in it. I used a DuMont broach but since the pulley almost 4" tall, the broach set up wouldn't fit in the arbor press so I had to do it in the hydraulic press. I don't like using a hydraulic press to broach as you get no feedback like you would in an arbor press and can easily put too much force on it and break the broach. I used plenty of the old, heavy sulfur type cutting oil on the broach (an old timer told me to always use it when broaching) and had no problems.
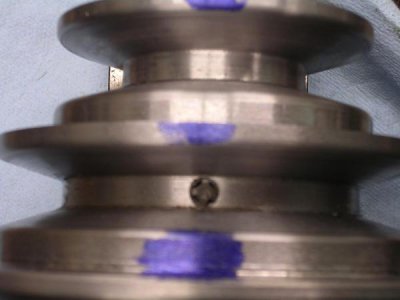
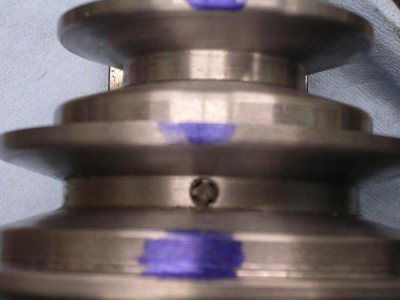
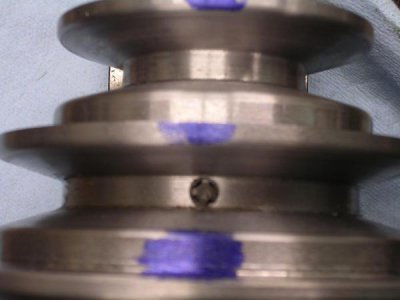
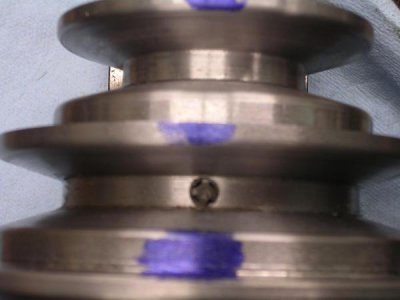
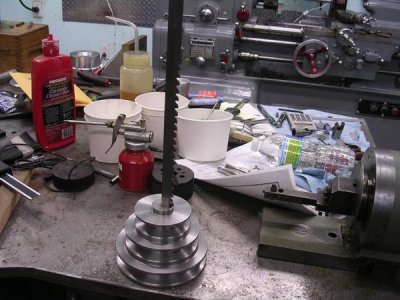
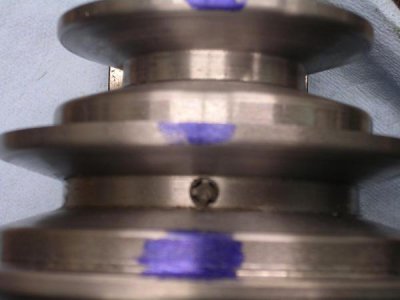
The last thing I need to do was drill and tap the pulley for a set screw. I carefully measured it out to drill the center sheave dead center on the keyway and drilled it with a #7 drill for a 1/4-20 screw. Since I had it in the mill all centered up I figured I might as well tap it in the mill. I used a brand new Greenfield tap soaked with Tap Magic and tapped it at 60 RPM. Half way through I heard that awful sound and I knew I was done for the night. I should have known better, the last operation to finish this stupid pulley and I screwed it up
Tomorrows another day.
1 The 1/4" broach
2 Broaching in the hyd press
3 The keyway cut
4 The *#%&ing broken tap
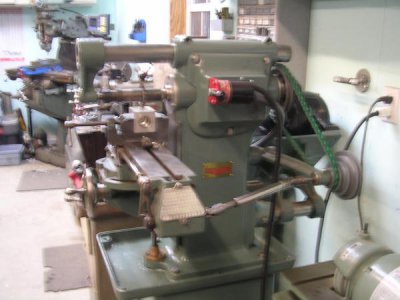
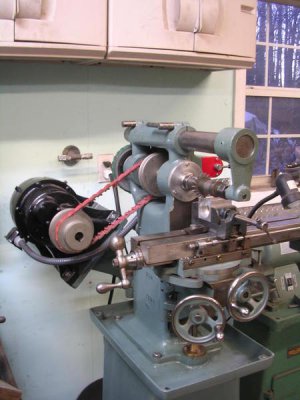
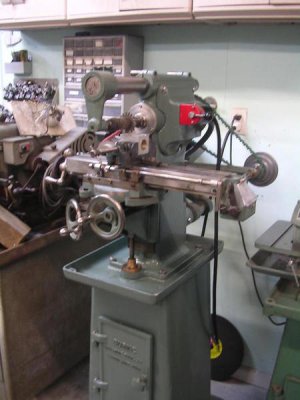
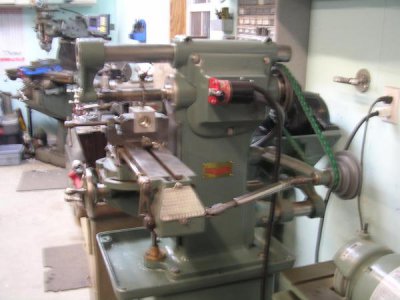
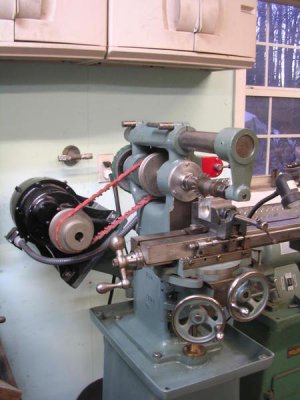
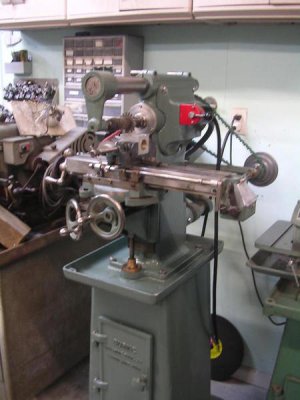
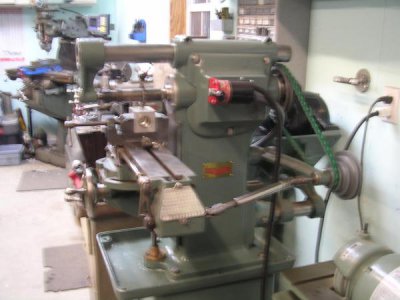
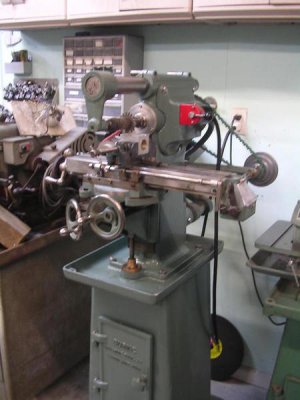
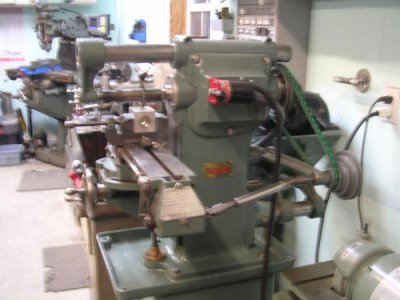
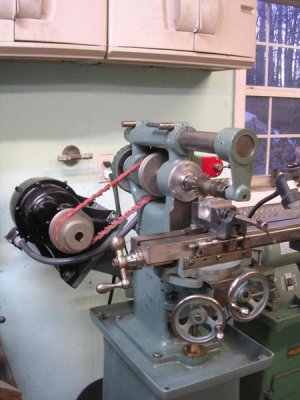
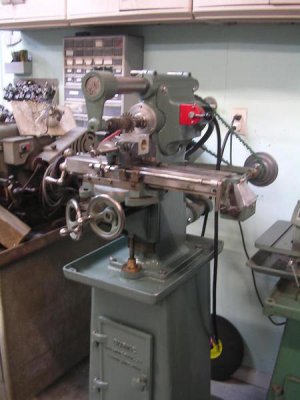
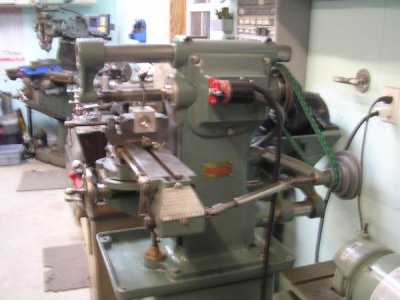
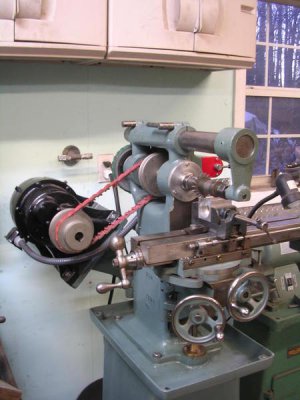
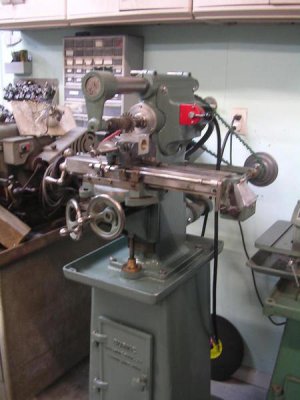
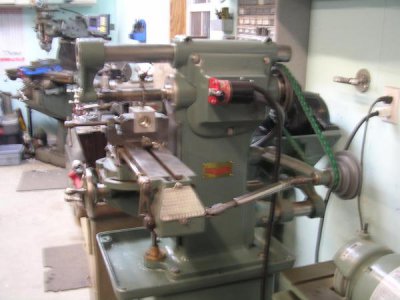
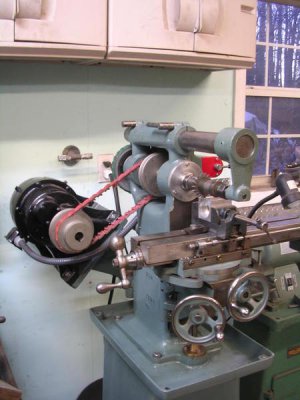
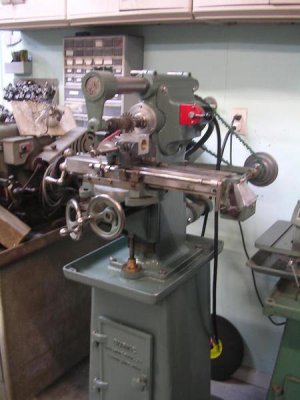
Well it only took 4 years and 4 months but I'm calling this one done. I am the absolute King of Procrastinators.
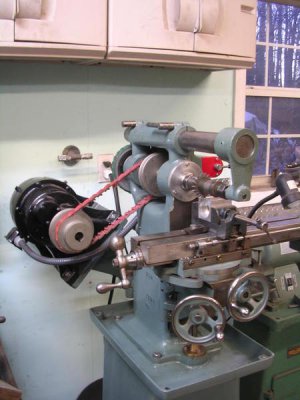
I seemed to have lost steam several times during this project and in the end I did not get everything done that I had set out to do (like putting the little DRO's on the mill), but it's done and makes chips.
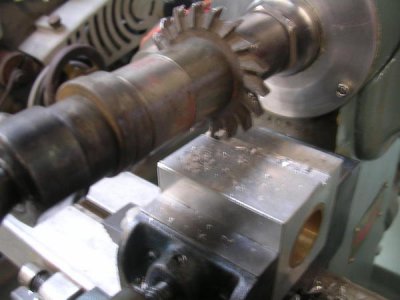
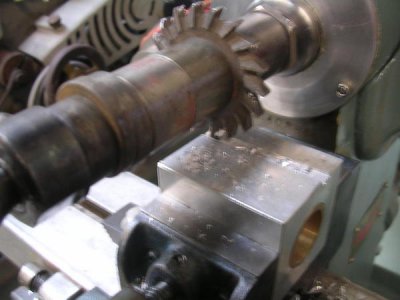
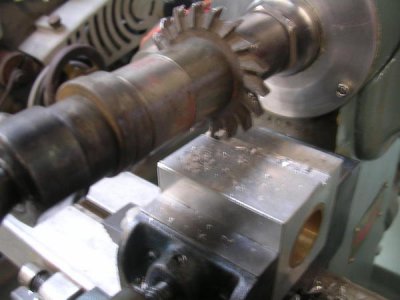
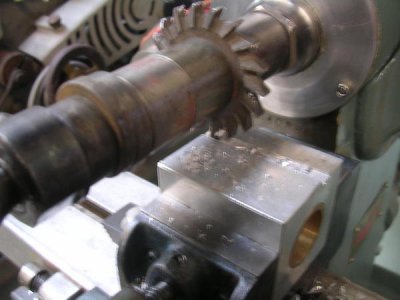
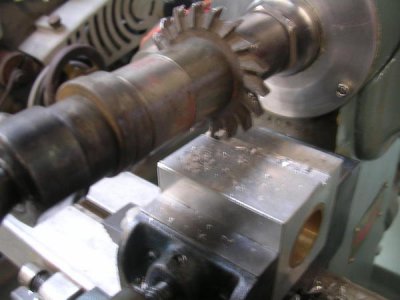
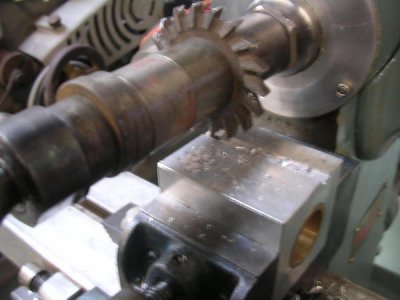
I don't have much tooling for this mill (yet) but I have a few side milling cutters to try it out on some dumpster aluminum parts. I have 4 spindle speeds and 5 power feed speeds and everything works will including the power feed stops.
I need to find a good vise for this mill and all I had laying around was a Palmgren drill press vise so that will do until I find something better.
I have way too many projects going and want to start more but I figured I need to finish something before starting any more. I recently had a job that this mill would have been perfect for but I had to get the job out quick, it may be a repeat job so I thought I better finish the mill before I get the same job back again.
