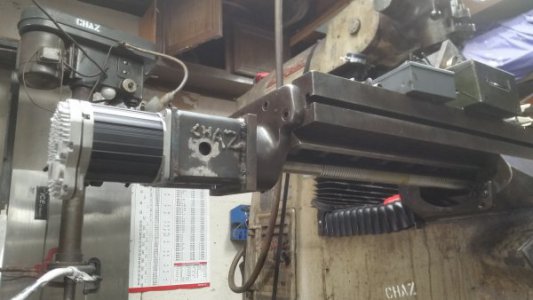
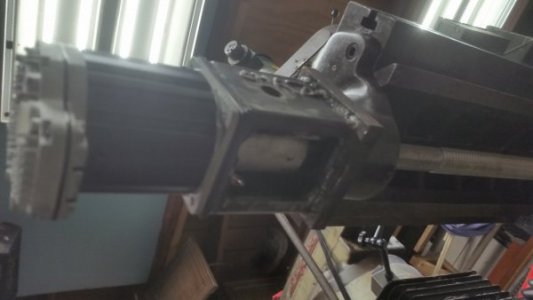
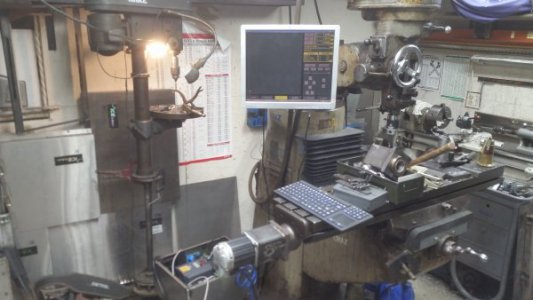
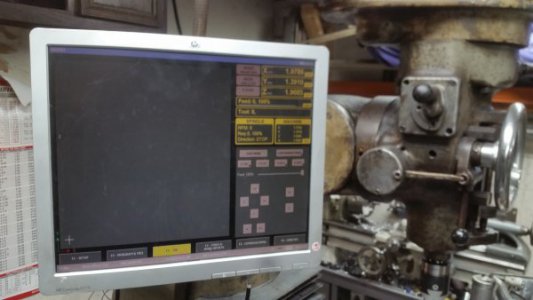
Bridgeport CNC with Masso Controller/Clearpath

This is going to be my first CNC build and my First build log. I've decided that a build log on this forum might be a good idea for this project so the next guy to take on this project doesn't have to deal with the stupid stuff I'm already running into.

This is my Masso Controller
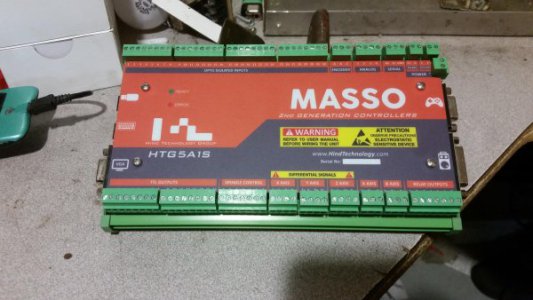
GetFileAttachment.jpg
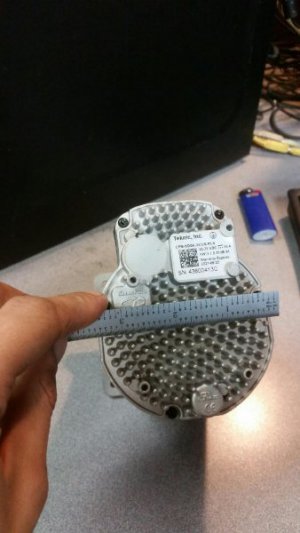
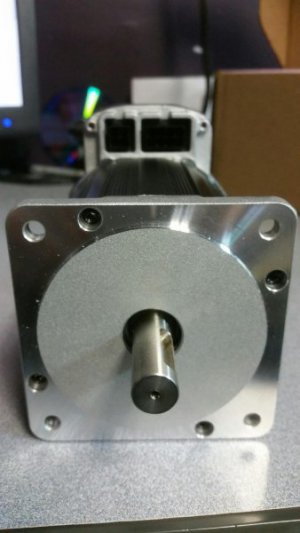
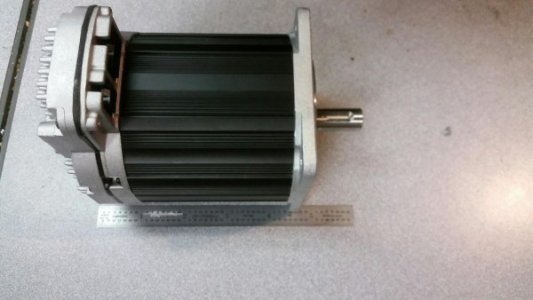
I will be using 3 Clearpath Stepper Killer servos model# CPM-SDSK-3432S-RLN
20180629_203142.jpeg
They are a little over 6" long...
20180629_203333.jpeg
almost 3.5"
20180629_203240.jpeg
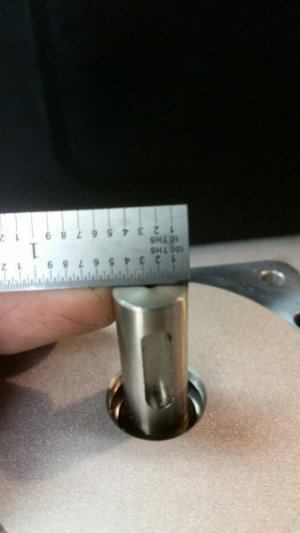
1/2" shaft with a 3/16" keyway
20180629_202811.jpeg
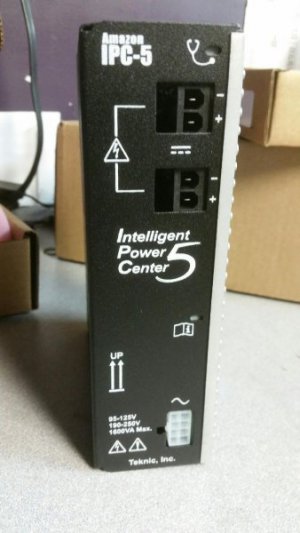
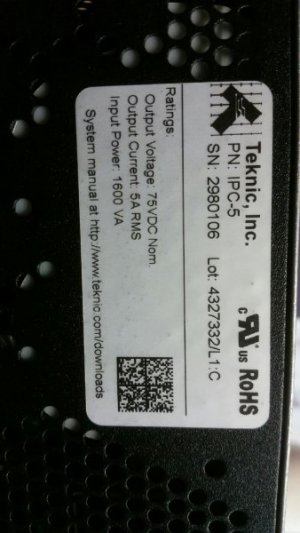
I will be using Teknic's IPC-5 75VDC power supply
20180629_202938.jpeg
20180629_202907.jpeg
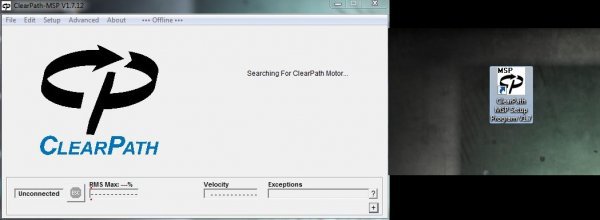
But before you can wire up you Masso controller you have to power up the Clearpath servos and plug them in to a PC with the ClearPath USB-B cable and it absolutely has to be their cable I've already tried 5 others, now I'm waiting for UPS to deliver a "Teknic Certified" USB cable. Very Lame....
Capture.JPG
Their program will not see my servos without the "Teknic Certified" USB cable...


Edit: Almost any USB cable will work.... lol
 
Last edited:
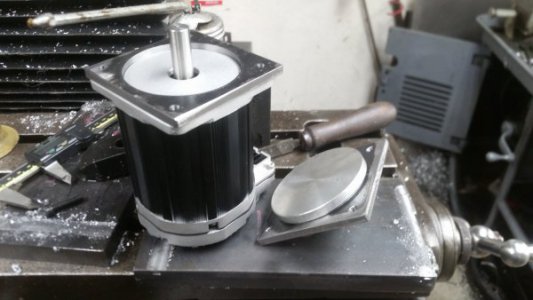
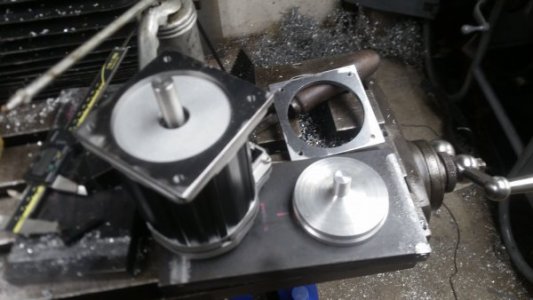
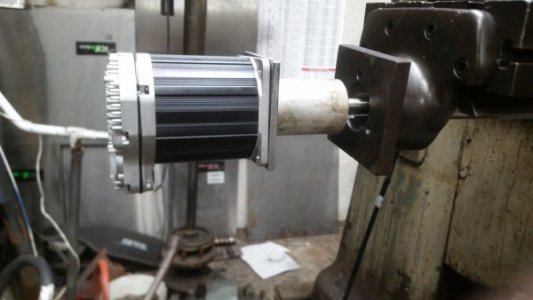
Here is the aluminum disc I cut to match the servo dimensions that I will be using for fit up while TIG welding the servo mounts, so I don't accidentally ground through my $400 servos.....

20180908_153917.jpg20180908_153951.jpg


Just because I have Teknic watching....... JK :cool:
 
Last edited:
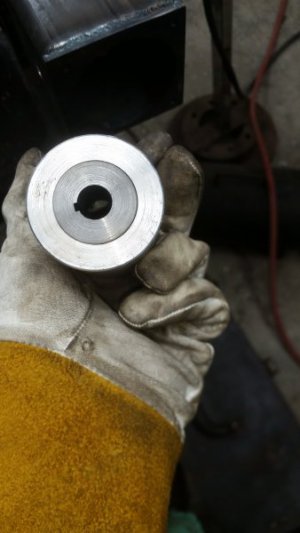
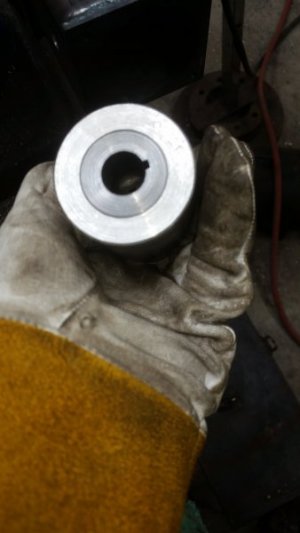
1/2" to 5/8" shaft coupler with an 1/8" keyway on both ends....... 12L14 pressed into 6160 DOM tubing.......
20180919_014456.jpg..
20180919_014452.jpg
Just needs set screws now.....
20180918_234929.jpg
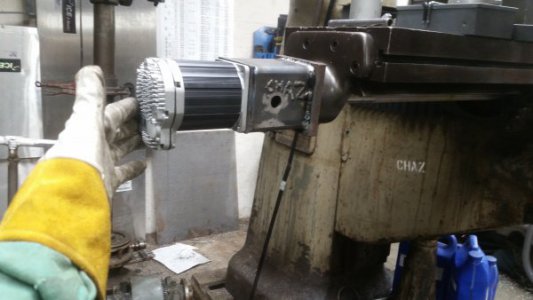
I just finished TIG welding the 1st servo mount....... Now I have to cut a hole in one side of the tube so I can get a hex wrench in there....
20180919_014404.jpg
20180919_014442.jpg
 
Last edited:
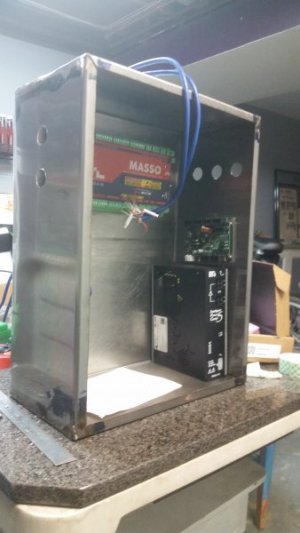
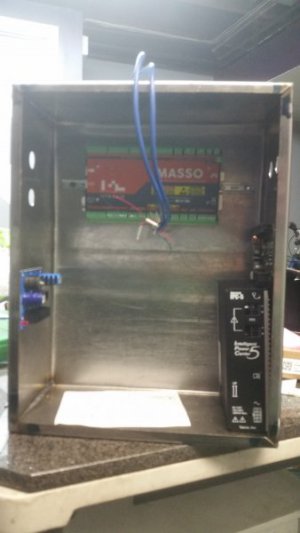
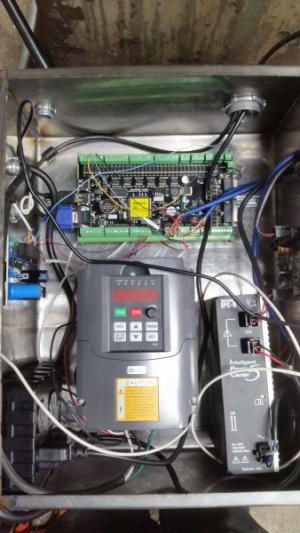
I just folded and TIG welded a stainless steel box today for the CNC controller, VFD and power supplies..... The stainless steel was free!:cool:
20180921_010905.jpgIMG_20180921_011012.jpg
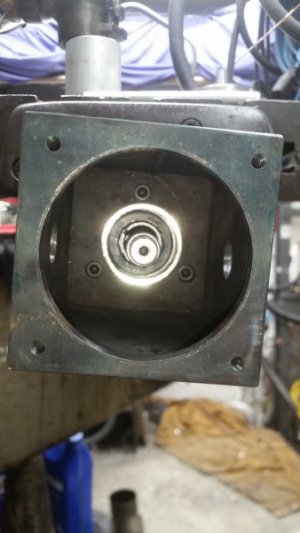
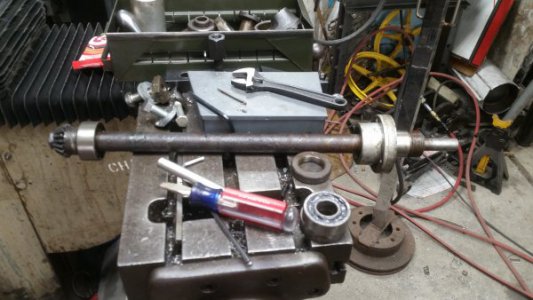
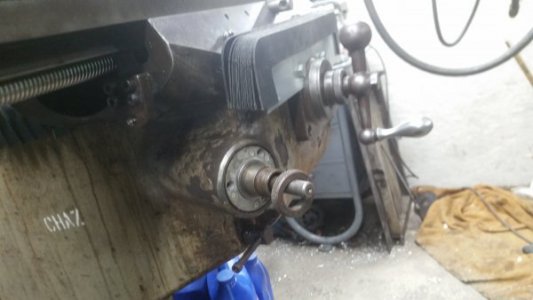
I have to make some extra parts to get the Z axis working..... Unless one of you guys can explain how the right end of this piece comes apart.....
20180919_133119.jpg
20180919_042719.jpg
 
Last edited:
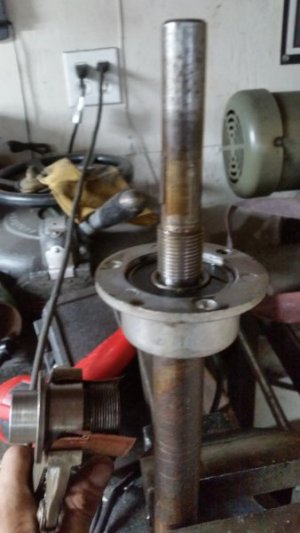
End piece is threaded on. It will actually thread off over the top of the key that is in there.
It's a massive shaft for the job it does. I made one from 5/8 stressproof when I installed a power knee lift that is all internal to the knee.
20180921_110534[1].jpg
 
End piece is threaded on. It will actually thread off over the top of the key that is in there.
It's a massive shaft for the job it does. I made one from 5/8 stressproof when I installed a power knee lift that is all internal to the knee.

Thank you for the response.... You really saved me alot of work.... I appreciate the picture as well.... I have it all apart, I'm welding the z axis servo mount now....
20180921_165041.jpg
 
Last edited:
Sadly this setup for the Z axis won't work the servo doesn't have enough torque so I just ordered a 5:1 planetary gearhead for the servo..... Damn it....
The servo has enough torque to go down but the servo faults out when I try going up....

Wittenstein-Alpha LP070S MF1:5 Gear Reducer

Its not going to just fit, I will need to make a few parts.....
 
Last edited:
Seems like most 3-axis CNC set ups use the quill instead of the knee for the Z-axis. Must be because of the higher loads required to move the table. You're going to have a great set up with over 12" of Z travel where the quill only gets you 5".

Bruce
 
Back
Top