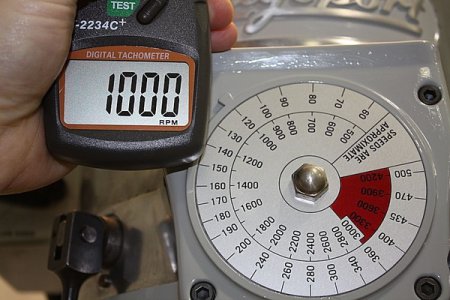
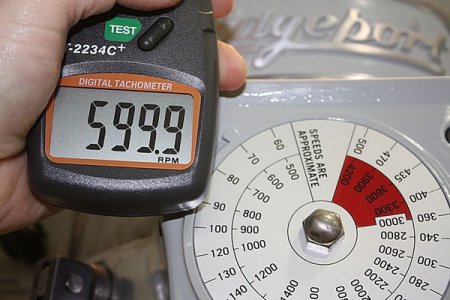
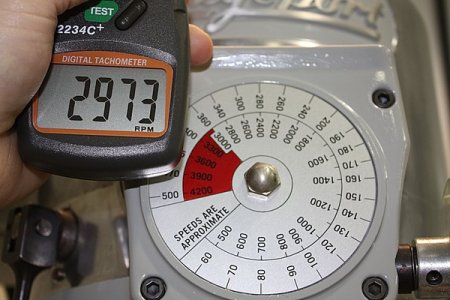
Fair enough! Here's how I did it:
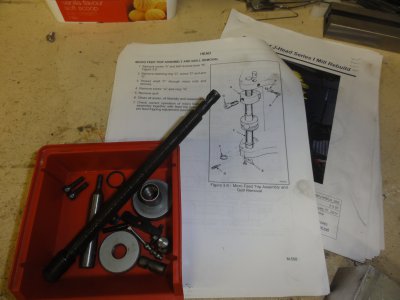
Firstly I removed the quill feed trip mechanism from the head:
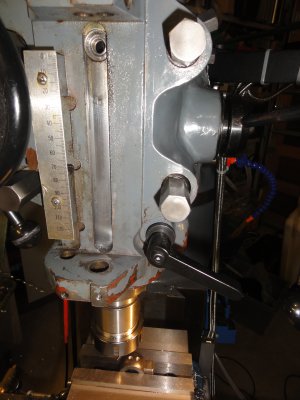
This is what comes off. It's a good time to clean it all up and check it all looks fit. On mine, the "ball reverse lever" was a bit bent but I was able to straighten it out without breaking it.
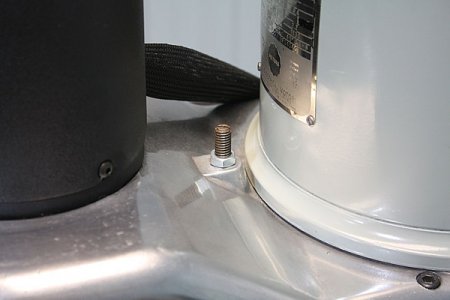
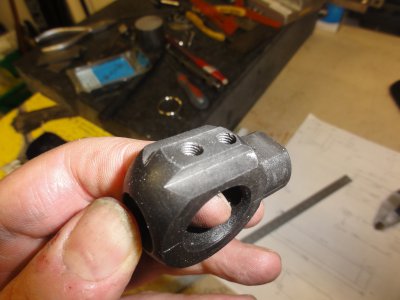
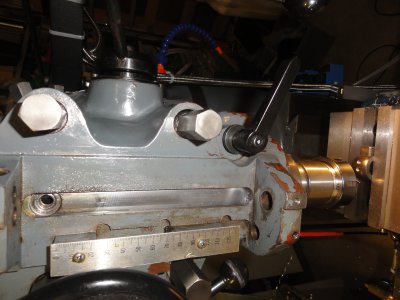
I then butchered the quill stop knob so that I had a feature to locate on and a couple of threaded holes (you can see this happening in the first pic). I'm quite happy to perpetrate this kind of damage on my machine tools, as you can see from the final picture:
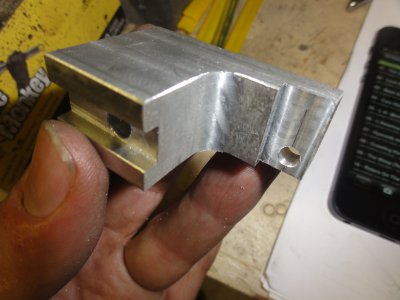
I then made up a bracket that mated with this feature and extended out to where the scale slider would be:
Here's the scale mounted to the head and a view showing the slider mounted to the quill stop knob using this bracket:
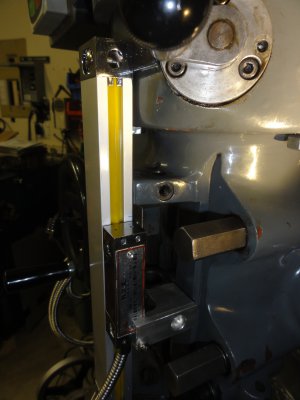
This is what it looks like with all the bits back in place and the scale assembled:
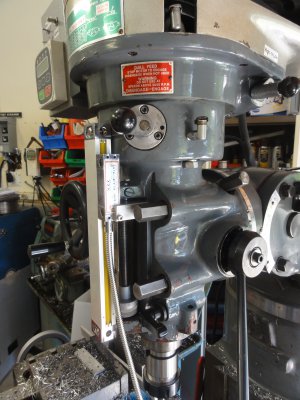
You can see the 2 Z scales here - the quill scale which I use for drilling and boring at the top and the knee scale which is more useful for heavy machining which requires the whole table to be raised at the bottom. Both have their uses and I go round the back of the DRO to swap the plugs over if needed. I suppose I could use both at the same time if I ever needed to by unplugging the X or Y axis instead but that seems unlikely.
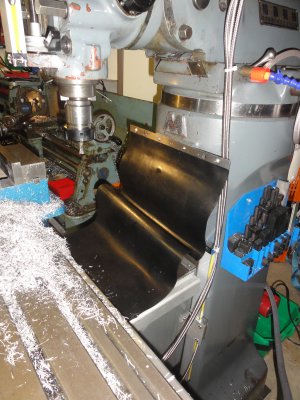
Cutting the scale down to size was another exercise - there's a glass scale inside the scale housing that you need to shorten but it's actually fairly straightforward if you just think it through carefully. There's also a zero datum point that you don't want to accidentally lose in the process by cutting off the wrong piece!
Hope you find this interesting. I only did it because I had a spare scale left over but in the end I'd recommend it if you have the motivation and means to do so.
Muzz


Firstly I removed the quill feed trip mechanism from the head:

This is what comes off. It's a good time to clean it all up and check it all looks fit. On mine, the "ball reverse lever" was a bit bent but I was able to straighten it out without breaking it.

I then butchered the quill stop knob so that I had a feature to locate on and a couple of threaded holes (you can see this happening in the first pic). I'm quite happy to perpetrate this kind of damage on my machine tools, as you can see from the final picture:

I then made up a bracket that mated with this feature and extended out to where the scale slider would be:

Here's the scale mounted to the head and a view showing the slider mounted to the quill stop knob using this bracket:

This is what it looks like with all the bits back in place and the scale assembled:

You can see the 2 Z scales here - the quill scale which I use for drilling and boring at the top and the knee scale which is more useful for heavy machining which requires the whole table to be raised at the bottom. Both have their uses and I go round the back of the DRO to swap the plugs over if needed. I suppose I could use both at the same time if I ever needed to by unplugging the X or Y axis instead but that seems unlikely.

Cutting the scale down to size was another exercise - there's a glass scale inside the scale housing that you need to shorten but it's actually fairly straightforward if you just think it through carefully. There's also a zero datum point that you don't want to accidentally lose in the process by cutting off the wrong piece!
Hope you find this interesting. I only did it because I had a spare scale left over but in the end I'd recommend it if you have the motivation and means to do so.
Muzz


