BP 2J Rebuild

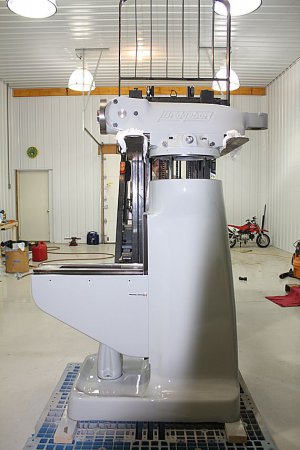
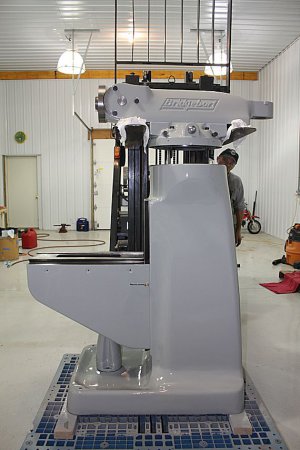
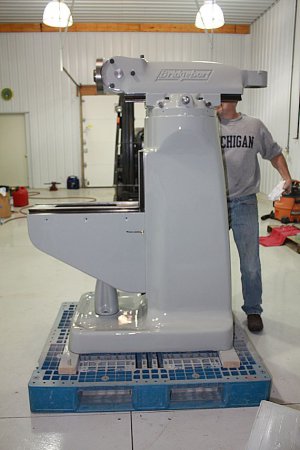
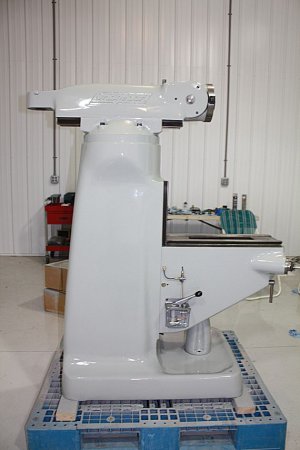
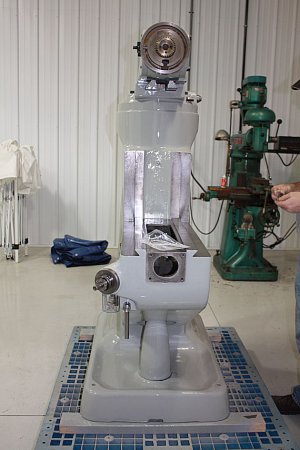
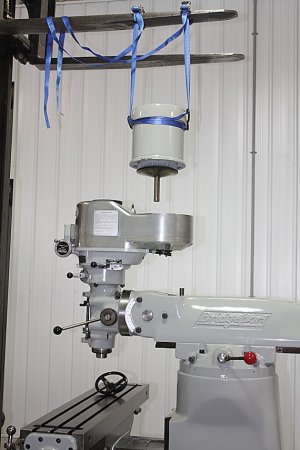
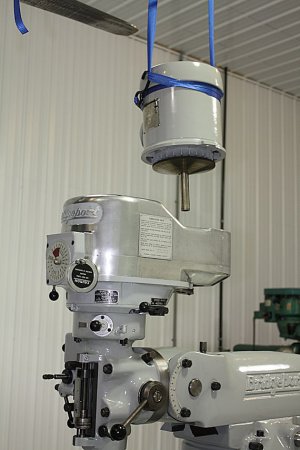
Finally I could start putting her back together.

IMG_351720 percent.jpgIMG_354120 percent.jpgIMG_355320 percent.jpgIMG_378220 percent.jpgIMG_378620 percent.jpgIMG_379520 percent.jpgIMG_379620 percent.jpgIMG_380620 percent.jpgIMG_381320 percent.jpgIMG_381820 percent.jpgIMG_382220 percent.jpgIMG_383120 percent.jpg

- - - Updated - - -

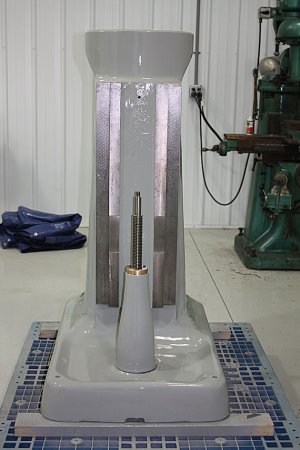
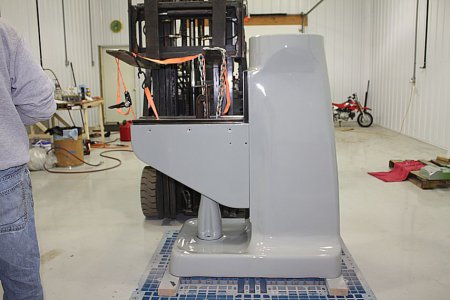
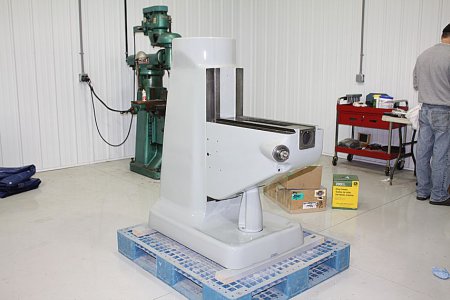
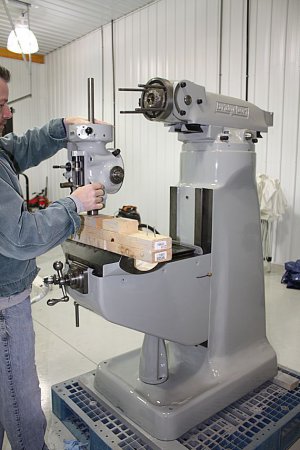
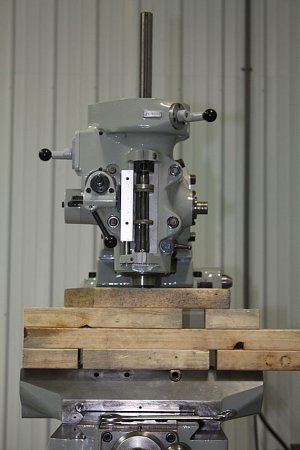
Turret, ram, and quill housing

IMG_358620 percent.jpgIMG_359020 percent.jpgIMG_359620 percent.jpgIMG_359920 percent.jpgIMG_360220 percent.jpgIMG_362120 percent.jpgIMG_362720 percent.jpg

IMG_351720 percent.jpg IMG_354120 percent.jpg IMG_355320 percent.jpg IMG_378220 percent.jpg IMG_378620 percent.jpg IMG_379520 percent.jpg IMG_379620 percent.jpg IMG_380620 percent.jpg IMG_381320 percent.jpg IMG_381820 percent.jpg IMG_382220 percent.jpg IMG_383120 percent.jpg IMG_358620 percent.jpg IMG_359020 percent.jpg IMG_359620 percent.jpg IMG_359920 percent.jpg IMG_360220 percent.jpg IMG_362120 percent.jpg IMG_362720 percent.jpg
 
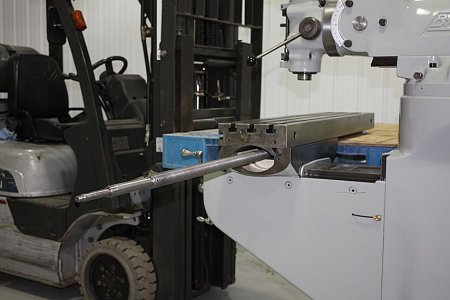
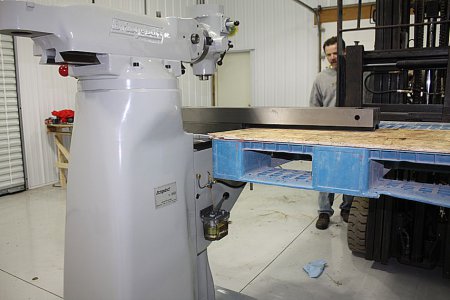
Installing the table

IMG_383420 percent.jpgIMG_383620 percent.jpgIMG_384120 percent.jpgIMG_384220 percent.jpgIMG_384620 percent.jpgIMG_385820 percent.jpg

- - - Updated - - -

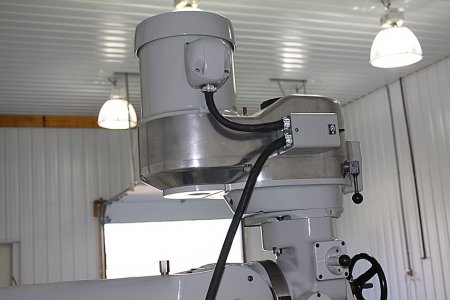
Next was the belt housing and motor but for some reason I don't have a single pic of the belt housing going on. My photographer must have been on break.

IMG_391020 percent.jpgIMG_391220 percent.jpg

- - - Updated - - -

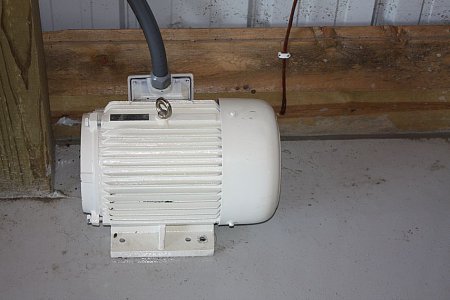
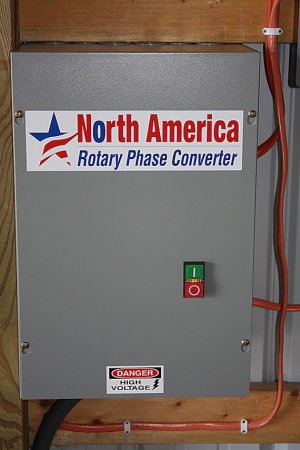
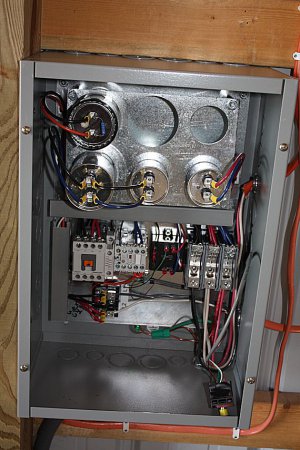
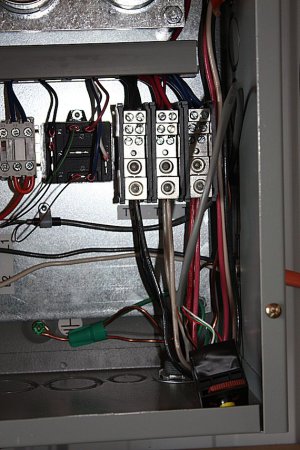
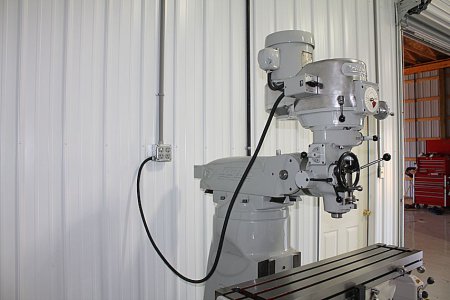
Next we moved her into place and wired up the RPC to the mill.

IMG_396720 percent.jpgIMG_397220 percent.jpgIMG_397320 percent.jpgIMG_397520 percent.jpgIMG_397620 percent.jpgIMG_398020 percent.jpgIMG_398620 percent.jpgIMG_398720 percent.jpg

IMG_383420 percent.jpg IMG_383620 percent.jpg IMG_384120 percent.jpg IMG_384220 percent.jpg IMG_384620 percent.jpg IMG_385820 percent.jpg IMG_391020 percent.jpg IMG_391220 percent.jpg IMG_396720 percent.jpg IMG_397220 percent.jpg IMG_397320 percent.jpg IMG_397520 percent.jpg IMG_397620 percent.jpg IMG_398020 percent.jpg IMG_398620 percent.jpg IMG_398720 percent.jpg
 
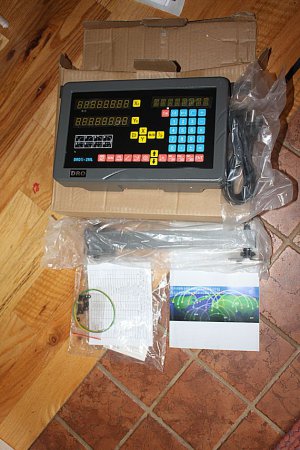
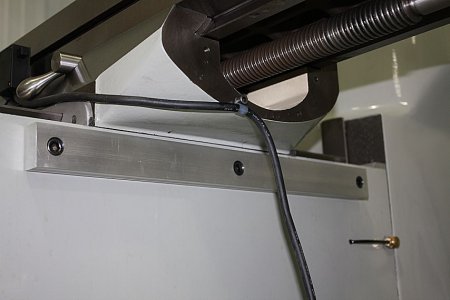
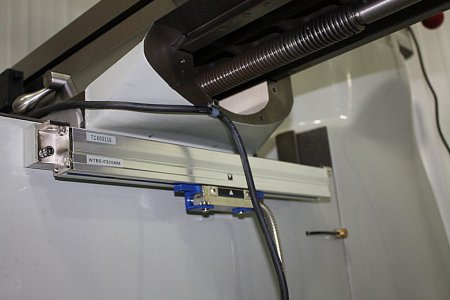
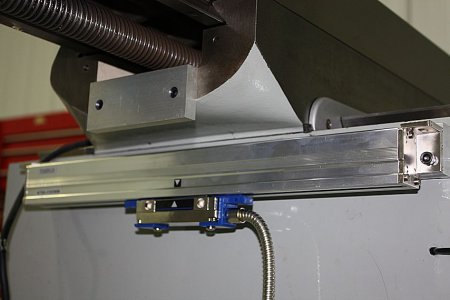
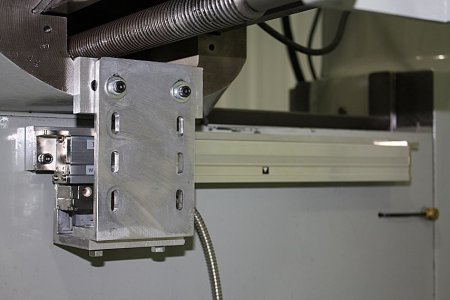
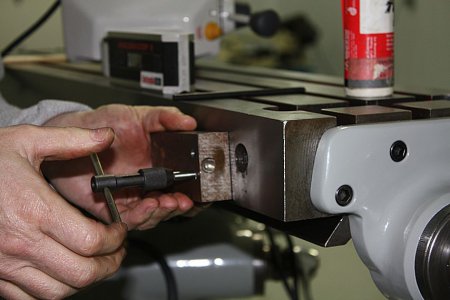
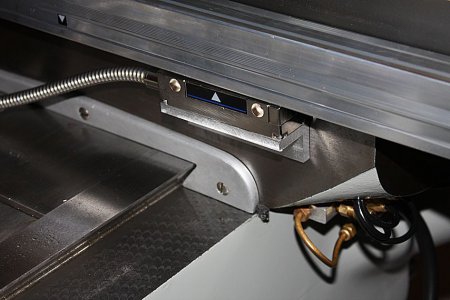
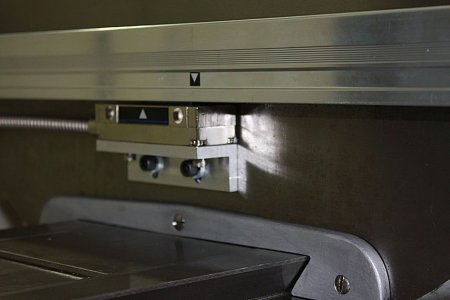
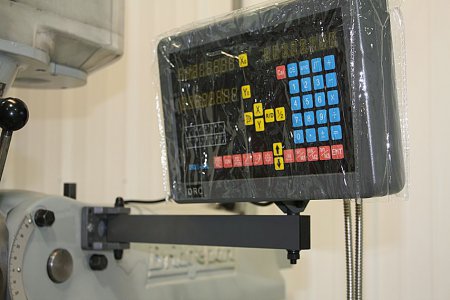
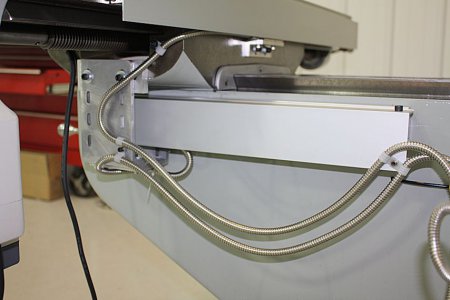
Installing the DRO

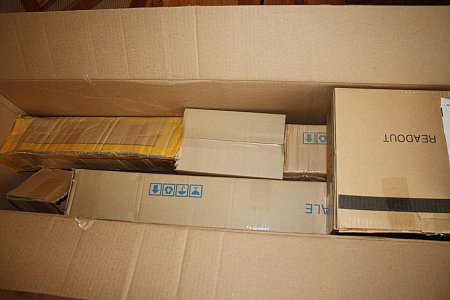
IMG_408220 percent.jpgIMG_408520 percent.jpgIMG_408620 percent.jpgIMG_408920 percent.jpgIMG_409820 percent.jpgIMG_411020 percent.jpgIMG_411220 percent.jpgIMG_411420 percent.jpgIMG_411820 percent.jpgIMG_412320 percent.jpgIMG_412820 percent.jpgIMG_413120 percent.jpg

[video=youtube_share;_Kss7ykIfYc]http://youtu.be/_Kss7ykIfYc[/video]

IMG_408220 percent.jpg IMG_408520 percent.jpg IMG_408620 percent.jpg IMG_408920 percent.jpg IMG_409820 percent.jpg IMG_411020 percent.jpg IMG_411220 percent.jpg IMG_411420 percent.jpg IMG_411820 percent.jpg IMG_412320 percent.jpg IMG_412820 percent.jpg IMG_413120 percent.jpg
 
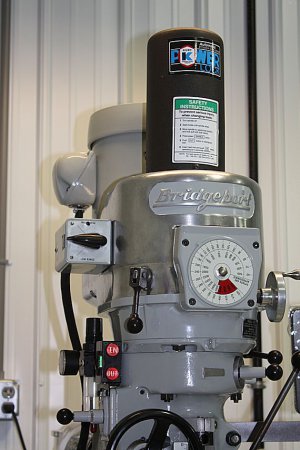
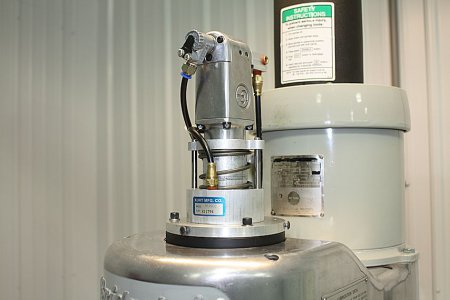
Next we installed the power draw-bar.

IMG_414320 percent.jpgIMG_414720 percent.jpgIMG_415120 percent.jpgIMG_415620 percent.jpg

- - - Updated - - -

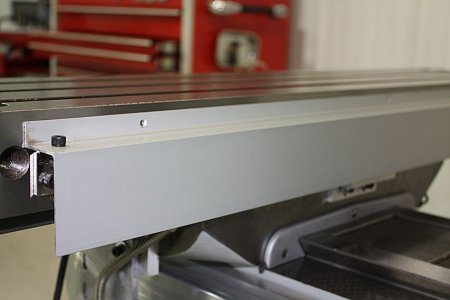
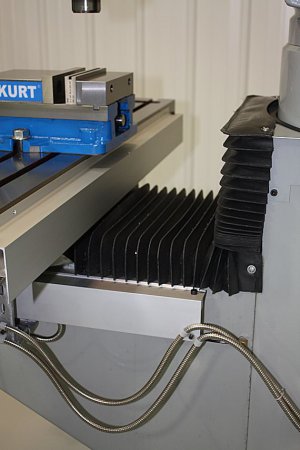
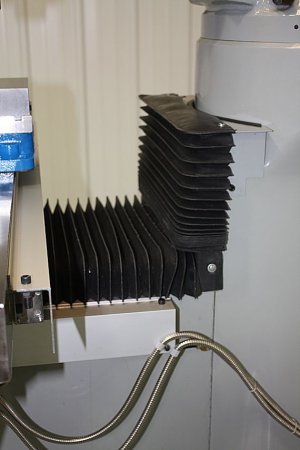
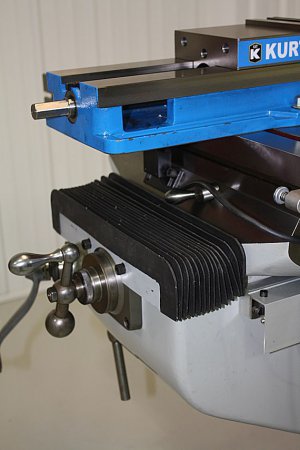
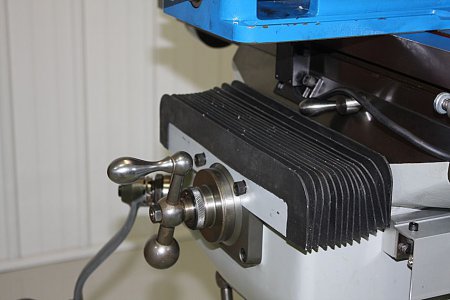
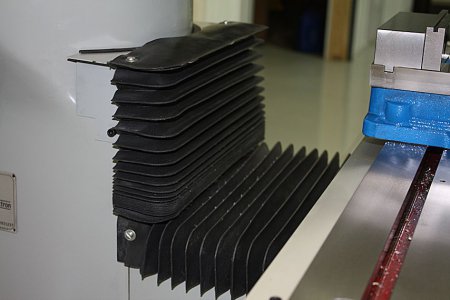
The last thing....the way covers!!!!!

IMG_436920 percent.jpgIMG_437020 percent.jpgIMG_437120 percent.jpgIMG_437220 percent.jpgIMG_437420 percent.jpg

IMG_414320 percent.jpg IMG_414720 percent.jpg IMG_415120 percent.jpg IMG_415620 percent.jpg IMG_436920 percent.jpg IMG_437020 percent.jpg IMG_437120 percent.jpg IMG_437220 percent.jpg IMG_437420 percent.jpg
 
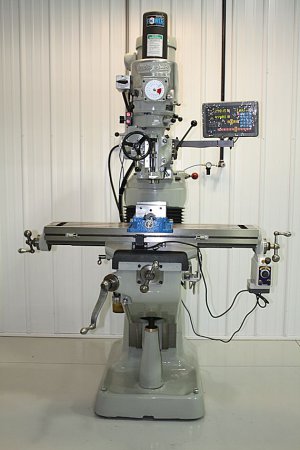
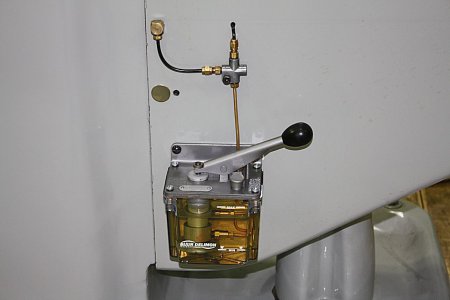
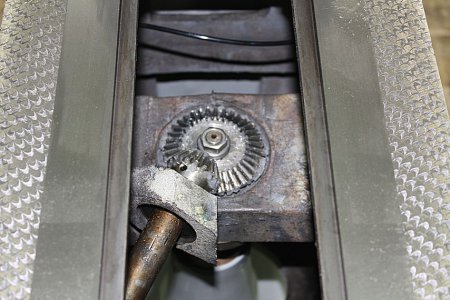
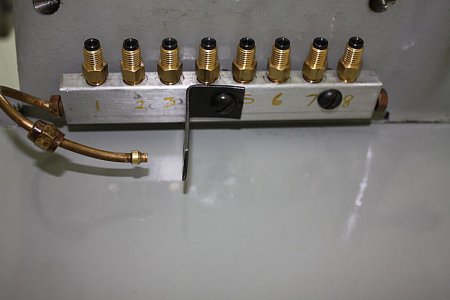
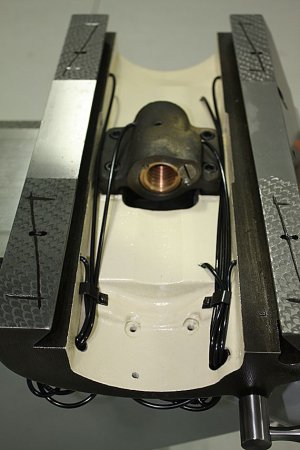
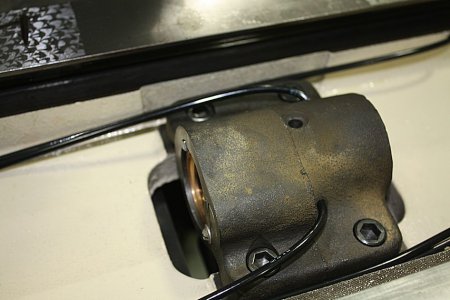
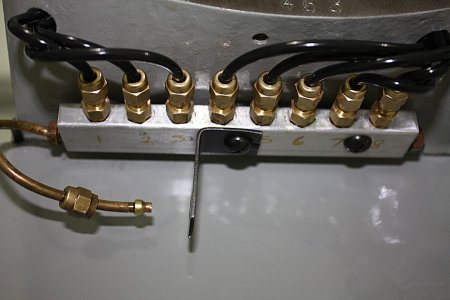
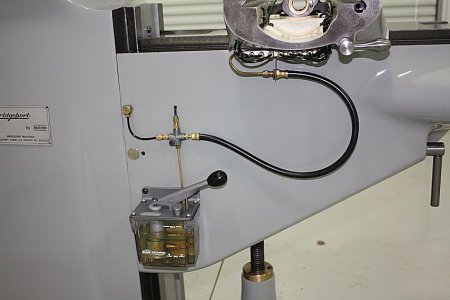
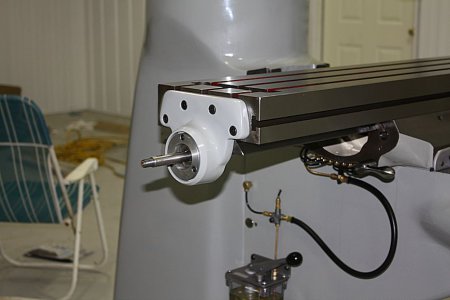
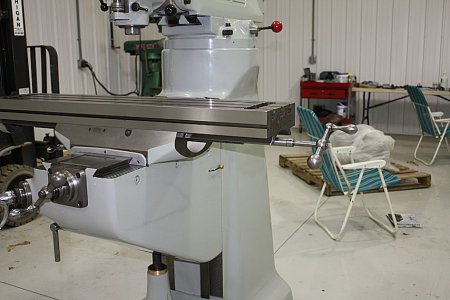
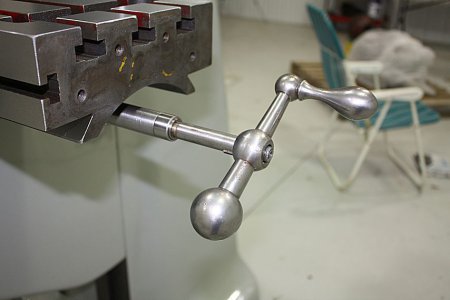
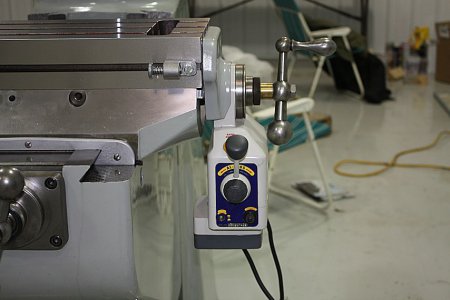
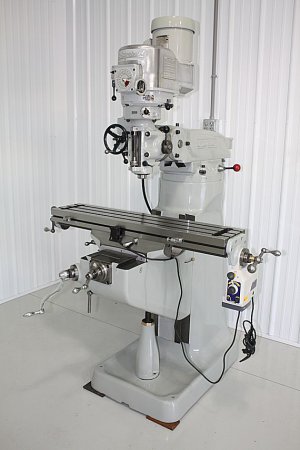
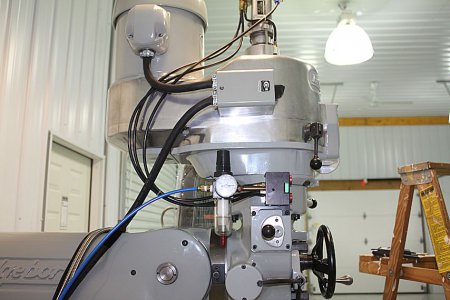
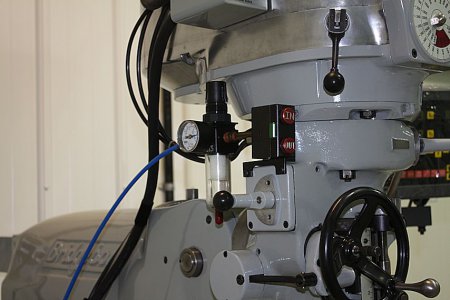
Just to summarize the machine has been completely taken apart, cleaned, inspected, and any part that was wore or out of spec was replaced. The spindle was sent out for rebuild (3 new bearings and a taper regrind). The table, saddle, knee, gibs and column were sent out for regrinding, scrapping, fitting, and reflaking. All metal parts (table locks, handles, and ect) were cleaned and polished. The one shot oiling system was rebuilt. All new metering jets, new plastic lines, and fittings. Spindle bushings replaced. New drive and timing belt. Gear housing assy completely rebuild. New bearing on the motor. Basically any that that could be done was done.

I hope you guys enjoy the pics and it wasn't to much!!!!
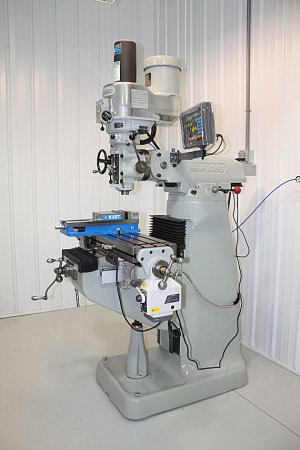
IMG_436120 percent.jpgIMG_436720 percent.jpg

IMG_436120 percent.jpg IMG_436720 percent.jpg
 
Last edited:
WOW!

That is amazing you did all that on a hobby machine. You have one sweet machine. Looks like you thought of everything. Not only the resto but the add-ons. Now the real fun begins, getting it dirty. I bet you had quite the learning experience.
 
Last edited:
RandM, I learned a lot to say the least. It was a ton of fun and a lot of work. But I would do it again in a second. Thanks for the nice words!!!
 
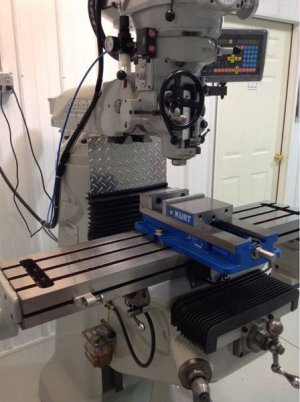
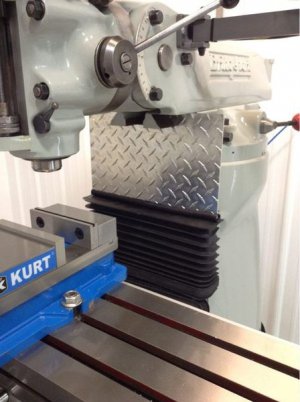
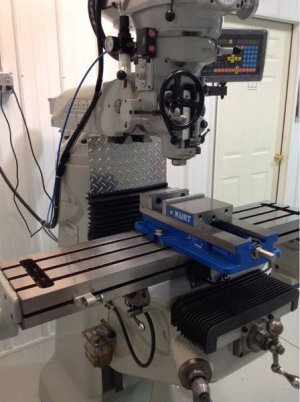
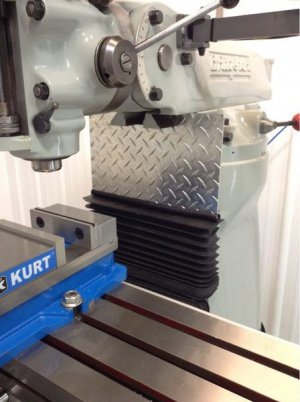
Added a shield for the column plus the seal for the way covers had a tiny gap the chips kept getting in. It also stops that from happening.

uvumynys.jpg

ugehybab.jpg

uvumynys.jpg

ugehybab.jpg
 
Man this thing looks amazing, better than new. I was really liking the mill rite in the back ground, I tried to buy one but the deal never happened. I wish I had the room for a bridgy, yours came out great. I'm glad I found this thread, it was a very educational and fun read. Thanks for doing this.
Greg
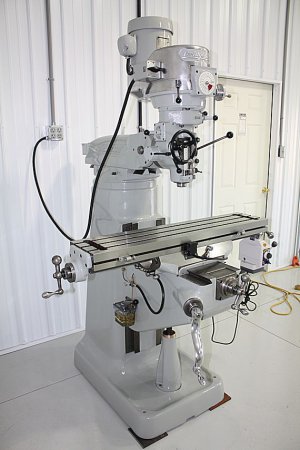
 
Super nice job on the Bridgeport! It should last another 50 years. Nice detail work for sure and great presentation. Thanks for sharing.

David
 
Back
Top