H
Hukshawn
Forum Guest
Register Today
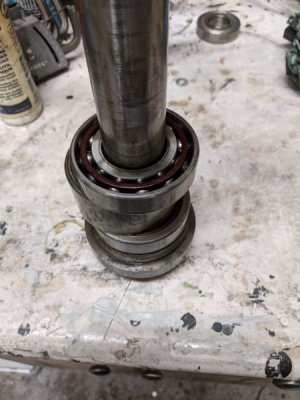
Some bearings came in today. The step pulley bearings and the hand crank bearing.
The pulley setup sounds superb now.
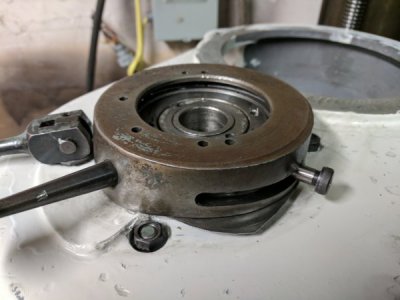
However, when trying to put the pulley back in the housing with the lift/gear change assembly, I realized I basically had to rebuild the whole set up. After hours of pissing around with stripped threads, galling, wrong bolts, I just rebuilt it.
The shoulder bolts that thread into the pulley body that are lifted by the change lever were stripped, not to mention the wrong bolts. The assembly was worn out enough that the pulley wouldn't fully lift off the cog on the top of the spindle. Sooooo, I drilled and tapped new holes for the shoulder bolts, cut a spacer/shim ring to go under the lift ring/collar to give a bit more height, and filed/sanded all mating/sliding surfaces to make movement smoother cause it just galled before.
Everything works now, smooth, engages and disengages as it should. Only issue now, the break ring has a worn section and an unworn section that sat above the top of the pulley. Since the pulley is slightly higher now it just skims that unworn section of brake. Just enough to create an annoying ring. Nothing I'll worry about at this point. I'm sure it'll settle or wear a happy spot.
I also wrapped the brake spreader with a copper shim cause the brake wouldn't engauage anymore. Fix what ya got rather than spend more money... Now the brake catches and works great. I will keep an eye on it over time to make sure it doesn't wear right through.
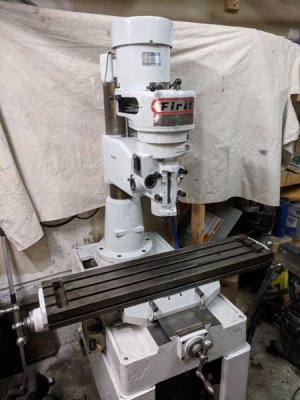
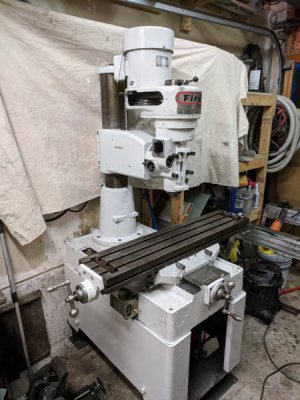
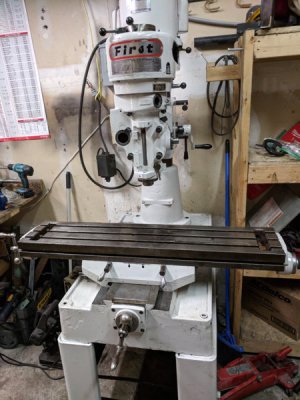
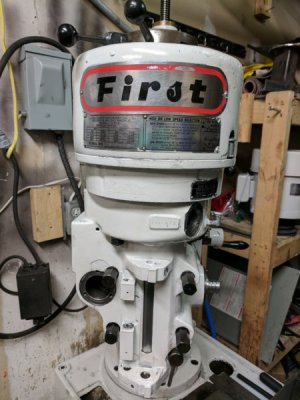
The light gray/white looks nice, but maaan it grabs dirty finger prints. I keep wiping everything down after I'm done a step.
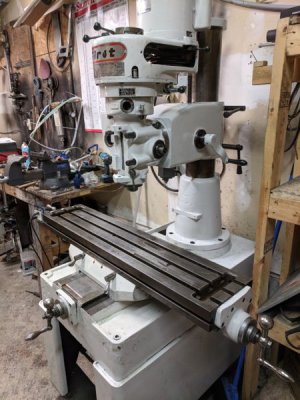
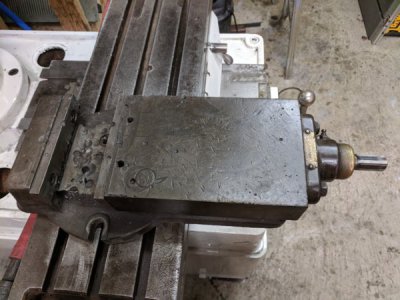
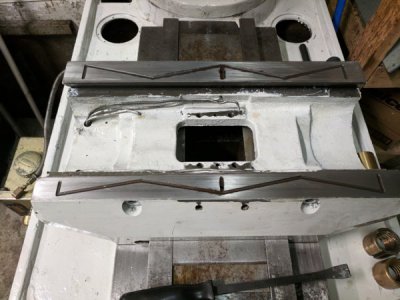
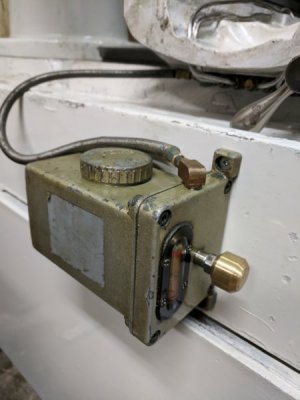
I also have part of the table back together. Re did all the oiler system. Cleaned untold amounts of crap out of the holes. No way oil was getting through there before. And it showed - the ways have lost all the hand scraping. The y slide gets real tight if you travel beyond the worn area, near the column.
I turned a brass ball to replace the missing plunger handle. Fastest brass knob I ever cut. Seconds!
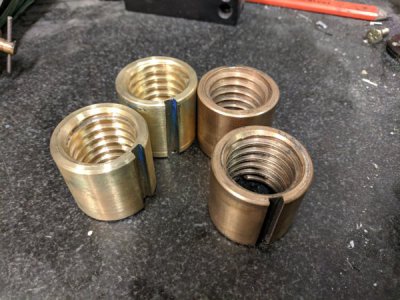
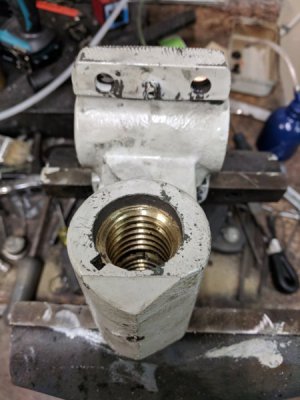
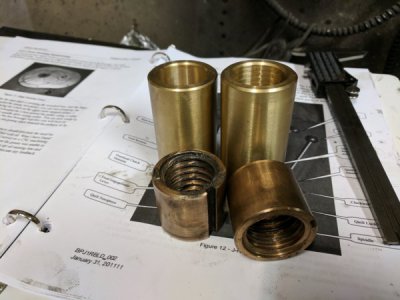
I'm going to ATTEMPT to turn new nuts... I have to use my friend's lathe again since I can't turn the 5tpi acme thread. I will turn each piece as one then part then in half in order to get the two threaded pieces to adjust the backlash. I had picked out a piece of good bearing bronze at the metal shop until I got to cash and found out it was $150... I promptly returned it to the shelf and grabbed a smaller section of regular brass for $50. Lol.
If I can make the nuts, it'll be nearly $80 cheaper than ordering from H&W
The pulley setup sounds superb now.
However, when trying to put the pulley back in the housing with the lift/gear change assembly, I realized I basically had to rebuild the whole set up. After hours of pissing around with stripped threads, galling, wrong bolts, I just rebuilt it.
The shoulder bolts that thread into the pulley body that are lifted by the change lever were stripped, not to mention the wrong bolts. The assembly was worn out enough that the pulley wouldn't fully lift off the cog on the top of the spindle. Sooooo, I drilled and tapped new holes for the shoulder bolts, cut a spacer/shim ring to go under the lift ring/collar to give a bit more height, and filed/sanded all mating/sliding surfaces to make movement smoother cause it just galled before.
Everything works now, smooth, engages and disengages as it should. Only issue now, the break ring has a worn section and an unworn section that sat above the top of the pulley. Since the pulley is slightly higher now it just skims that unworn section of brake. Just enough to create an annoying ring. Nothing I'll worry about at this point. I'm sure it'll settle or wear a happy spot.
I also wrapped the brake spreader with a copper shim cause the brake wouldn't engauage anymore. Fix what ya got rather than spend more money... Now the brake catches and works great. I will keep an eye on it over time to make sure it doesn't wear right through.

The light gray/white looks nice, but maaan it grabs dirty finger prints. I keep wiping everything down after I'm done a step.

I also have part of the table back together. Re did all the oiler system. Cleaned untold amounts of crap out of the holes. No way oil was getting through there before. And it showed - the ways have lost all the hand scraping. The y slide gets real tight if you travel beyond the worn area, near the column.

I turned a brass ball to replace the missing plunger handle. Fastest brass knob I ever cut. Seconds!

I'm going to ATTEMPT to turn new nuts... I have to use my friend's lathe again since I can't turn the 5tpi acme thread. I will turn each piece as one then part then in half in order to get the two threaded pieces to adjust the backlash. I had picked out a piece of good bearing bronze at the metal shop until I got to cash and found out it was $150... I promptly returned it to the shelf and grabbed a smaller section of regular brass for $50. Lol.
If I can make the nuts, it'll be nearly $80 cheaper than ordering from H&W

Last edited by a moderator:

