Atlas milling machine refresh project

VSAncona

Active User
Registered
Joined
Dec 22, 2011
Messages
310
Since there seems to be several people here with Atlas milling machines, I thought I'd start a thread with some photos of the "refresh" of mine. I bought this machine a year ago (Jan 2014). It came out of a university and was in pretty good condition. In fact, I probably could have just put it into use as it was. But I had to partially disassemble it to get it down into my basement by myself, so I figured I would take it all apart and degrease it and go through everything before using it. That was a year ago, and it's still in pieces. But I've started working on it again and I'm determined to get it operational this winter.

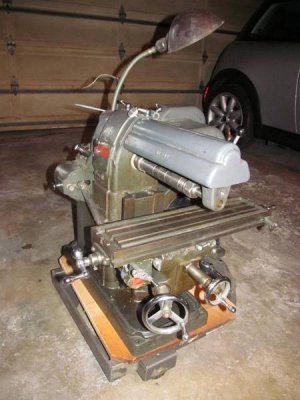
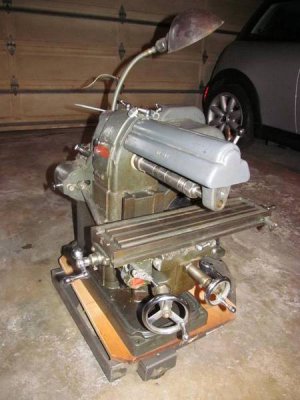
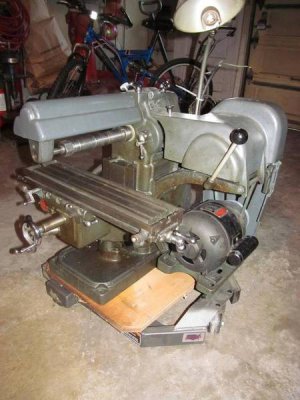
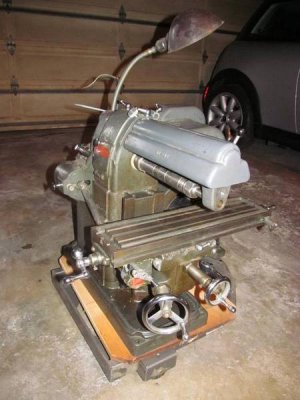
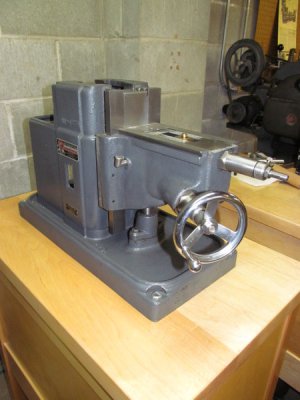
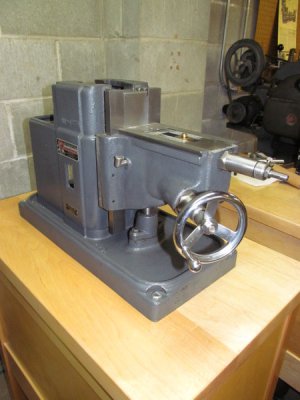
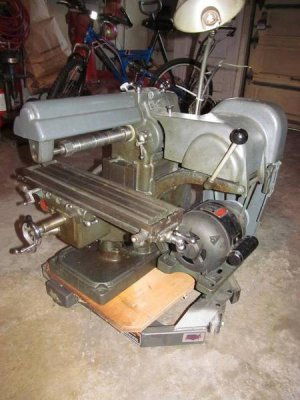
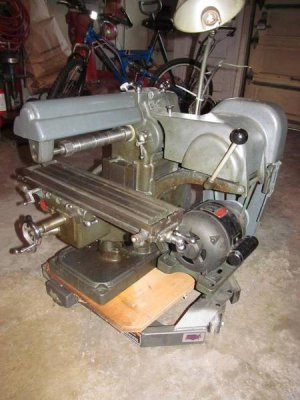
I've posted these pics before, but here is what she looked like when I first got her home:
002_zps6ebbd0b3.jpg

001_zps9891b41d.jpg

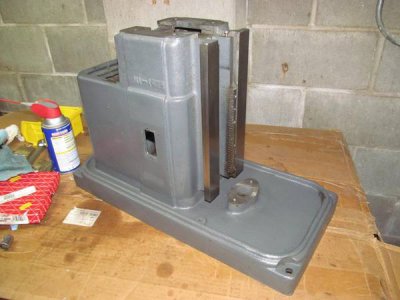
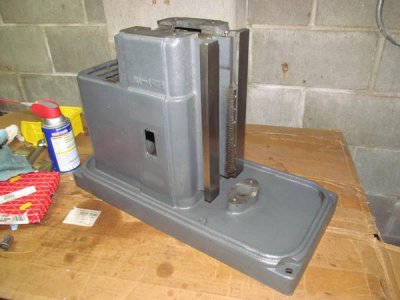
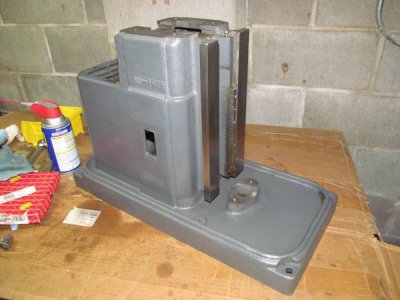
Instead of taking everything apart all at once, I disassembled the machine into basic components and decided to work on a single component at a time. I started with the base and main column. There was a lot of dried-on oil and chips, but it came out pretty clean. The original paint is in pretty good shape, so I'm just going to clean the parts and put them back together:
001_zpsaf0df480.jpg

I got as far as the knee last winter. In the meantime, I built a bench for it and have been rounding up some miscellaneous small parts that are missing or broken. Last week I started on the head/spindle assembly. I'll post some of photos of that later.

Vince
002_zps6ebbd0b3.jpg

001_zps9891b41d.jpg

001_zpsaf0df480.jpg

002_zps6ebbd0b3.jpg

001_zps9891b41d.jpg

001_zpsaf0df480.jpg
 
That looks pretty nice before you started "refreshing" it . I would have been more that happy with its shape however I'm just that way and I am always very impressed with restored machines and MC's I've done a couple of each, more refreshed than restored though...Thanks for the post
 
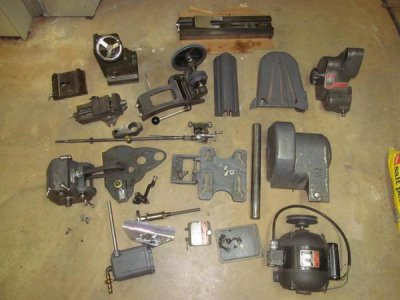
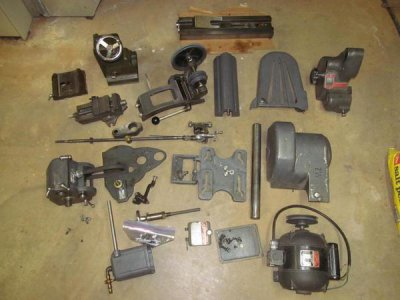
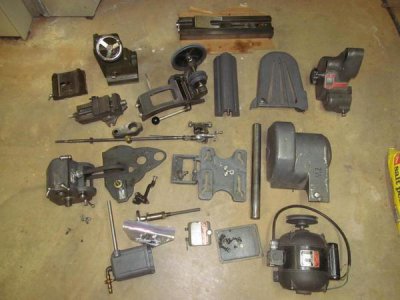
Here's a shot of all the main assemblies spread out:

101_zpse91a96e7.jpg

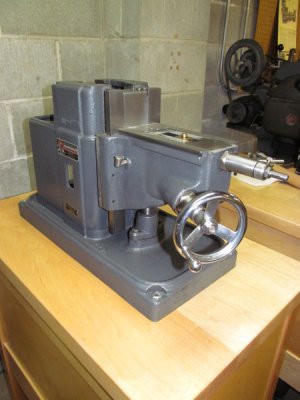
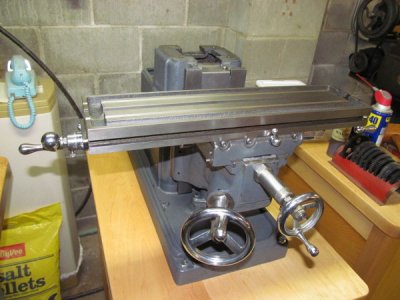
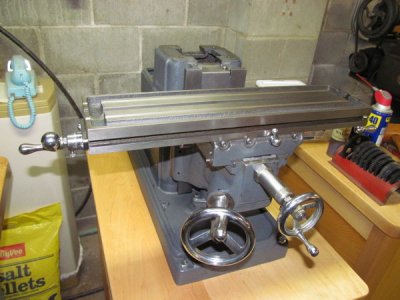
And here it is with the knee back in place and mounted on a bench that I made. This is as far as I got last winter. I hope to make better progress this year!

001_zps23c200a4.jpg

101_zpse91a96e7.jpg

101_zpse91a96e7.jpg

001_zps23c200a4.jpg

001_zps23c200a4.jpg
 
Very nice! You'll enjoy using the mill. And I saw on yours what the holes on the right side of the knee ways are for! The gear rack for the lever operated knee elevation! I never noticed that in my manual,because I don't have that option on my mill.

I'm glad to see another MFC going together. Great little machines!

Keep the pictures coming, too.
 
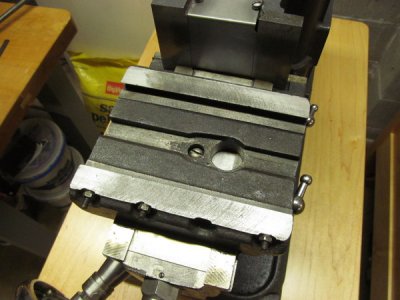
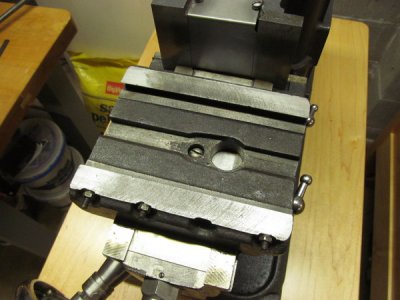
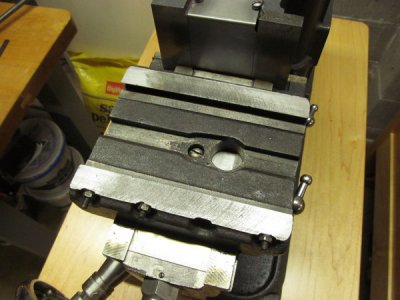
I made some more progress today. First, I got the saddle installed. One of the gibs was pretty badly bent on the end from overtightening the clamp, so I spent some time straightening it out and lapping it smooth.

006_zps8626e02d.jpg

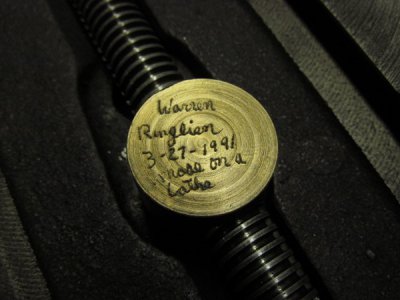
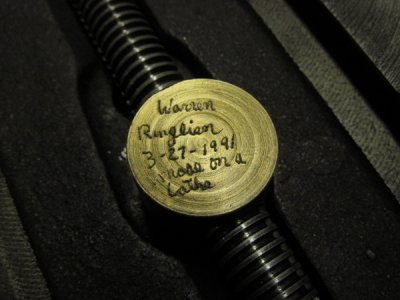
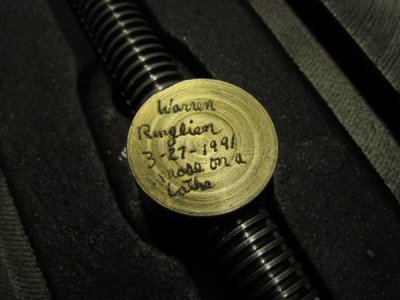
I checked the nut and lead screw for the table and they looked pretty good. The nut has been replaced at some point and the person who made the replacement even signed his work:

007_zps2e4ce517.jpg

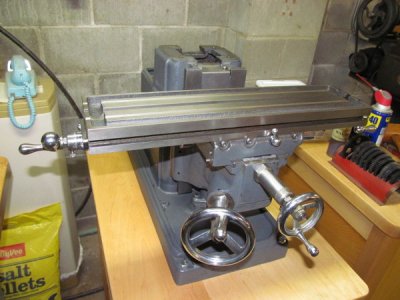
Next, I got the table put back in place:

008_zps5996fa18.jpg

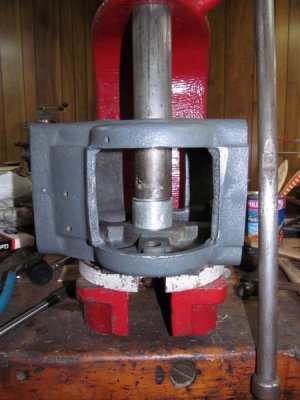
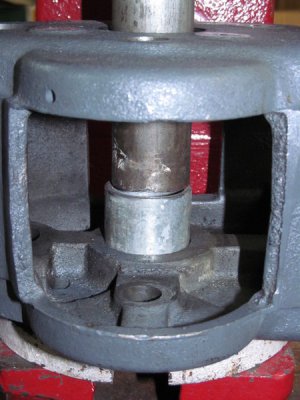
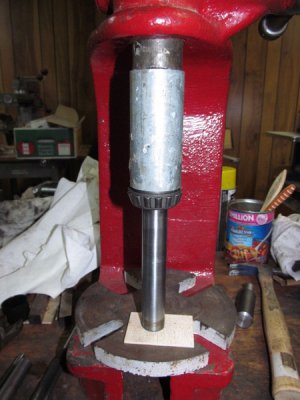
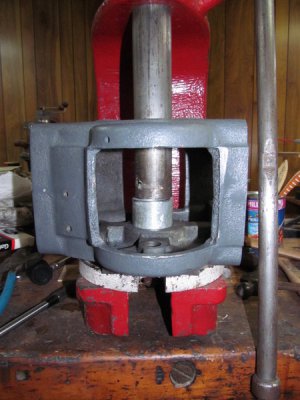
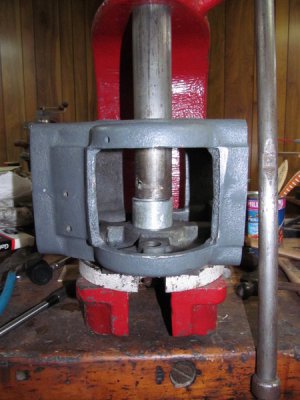
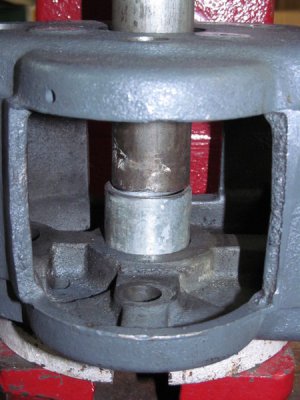
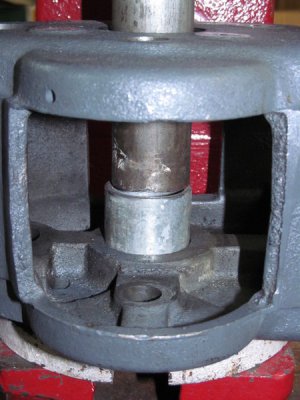
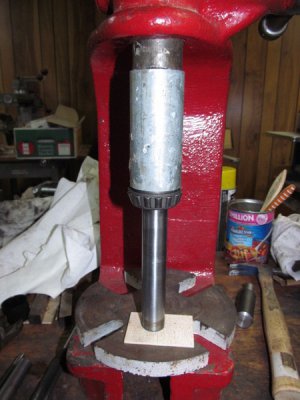
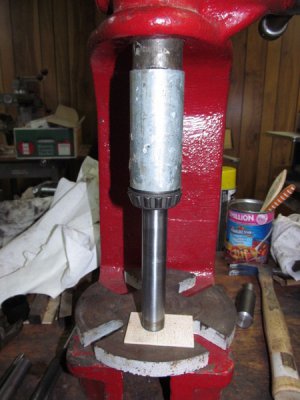
I started disassembling the headstock and spindle and discovered that one of the bearings is pretty worn. So that will have to wait until I can get some replacement bearings. I did get all the parts disassembled and cleaned, however. Here are a couple shots of pressing out the bearing cups:

003_zps5a5a522b.jpg

004_zps5257f561.jpg

And then pressing off the bearing cone from the spindle:

010_zps9c249276.jpg

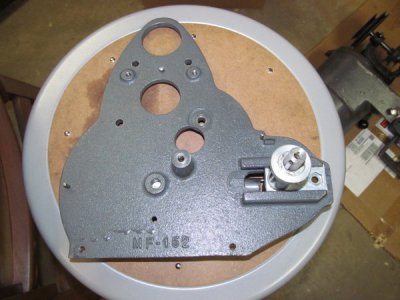
Since I couldn't go any further without new bearings, I switched over to the inner guard. Here it is all cleaned up:
013_zps69d766c6.jpg

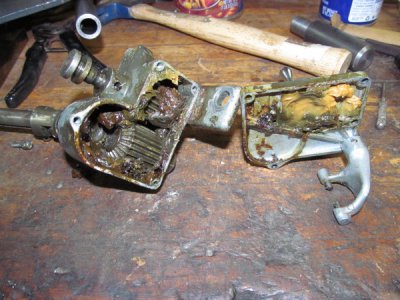
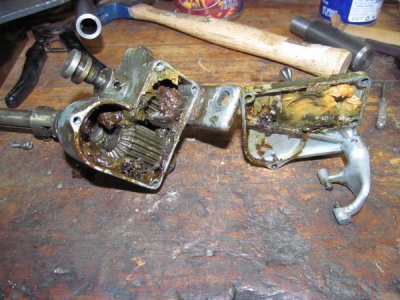
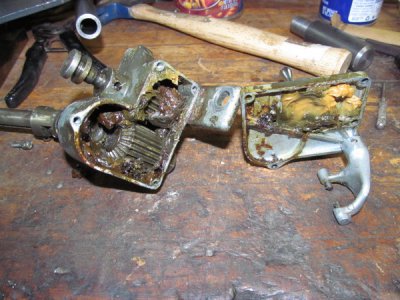
Then I started to tear into the table feed assembly. It was full of hardened grease. This assembly is made entirely out of zamak, so I'm a little nervous about working with it. One false move and it will be toast. I'm stopping here for the night and going to spend a little time studying this assembly before going any further.

011_zps703ec3c5.jpg

006_zps8626e02d.jpg

006_zps8626e02d.jpg

007_zps2e4ce517.jpg

007_zps2e4ce517.jpg

008_zps5996fa18.jpg

008_zps5996fa18.jpg

003_zps5a5a522b.jpg

003_zps5a5a522b.jpg

004_zps5257f561.jpg

004_zps5257f561.jpg

010_zps9c249276.jpg

010_zps9c249276.jpg

013_zps69d766c6.jpg

013_zps69d766c6.jpg

011_zps703ec3c5.jpg

011_zps703ec3c5.jpg
 
Great thread! I'm pouring over every picture!! :wavinghi:

In the first 2 pics there appears to be an attachment point but I cannont figure out for what. It's almost at the top looks like a hinge point but for what?

ANy idea what it's used for?
 
Great thread! I'm pouring over every picture!! :wavinghi:

In the first 2 pics there appears to be an attachment point but I cannont figure out for what. It's almost at the top looks like a hinge point but for what?

ANy idea what it's used for?


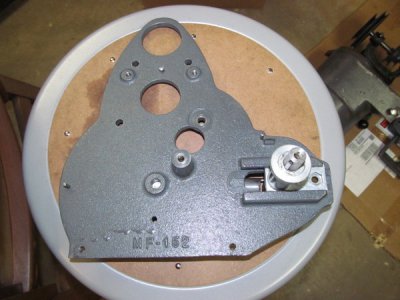
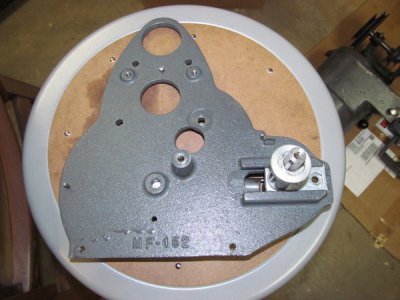
That's a mounting bracket for the coolant tank accessory. I'll try to remember to take a photo of it once I'm done reassembling that component.
 
I later noticed the coolant tank and was wondering.. Mine doesn't have any of the guards or "nicities".. :veryscared:
 
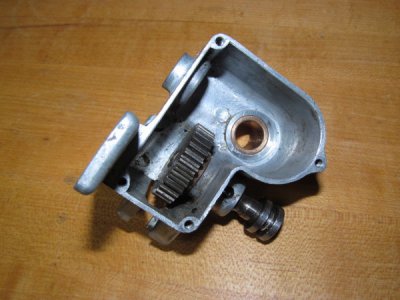
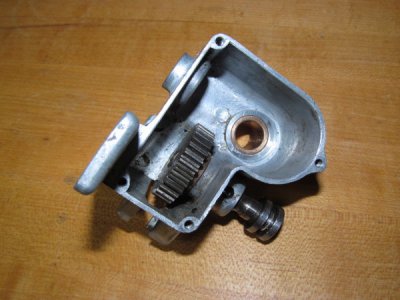
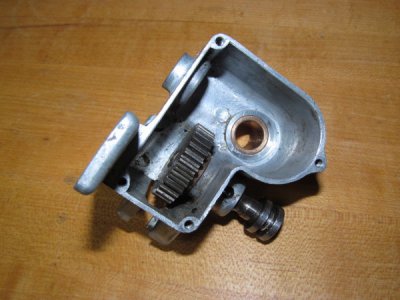
Got a little bit more done today. I managed to get the table feed assembly all taken apart without breaking anything. The only gear I couldn't remove was the one on the sliding shaft. It looks like it's staked to the end of the shaft after it's assembled in the feed gear case and I didn't want to mess with that. So I spent a good hour digging out all the caked on grease from inside the gear case.

002_zps5864331f.jpg

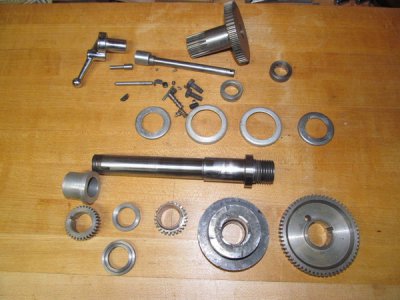
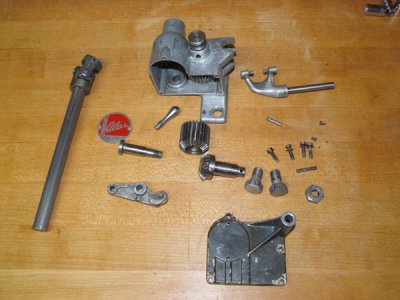
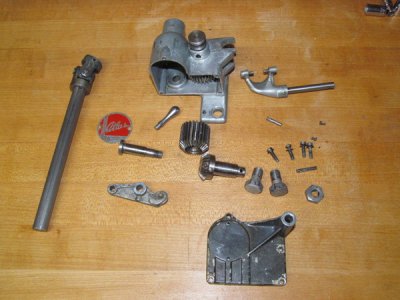
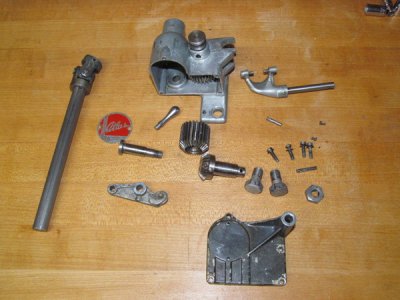
I'm using purple power to degrease the painted, cast iron parts and brake cleaner to clean the gears and unpainted parts. The brake cleaner eats through paint, so I also used it to clean the gear case, since it's the one part that I planned to repaint. The original paint was flaking off pretty badly. Here's a shot of all the parts of the table feed assembly, after cleaning. The only part that I haven't cleaned yet is the feed gear case cover because I'm going to use it to try and match the paint. I won't be able to reassemble everything until I get the gear case painted.
001_zps797f0ce1.jpg

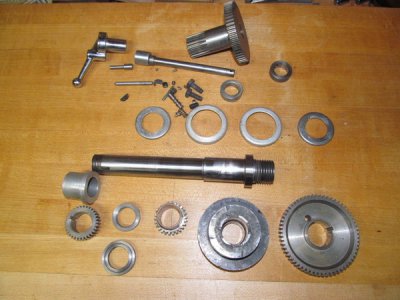
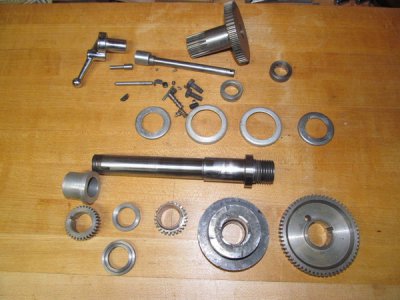
I also finished cleaning the parts for the spindle, back gear, and head assembly. Again though, I can't put anything back together until I get some new Timken bearings for the spindle. So I'm back to waiting for now.

005_zps6a2f532f.jpg

002_zps5864331f.jpg

001_zps797f0ce1.jpg

005_zps6a2f532f.jpg

002_zps5864331f.jpg

001_zps797f0ce1.jpg

005_zps6a2f532f.jpg
 
Back
Top