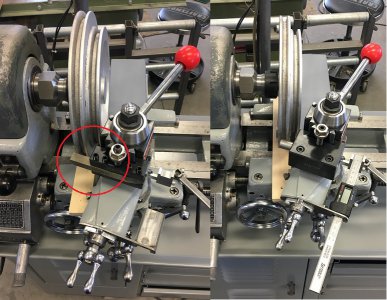
Finally got back on the pulleys and finished them up. I used a couple calculators I found online to tweak the pitch diameters so the centerline distance was the same for each of the two sheave combinations, so the belt tension should remain the same when switched and not require tension adjustment. I decided to machine the smaller pulley first, as it didn’t pose any problem for the lathe capacity.
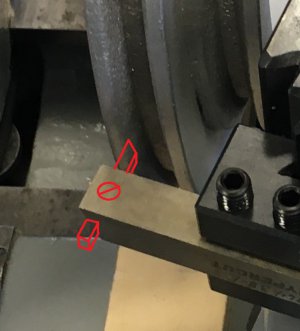
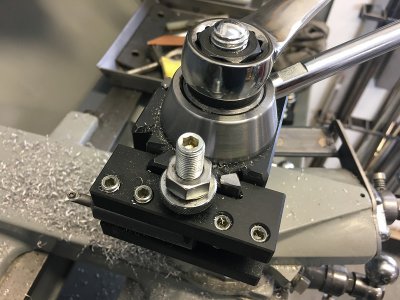
I chucked on the smaller sheave diameter in the 3-jaw, machined the larger OD, faced, and bored it for a .625” shaft. I used a grooving tool to cut the bottom of the v-groove width and depth, then used this little boring bar with the with the compound set at 17 degrees from each side to cut the faces of the larger diameter sheave. I’m not sure what the dinky little insert is…..it may be HSS, I don’t know. It came from a bunch of tooling I inherited, but it was a sharp little bugger.
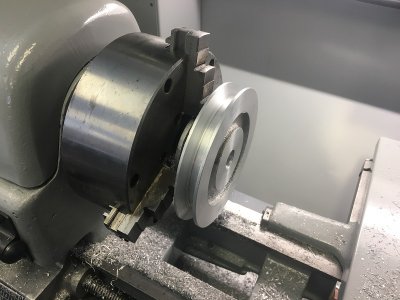
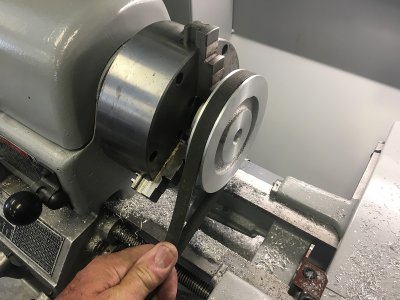
Had to check the belt to make sure I was on the right track.
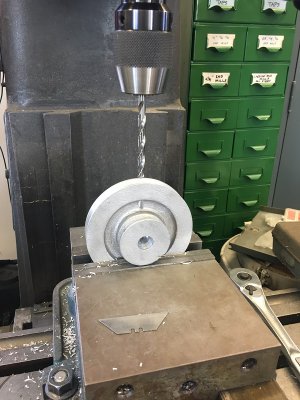
Next, I drilled the set screw in the root of the larger sheave.
I turned a small 5/8” stub shaft and mounted the pulley on the shaft with the set screw, then proceeded to turn the features on the smaller diameter sheave.
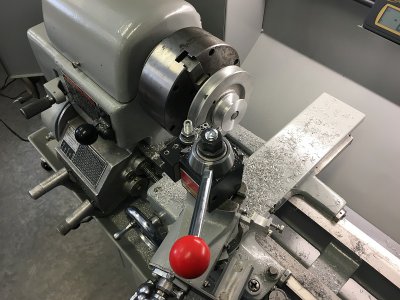
….and the turning work was done on the small pulley.
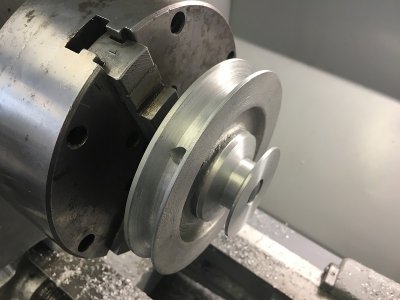
Next up was the larger pulley. The finished OD was 9.188 on the large pulley. I had to get creative for the larger OD sheave as it was at the very outer limits of the capacity of the 12” Atlas. I used the four jaw, gripped on the smaller sheave, and indicated in the diameter and face. The casting was far from perfect. I gave them a T5 heat treat and that helps quite a bit but you’ll never get wrought stock finishes. The first cuts were interrupted but I started at .010” until I got continuous contact.
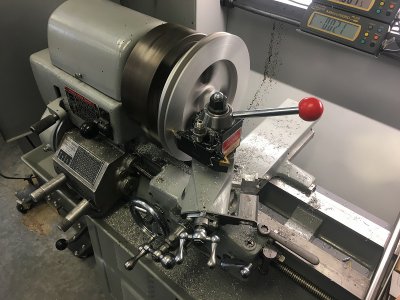
I proceeded to face and bore it for the .75” shaft. It was nice having the VFD and being able to step up/down the speed on the fly for the hub and outer diameters.
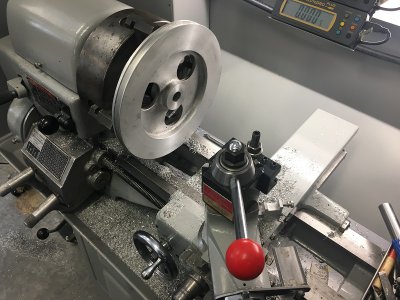
Next, I used a grooving/parting tool to cut the bottom of the large sheave to width and diameter. This was a bit hairy. I had the compound and cross slide fully retracted and still had to move the tool back in the holder. The machine was really vulnerable in this position so I took VERY light cuts, but there was still high pucker factor.
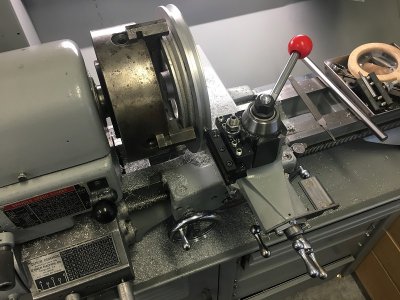
Then I did the near side groove face with the boring bar and compound set at 17 degrees…..also very light cuts. I could not reach the head stock side of the groove from this set up.
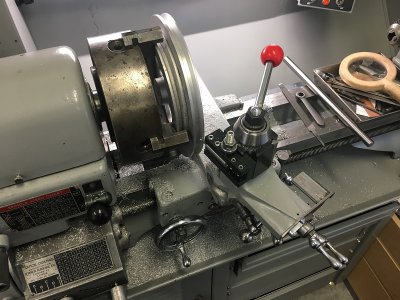
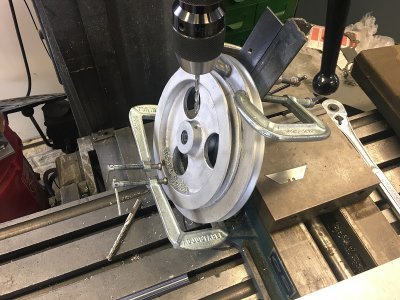
Then I set up a very crude fixture on the mill to bore the set screw. It was just a couple of pieces of angle iron clamped in the vice and then the pulley clamped to the angle iron…..good enough to drill and tap a small hole.
Then I was able to mount the pulley on a .75” stub shaft and chuck it in the 3-jaw. Facing was straight forward on the smaller of sheave side. I was able to use the same small boring bar with the compound alternately set at +-17 degrees to complete the other side of the large OD and both sides of the smaller sheave
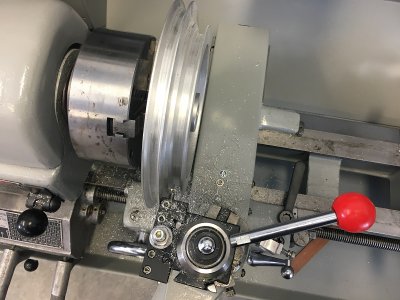
......and the turning was done.
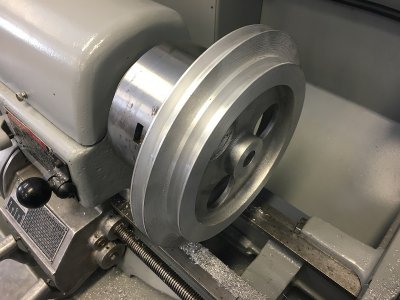
Quick check of the belt fit up.
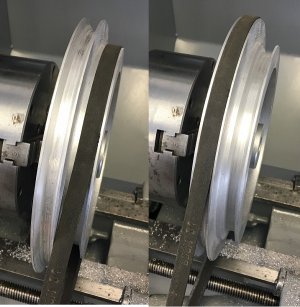
Then I pushed a 3/16 broach through the smaller pulley.
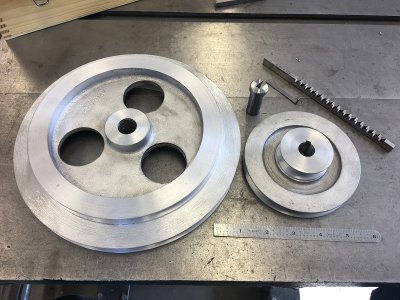
The .75” shaft isn’t keyed on the drive shaft of the original set up. The pulley is just retained with the set screw in a drill point on the shaft. Not sure I like that. I’m considering pulling the shaft and cutting a key way in the shaft and broaching the larger pulley. I may also need to set up and level a couple joiner blades and see how well balanced the larger pulley is, but other than that, the pulleys are ready to be installed.
Best,
Kelly

