Atlas 954 Lathe

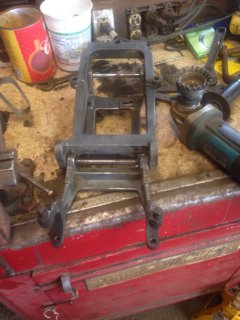
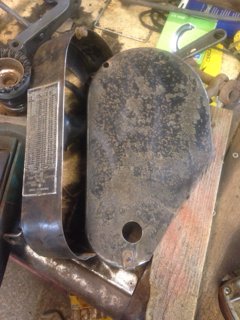
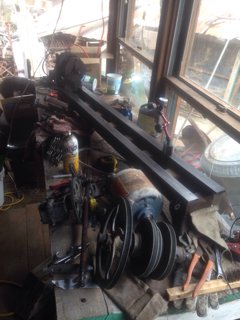
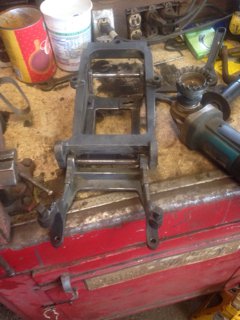
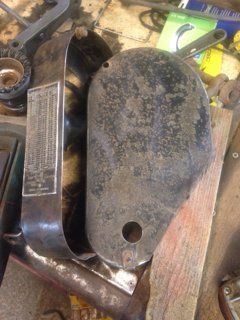
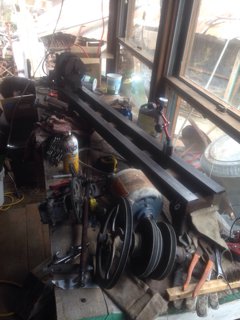
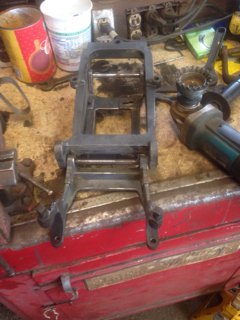
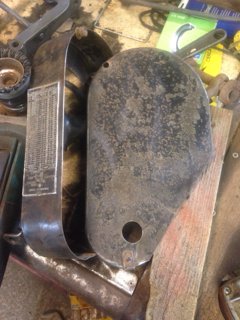
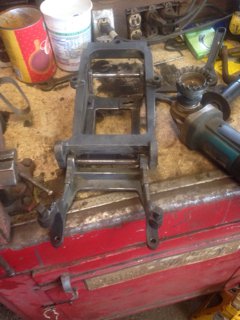
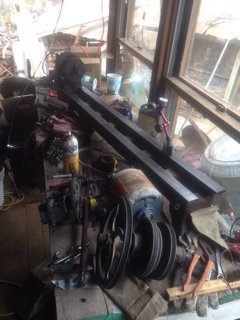
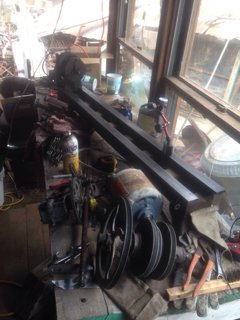
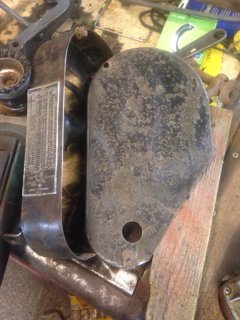
Well, I have decided it is time to go into this reworking a bit more deeply. I have to replace the carriage (apron?) hand wheel shaft and gear, which means the carriage has to come off. I also figured I would pull the bearing caps off at the same time and have a look at them, and the belts need replacing.

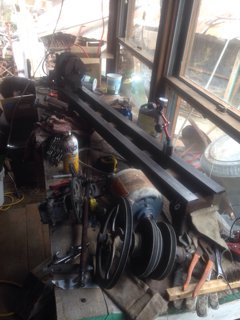
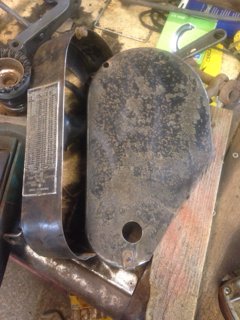
So I now have a bench full of sub assemblies.
578f54e776860fd252d50dc2d562dd9b.jpg

ffdf832bfceeda68f15b0efb98747d4b.jpg

9af4c2550a761fd1d8df2ebd8950a15a.jpg

My father has a business of restoring old horse drawn mowers and has volunteered to do some of the major paint work.

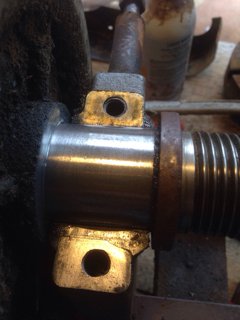
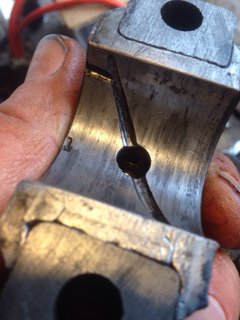
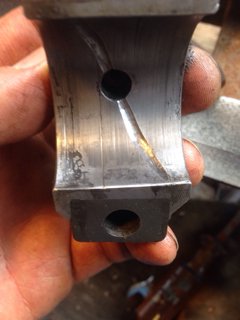
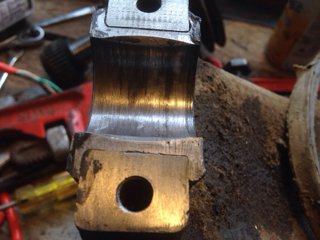
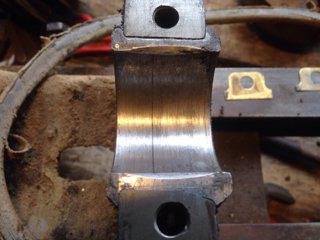
The bearings have been adjusted 9 times so far, with only one shim remaining in each bearing setup. A chuck on the spindle can be moved around .002" when lifting hard on it with the caps tight and the shim in. If I take the shim out and tighten the caps down, the spindle won't budge.

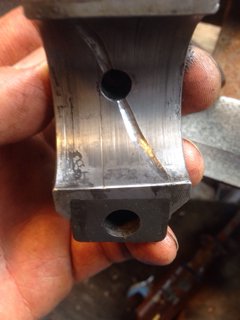
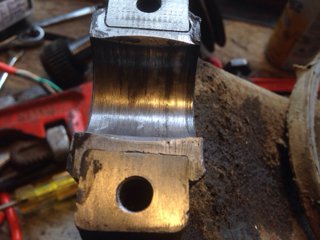
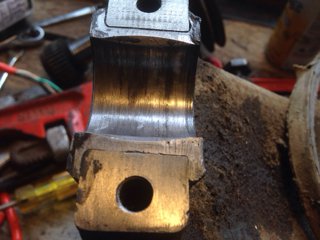
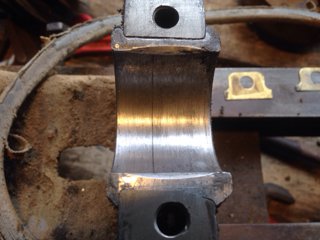
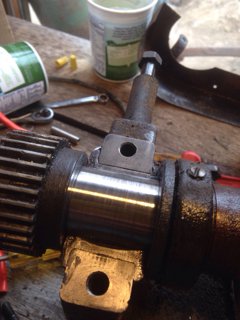
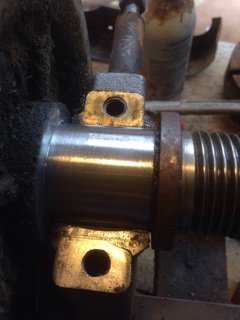
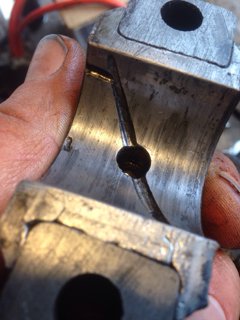
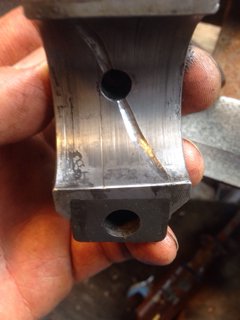
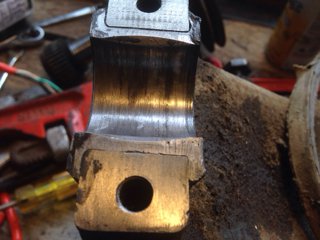
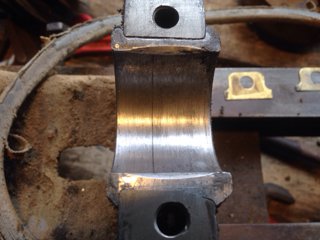
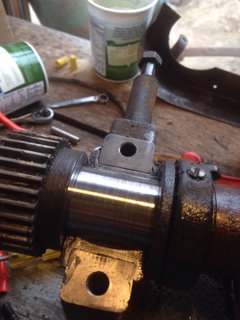
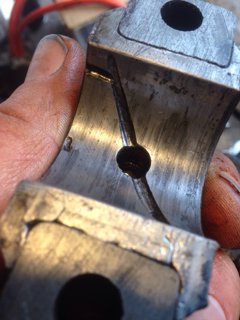
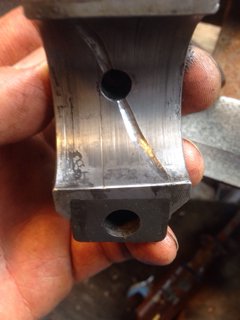
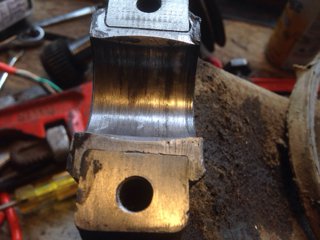
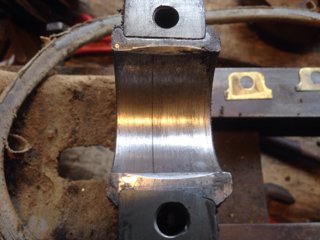
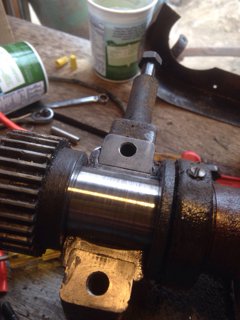
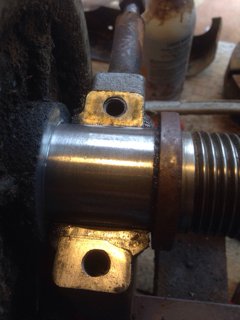
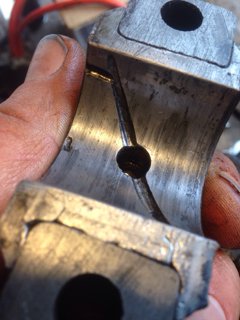
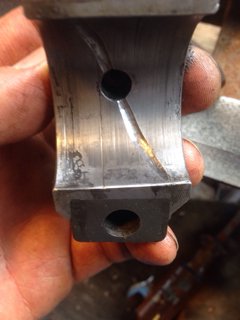
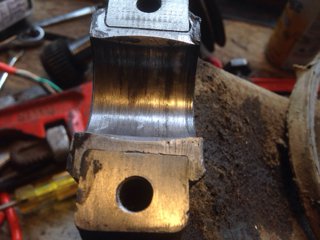
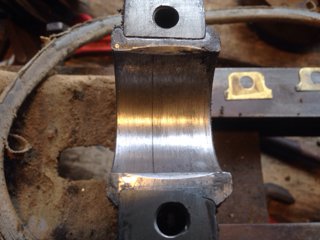
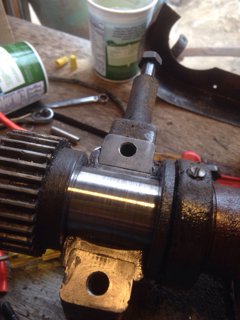
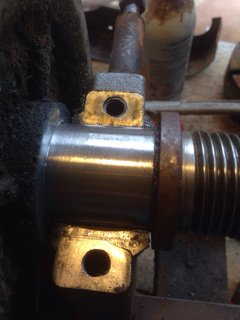
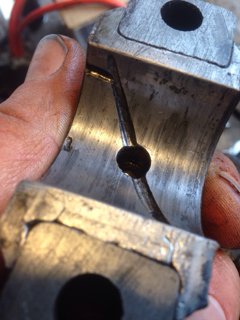
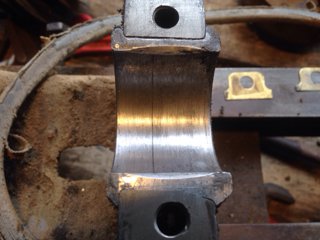
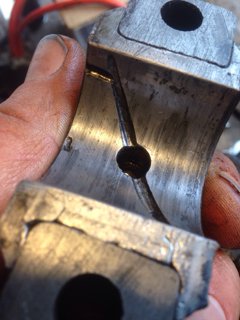
The babbitts look to be in pretty good shape, and the shaft as well:
Rear babbitt cap:
83e85ed9deffb92da770d403590786ad.jpg

Front babbitt cap:
b861ca570f5a5f6f31c07e60a178e31e.jpg

rear on headstock:
215ae6dee788cc0e6d4d3d0e612fb584.jpg

Front on headstock - the one score is clearly visible about 1/3 of the way in from the left:
72785bdd9146b2fc3aa528794377ebe1.jpg

shaft:
2ad6a0bca9598035924887f9f77f4c86.jpg

e2e618646de87be93e94dd28396f8b7c.jpg

So a couple of questions come to mind. Do I keep the shim in and let it wear more before I take it out? Do I take it out and see if I can "break it in" anew?

And longer term: What to do when it has worn to the point of being problematic after the shim is out? is it feasible to figure out a way to put roller bearings in instead? Have new Babbitts cast and bored?

Thoughts? Feedback?

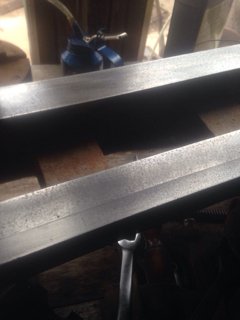
The bed is somewhat worn for the first 16" or so. Not enough to be a problem, I don't think. I'll get other things sorted out and then see where to go with that.


Sent from my iPhone using Tapatalk
578f54e776860fd252d50dc2d562dd9b.jpg

ffdf832bfceeda68f15b0efb98747d4b.jpg

9af4c2550a761fd1d8df2ebd8950a15a.jpg

83e85ed9deffb92da770d403590786ad.jpg

b861ca570f5a5f6f31c07e60a178e31e.jpg

215ae6dee788cc0e6d4d3d0e612fb584.jpg

72785bdd9146b2fc3aa528794377ebe1.jpg

2ad6a0bca9598035924887f9f77f4c86.jpg

e2e618646de87be93e94dd28396f8b7c.jpg
 
Last edited:
If your only reason for removing the carriage is to replace something in the carriage traverse mechanism, there is no reason to disassemble the carriage. Remove the cross slide (to lighten the load). Remove the rear gib and screws. Remove the tailstock. Pull the lead screw. Slide the entire carriage assembly off the right end of the bed.

On the shim question, I forget what the factory shim thickness is but it must be at least 0.002". Replace it with one made from 0.001" or 0.0015" stock.
 
Thanks for all of the info you have provided, Robert.

I'll see what shim stock I can come up with for that.

Carriage came off just like that, although I left the cross slide in place - It doesn't like to move past the end of where the lead screw ends without loosening the gib, and I have not done that yet. I will soon enough. :)


Sent from my iPhone using Tapatalk
 
Measure those shims with a micrometer!!! Tell me what you find.

Spiral_Chips
 
Turns out the shims were only taken out of one side - the remaining ones are full thickness. I peeled one off and will try running it and see. A few parts to clean up and put back on it first. I did get some new belts so that I will have the compound drive functional when it goes back together.

The three jaw chuck only came with one set of jaws -0 longest "step" is toward the center. Is it possible to get a set that are stepped the other way, or am I better off getting a new chuck that includes both directions?
 
Reuben,

According to the babbit bearing maintenance section in the early MOLO, there should never be a difference of more than one shim between the two packs under each of the two bearing caps. The first thing that I would do would be to determine how many shims are still left on the thick side and move half of them to the thin side. And then go from there. Once you get it right, pull the caps one at a time and use a felt tip marker to write how many shims are in each stack.

You can probably eventually locate a set of outside jaws that will fit the chuck. But before they will be usable, you will most likely have to re-grind them to your chuck. And to do that, besides a tool post grinder or substitute, you will have to make a rings to load the jaws against. Fortunately, unlike for the inside set, for the outside set a simple ring will work for loading them toward the spindle axis.
 
Hi Robert. Thanks for the info from the MOLO. I am hesitant to put shims back in where they have already been removed and the bearings seated/worn in with them offset. I suspect that removing all of them from one side first causes the wear to be different on the bearing itself, and changing it back to the "proper" configuration may cause more problems than it solves. If I find issues with it as it is, I will then look at equalizing the sides and take it from there.


Sent from my iPhone using Tapatalk
 
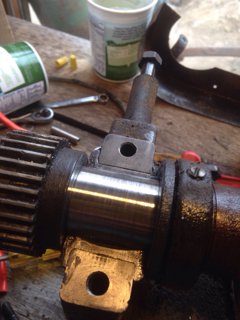
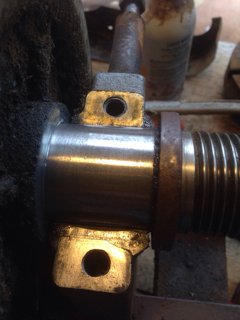
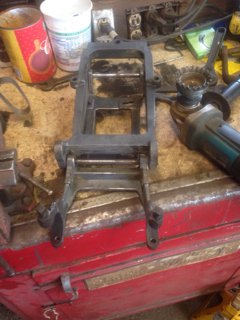
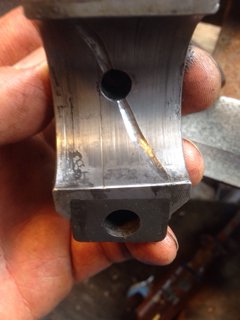
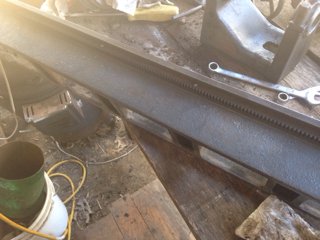
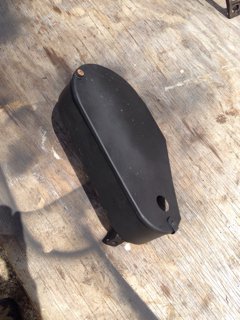
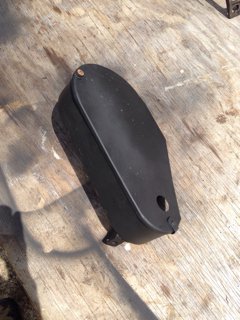
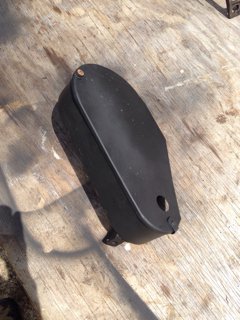
e2229a44b9df759960f99a7df581ef36.jpg9bca91ce7a73839a33fdaf428f05c65f.jpgddbe628e3bfc6c93d806ed36f15998e4.jpgd40fc669aa9e114f95eda3aa3c2ddcfc.jpg

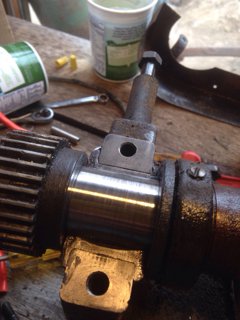
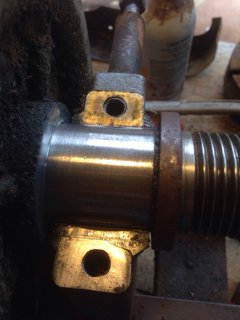
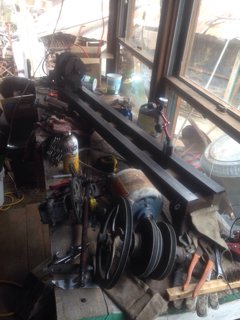
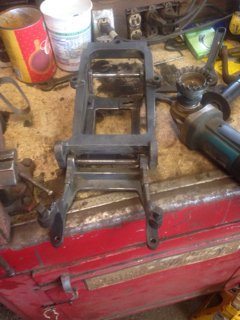
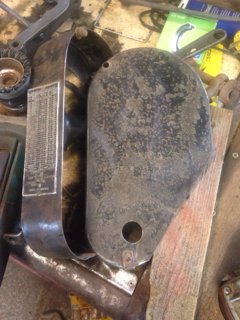
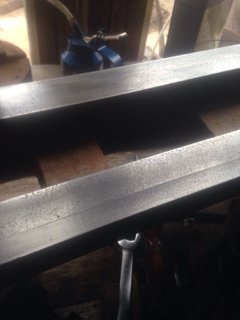
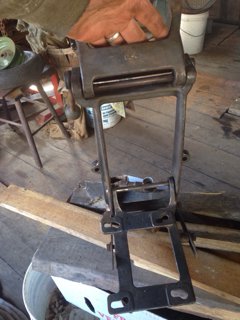
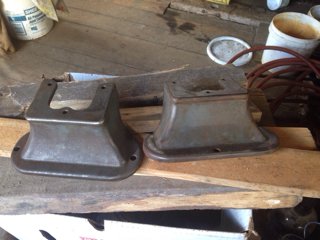
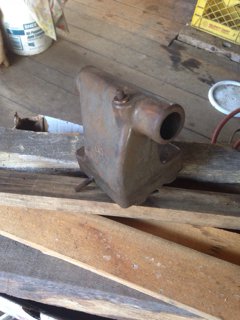
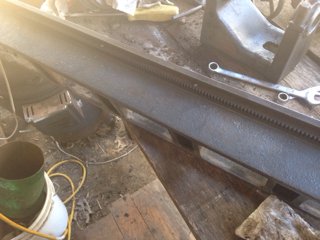
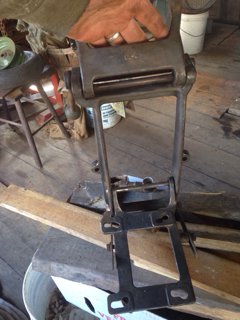
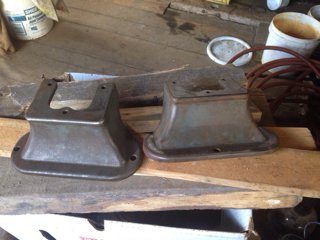
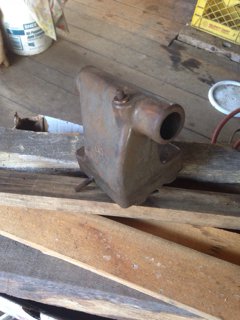
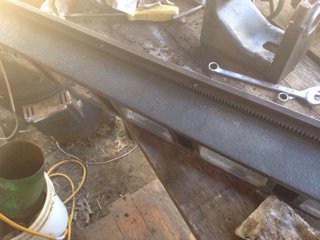
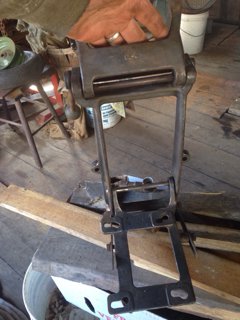
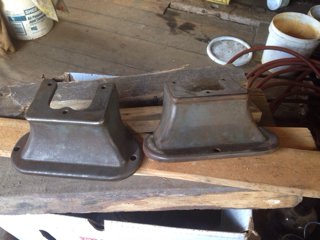
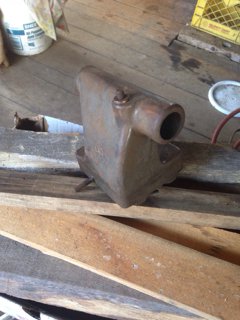
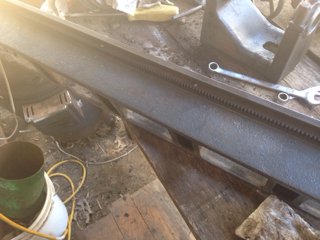
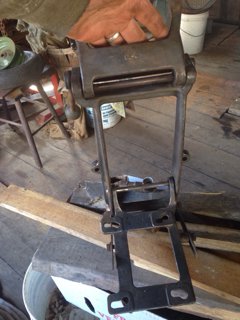
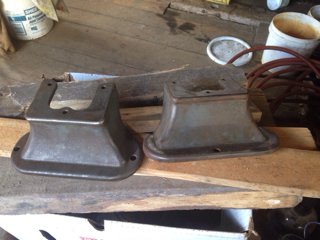
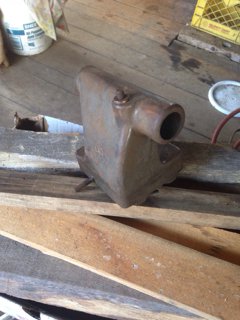
A few pics of the parts after cleaning the grime off. Gray paint is in pretty decent shape on them. They will at least get a coat of linseed oil for protection. We'll see about paint.


Sent from my iPhone using Tapatalk
e2229a44b9df759960f99a7df581ef36.jpg

9bca91ce7a73839a33fdaf428f05c65f.jpg

ddbe628e3bfc6c93d806ed36f15998e4.jpg

d40fc669aa9e114f95eda3aa3c2ddcfc.jpg

e2229a44b9df759960f99a7df581ef36.jpg

9bca91ce7a73839a33fdaf428f05c65f.jpg

ddbe628e3bfc6c93d806ed36f15998e4.jpg

d40fc669aa9e114f95eda3aa3c2ddcfc.jpg

e2229a44b9df759960f99a7df581ef36.jpg

9bca91ce7a73839a33fdaf428f05c65f.jpg

ddbe628e3bfc6c93d806ed36f15998e4.jpg

d40fc669aa9e114f95eda3aa3c2ddcfc.jpg
 
41cbf6dfd8b4c024446d0efbc2d15985.jpg

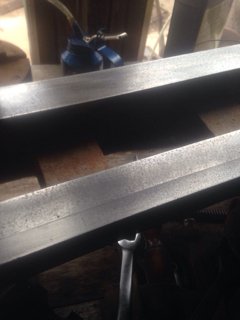
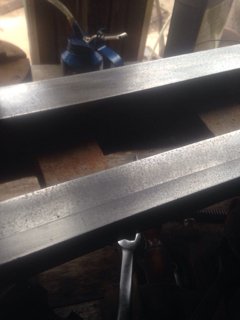
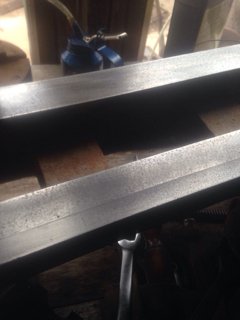
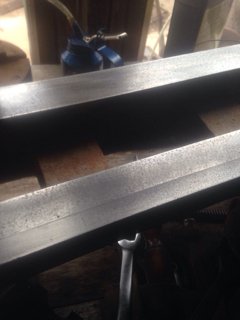
First paint. Now I just need the rest of the lathe to go to the right of this...


Sent from my iPhone using Tapatalk
41cbf6dfd8b4c024446d0efbc2d15985.jpg

41cbf6dfd8b4c024446d0efbc2d15985.jpg
 
Back
Top