- Joined
- Aug 22, 2012
- Messages
- 4,260
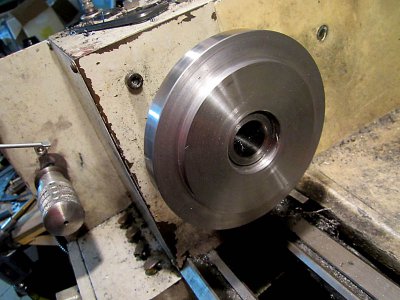
The backplate is turned to size, register turned to size, bolt holes marked using the transfer screws.
Now the hardest part.
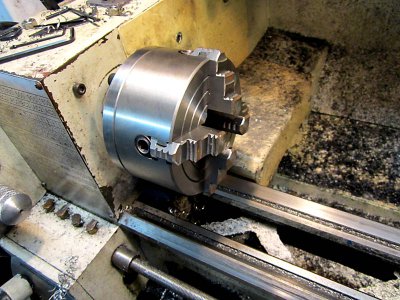
The jarring from the intermittent turning has I think tightened it up really tight onto the spindle, I cant unscrew it.
The finish is so nice that I dont want to mar it so I think two thin blocks of wood clamped with a heavy G clamp to the disk then hammer the g clamp whilst the spindle is locked will hopefully do the trick.


