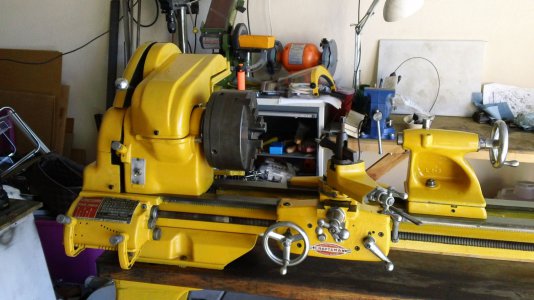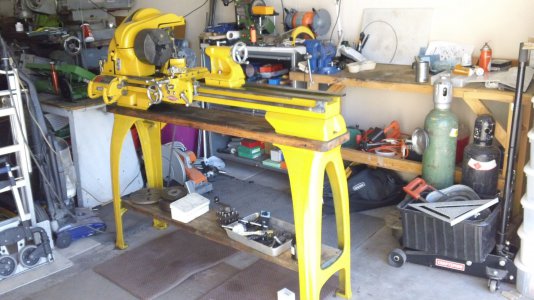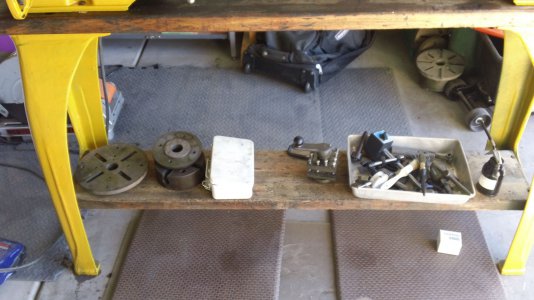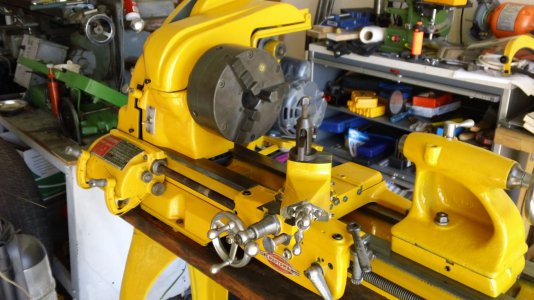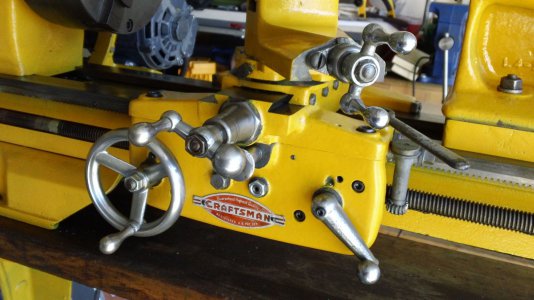
A lathe finally! Craftsman 12x36 101.27440

Would love to know the size of the 2 steps on yours so I can verify what I have.
Weeell ... :whistle: the thing is, i have a single step pulley on my non-original motor. Can't help you just yet, :dunno: although it is a project down the road.
Maybe we can post the question on the atlas_craftsman Yahoo! group :holdphone:
 
Here we go...
GearFirst_01.jpg
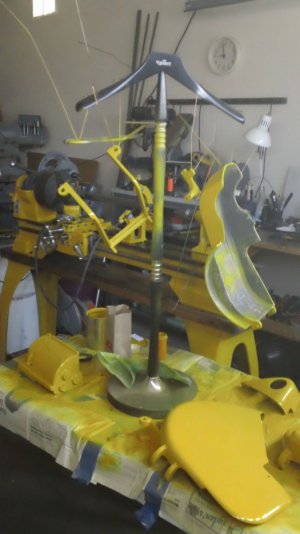
Here is the paint job under way; it is finished now.

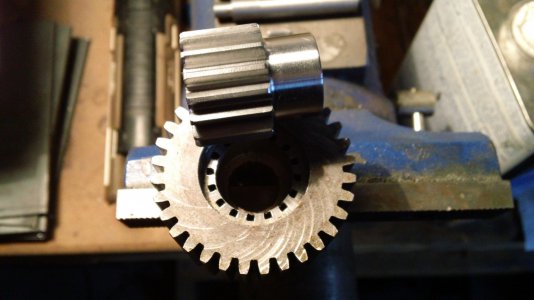
OK, you have seen the destroyed gear and the cleanup.
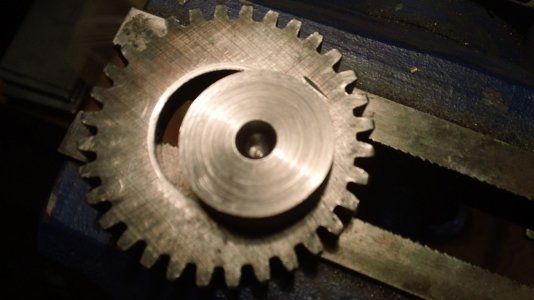
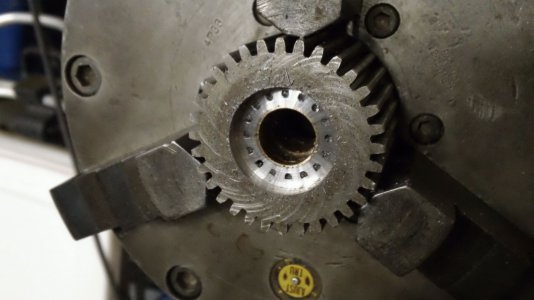
The saga continues, with a few pics of the rebuild of the missing gear.
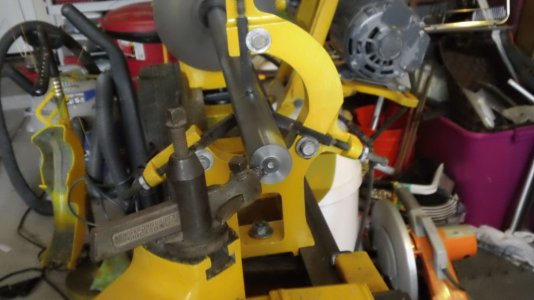
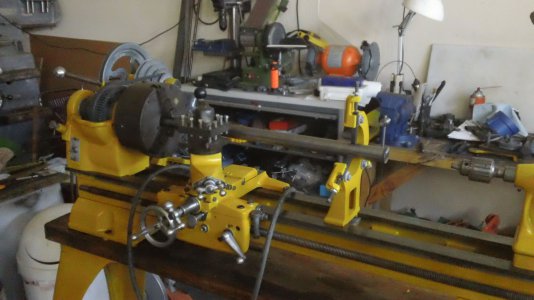
What I find great is that I used the lathe to repair itself.
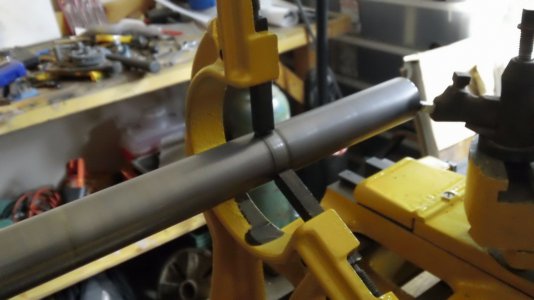
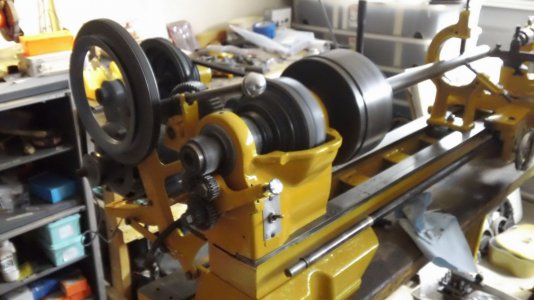
GearFirst_02.jpgGearFirst_03.jpgGearFirst_04.jpg

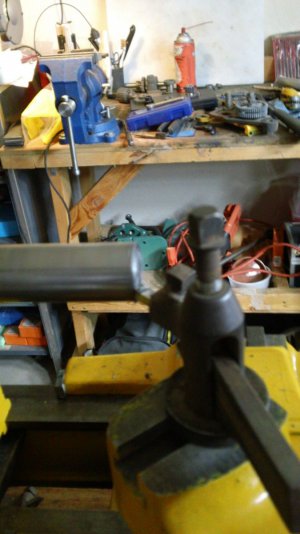
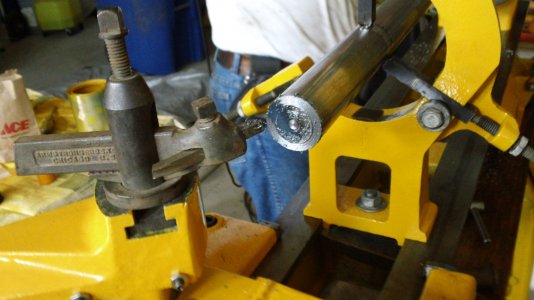
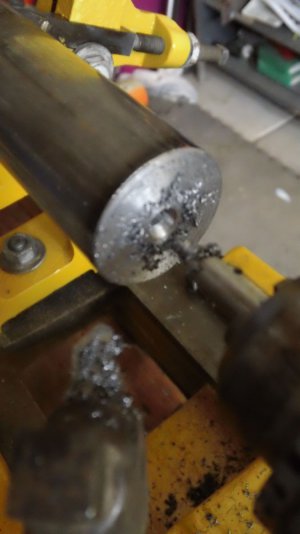
I started with a 1¼ CRS bar.
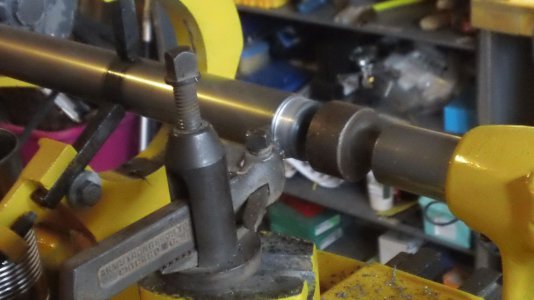
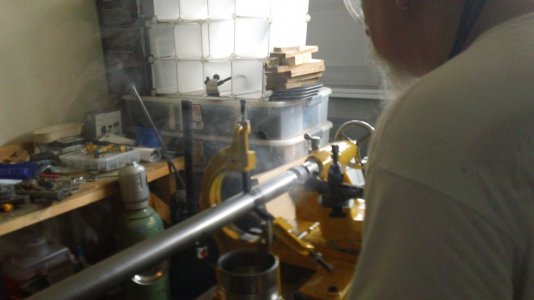
GearFirst_05.jpgGearFirst_06.jpgGearFirst_07.jpgGearFirst_08.jpgGearFirst_09.jpgGearFirst_11.jpgGearFirst_10.jpgGearFirst_12.jpgGearFirst_13.jpg

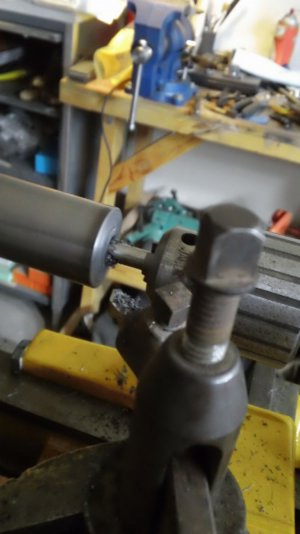
I had to learn how to grind a lathe tool, and it was after these pictures. I grabbed what came with the machine, it just worked, not well.
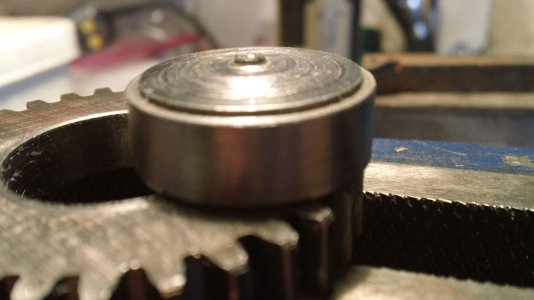
I turned a bit more than the thickness of the parent gear to an exact fit (just a bit tighter than slip).

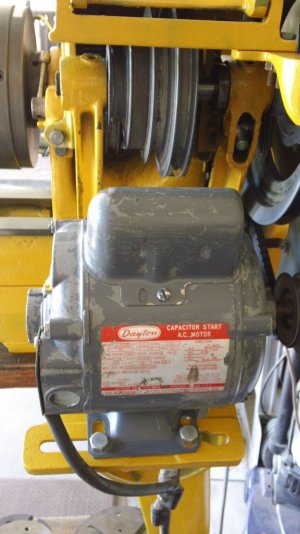
Side note here about the step pulley/motor pulley assembly at the top of the machine.
The arbor has a slot for a woodruff key. My (old) step pulley had a slot for a woodruff key.
I bought a complete assembly (different lathe, same step pulley), took it apart, same slots on both arbor an pulley, no key.
The Atlas parts list shows ... no key. It all hangs from a single set screw.
But if you try to put any kind of torque, like a parting job, the dang thing slips like Holiday on Ice.
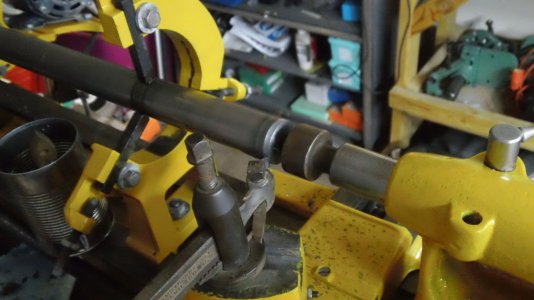
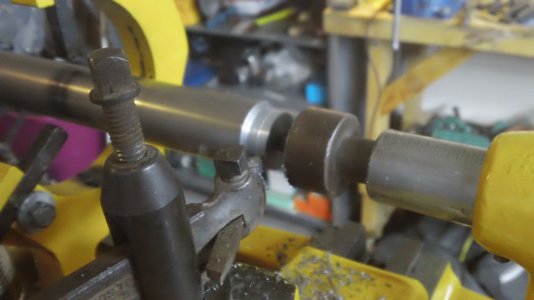
This explains the strange look of the parted puck; the next day I got a key, installed it and everything is rock-solid, without gouging the arbor.
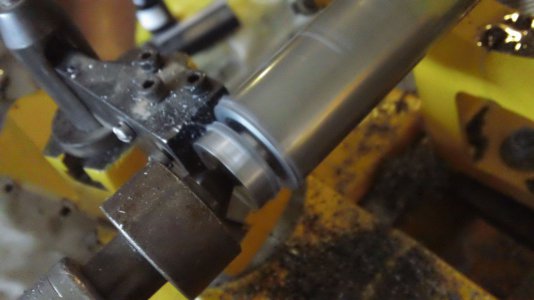
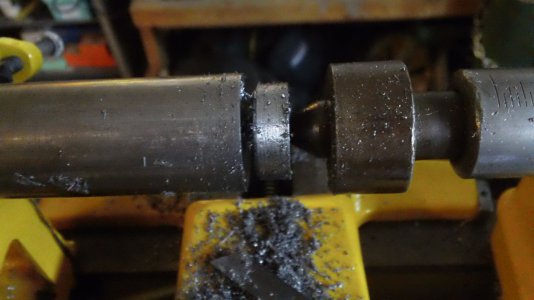
GearFirst_14.jpgGearFirst_15.jpgGearFirst_16.jpgGearFirst_17.jpgGearFirst_18.jpg

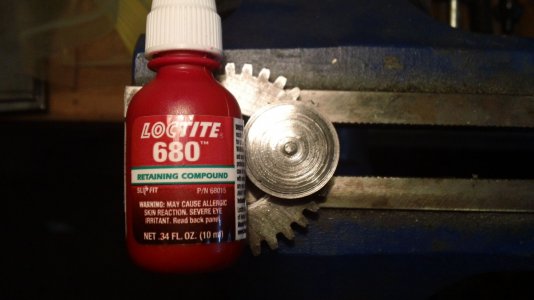
After parting the piece (see comment above) I "pressed" it in place (bench vise and mallet) with a drop of green Loctite 680.
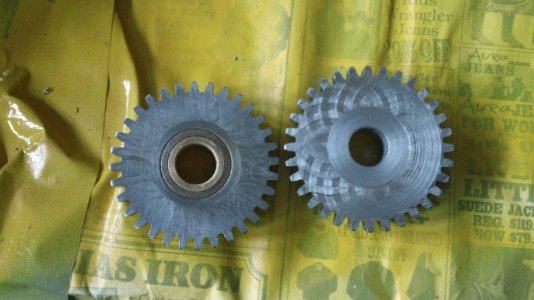
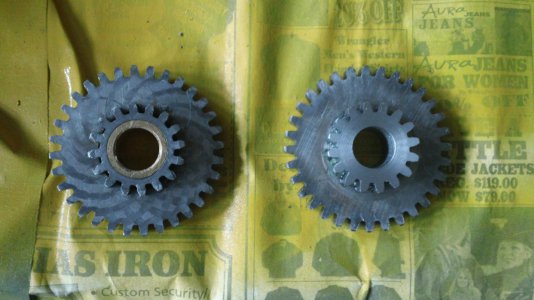
GearFirst_19.jpgGearFirst_20.jpgGearFirst_21.jpg
Next came the drilling, boring and facing the set to the result here. It actually looks much like the original. I did not put a bushing, we'll see how it goes. That can be retrofitted if need be.

BUT! I was not able to put everything back together.
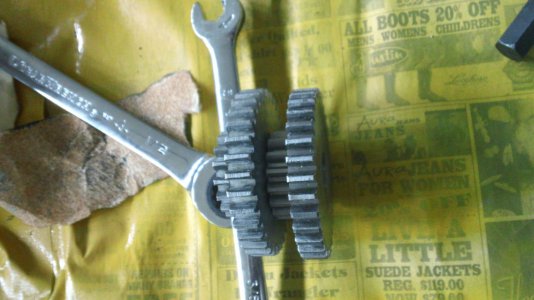
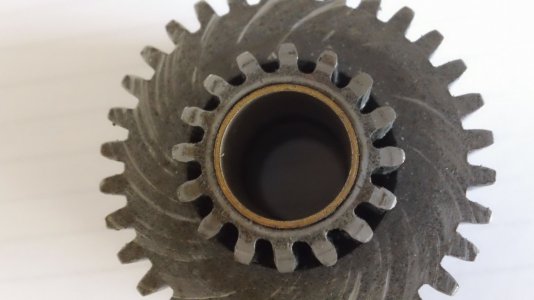
Once the second shaft was in the box, it locked up. After checking that everything else had correct play and turned freely I discovered ANOTHER bent gear.
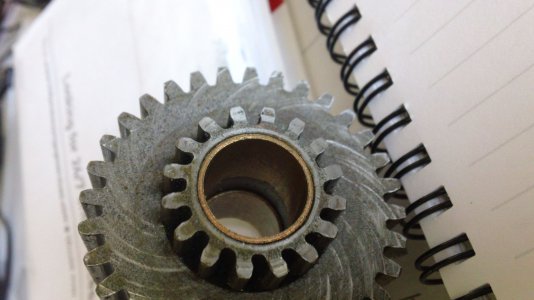
GearFirst_22.jpgGearFirst_23.jpg

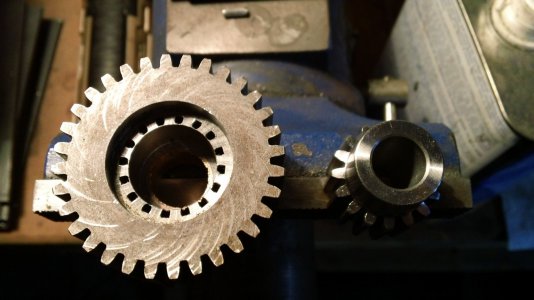
It does not show much on the pictures, or in person, but most teeth of the smaller gear are bent.
I am trained for the exercise now, my replacement gear is in the mail, a few more pictures to come and hopefully the finished product.

GearFirst_01.jpg GearFirst_02.jpg GearFirst_03.jpg GearFirst_04.jpg GearFirst_05.jpg GearFirst_06.jpg GearFirst_07.jpg GearFirst_08.jpg GearFirst_09.jpg GearFirst_10.jpg GearFirst_11.jpg GearFirst_12.jpg GearFirst_13.jpg GearFirst_14.jpg GearFirst_15.jpg GearFirst_16.jpg GearFirst_17.jpg GearFirst_18.jpg GearFirst_19.jpg GearFirst_20.jpg GearFirst_21.jpg GearFirst_22.jpg GearFirst_23.jpg
 
Somebody is just giving you the gears!:thinking:
Pierre
 
Done!
The lathe is ready to go. I will now have to level and generally run her through her paces, but all parts are together and all functions at least seem to work.

Here is what happened last.

I got another 16DP 16t from McMaster-Carr and bored out the defective gear from its bigger sibling.
GearSecond_03.jpg GearSecond_01.jpg GearSecond_02.jpg
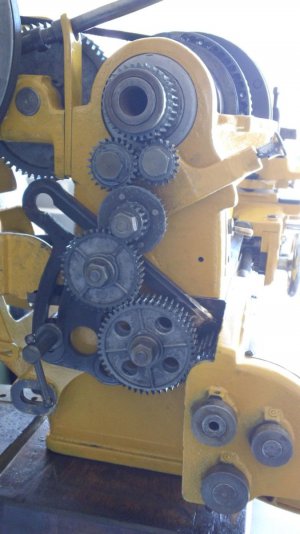
Interesting to note how deep the gearing of the smaller one goes into the other. Looks like they used off-the-shelf parts to make these.

Putting back together that QC GB was a bear, beacuse
  1. I did not think
  2. I did not take enough pictures before taking it apart
  3. I forgot to think
  4. The parts list is NOT an assembly manual
  5. I acted before I thought
Long story short I took it apart and put it back together at least 5 times before I got it right. But I did.
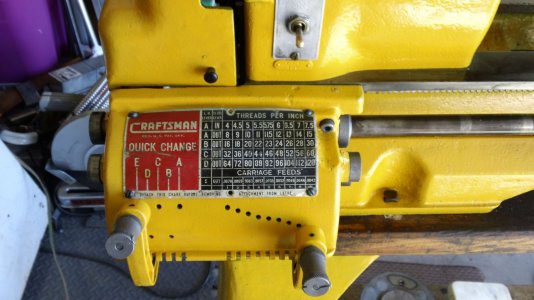
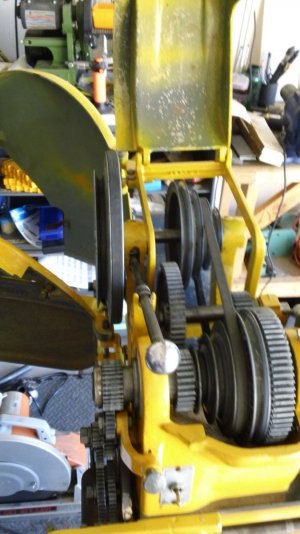
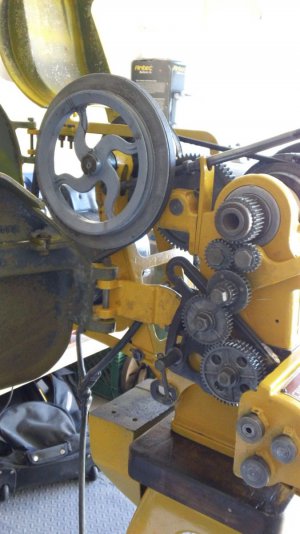
Here are the pictures of the finished work
Finished_01.jpg Finished_11.jpg Finished_10.jpg
Finished_02.jpg Finished_05.jpg Finished_04.jpg

Finished_09.jpgFinished_08.jpgFinished_07.jpgFinished_06.jpg


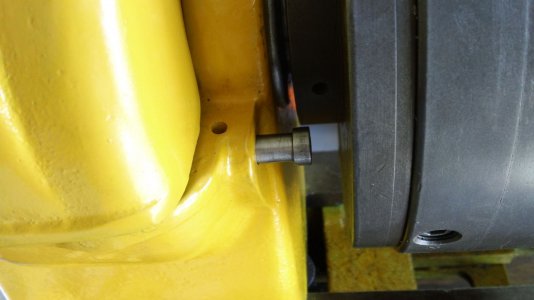
Oh yes, there is an indexing feature here. The part had its pin broken. Rather than fitting a new pin, I decided to turn a new partwith a button head. Just because I wanted to use the lathe.
Finished_03.jpg

Well, as I said, now is the time to test and adjust.

Finished_01.jpg Finished_02.jpg Finished_03.jpg Finished_04.jpg Finished_05.jpg Finished_06.jpg Finished_07.jpg Finished_08.jpg Finished_09.jpg Finished_10.jpg Finished_11.jpg GearSecond_01.jpg GearSecond_02.jpg GearSecond_03.jpg
 
Jeff,

I'll avoid any comments on the colour :). But looking back through the thread to the original photographs in January, that's frankly amazing! Outstanding job.

Robert D.
 
Excellent write up on the build!

One thing for sure, you will know every square inch of that machine...inside out.:drink2:


That old, black, carbon, grease; is a ***** to get off. It used to make some of those old Dinosaurs sing though.

Some of those old machines craved that nasty stuff.:rofl::drink2:
 
Very nice work you've done there Jeff, really like look of yours standing on it's legs with the wood fitted, so I've decided to have my Atlas like that.

Do you think your wood is original and is it hard or softwood, can you make a guess as to what breed of tree it comes from? I reckon Ash would be a good bet.

Bernard
 
It looks very original, it is solid wood. As for the essence, I am utterly incompetent.
 
I'll just keep a lookout for something suitable then.

Had the same problem as you getting a wobbly counter-shaft pulley off, the reason mine wouldn't budge was that the key had a worn sideways notch in the keyway, no way it was coming off in one bit.

Bernard
 
Back
Top