POTD was a “Honey-Do”, pun intended. My wife Tracy made a bee hive last year for honey and bees wax and stocked it with a swarm this spring. Guess the bees like where we are as in about a month’s time they filled the first of two boxes with comb, brood and honey. She happened to check the second box a month later and it was full also. Problem is, if the bees have no place to build their comb, they could swarm and leave to find a new home.
Lower hive box on June 30
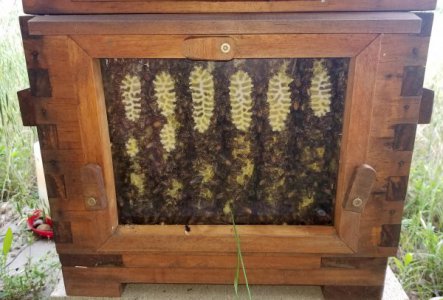
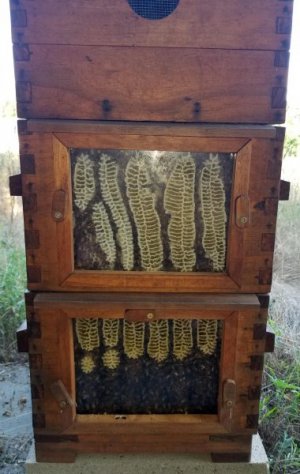
Upper box on June 30
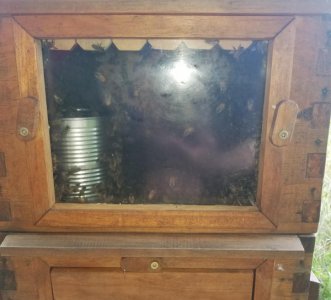
Both boxes full by August 7
My wife can be quite meticulous on her projects. Her hive boxes have finger-joints that were cut on our table saw, then hand filled (die filer) and fitted with furniture-quality joinery. Quality can take time, she spent about a month in the evenings making the original boxes. There was a sense of urgency for a couple of additional boxes, so she solicited my help.
I’ve made many finger-joints on my table saw with an indexing jig on the miter gauge, but took the opportunity to do a little CNC programming on my new to me Tormach 1100 mill. I bought the mill close to 2 months ago but haven’t had the time to do anything on it. I have a Bridgeport with a circa 1983 Anilam Crusader 2 controller and am pretty adept at its conversational programming. But until now hadn’t done any G-code programming.
One nice thing about the PathPilot Tormach control is it shows your programmed path on the screen. So, no surprise wild moves because of a fat-fingered coordinate.
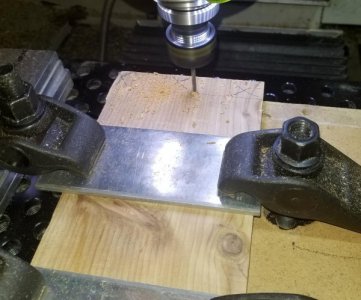
The box sides were too long to cut vertically, so that meant cutting with an end mill on the flat which would leave a radius in the corner of the joints. The routine spot drilled, drilled 1/8” corner holes, then milled/routed out the fingers with a ¼” 2-flute end mill. The 1/8” hole minimizes the radii in the corners of the joints.
Basic set up for all of the joints. Really like the fixture plate on my Tormach. It's within 0.0005" across 20" last time I checked. Nice to drop in a few 1/2" dowel pins and know you're square to the mill.
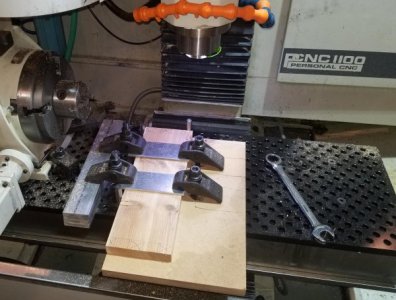
Spot drilling
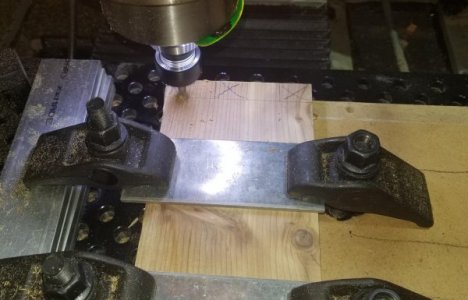
Drilling 1/8" through holes in the bottom corners of the finger joints
1/4" end mill doing the routing
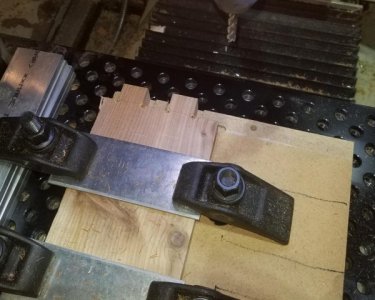
Nice thing about the CNC is naturally repeatability if/when I make multiples. The routines take an extra 0.002” on each side of the notches so there is a little clearance for a slip fit. Figured glue, wood expansion and bees filling any holes naturally would take care of a paper-thick clearance in the joints. Proved out the routines on a scrap piece of plywood, then on to the pine and cedar boards.
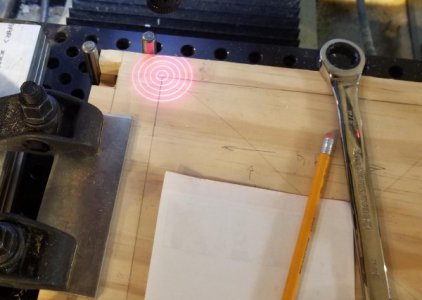
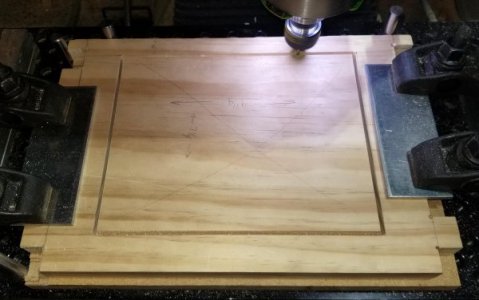
One box end has a window cut in it. Used a laser center finder to find the penciled layout lines and wrote a routine to cut out the window. Used a Rotozip bit for the cutter.
Laser center/edge finder picking up the pencil lines for the window cutout
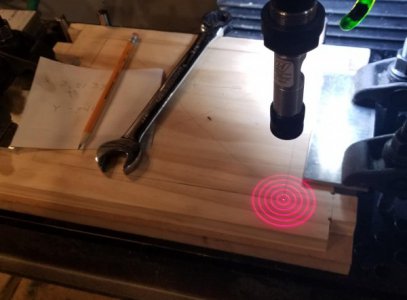
Wrote a routine to cut out the window with a rotozip bit
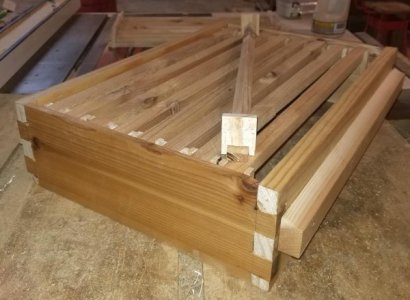
Assembled "super" box which has a screen under that the queen can't fit through, but the worker bees can. The queen lays eggs for brood in the honeycomb, blocking her from this top box means it'll only have honey in the comb. The bees build the comb from the bottom of sticks called "frames".
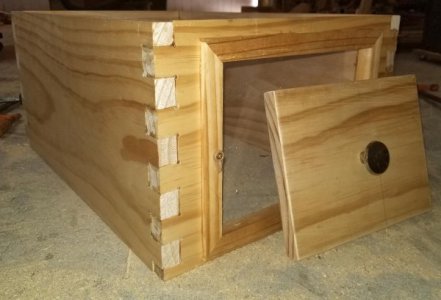
Finished standard box with the "peeping Tom" window
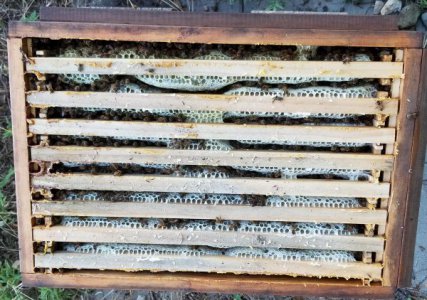
Peek from above of the filled 2nd box
Everything went together like a dream. Puts a smile on my face every time I see the mill doing what I’ve told it. Also like the auto tool changer as it automatically changed between the spotting drill, 1/8” drill and ¼” end mill. Gives the option of walking away for the 1 ½ to 3 ½ minutes each routine took to run.
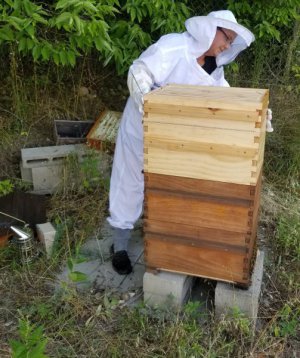
My better half adding the new boxes
Plan is to learn Fusion 360 so the G-codes will be generated from its CAM package, but for now I’m happy with doing G0, G1, G2/3, M06 G43, G81, etc. manually.
Thanks for looking,
Bruce

 www.hobby-machinist.com

