14X54 American Pacemaker

rmack898

Active User
Registered
Joined
Feb 25, 2014
Messages
349
About 5 years ago I decided that there was no perfect lathe for my shop. I had a SB13 that I spent 6 months restoring and it was a great lathe but I wanted more. I decided that I needed on big lathe and one small lathe to take the place of the SB13. Within 2 weeks I had bought 2 lathes and sold the SB.

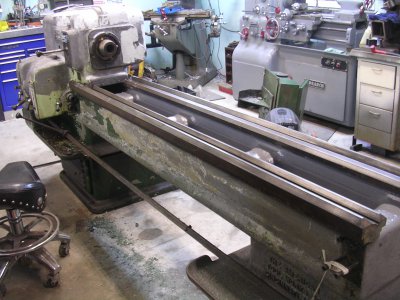
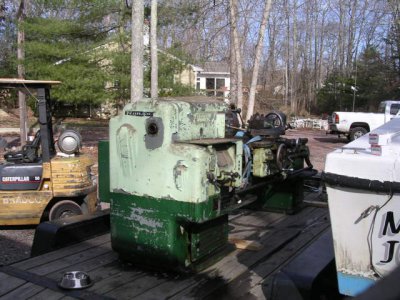
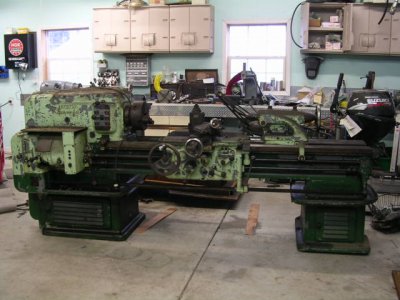
This 14X54 Pacemaker is the big lathe I bought and it has been sitting un-touched on my shop floor for the last 5 years. Now I need to use it but before I can use it I need to do a little work to it. It was in pretty rough shape cosmetically and I never saw it under power but all the gears were in good shape and it was complete, so how bad could it be.

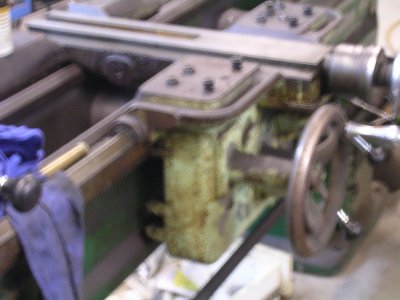
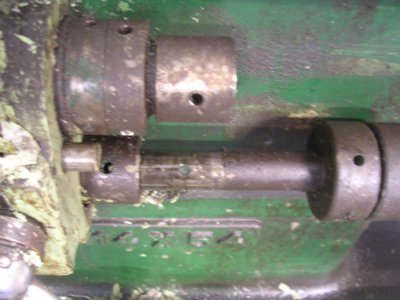
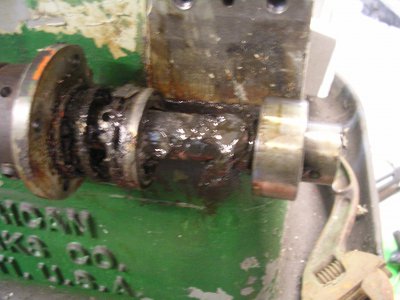
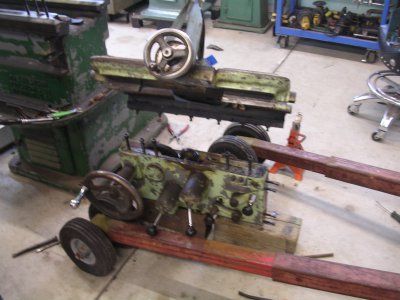
I started the tear down last week. I took off the compound, thread dial, taper attachment. micrometer stop, and anything else that was easy. Next up was the saddle and apron. I started by taking off the bearing carrier for the lead screw and feed rod and the end of the bed. There are spring loaded roller bearings in the carrier for the feed rod and the carrier has long dowel pins that locate it on the bed. I needed to run the carriage all the way to the head stock to have enough play in the feed rod and lead screw to permit the bearing carrier to come off the dowel pins (it took me a day to figure that out). The feed rod and lead screw are attached to the gear box output shafts with tapered pins and once they were driven out the feed rod and lead screw came out easily.

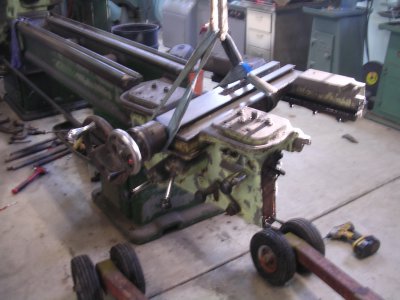
I wanted to separate the saddle and apron and remove them as 2 pieces but after a day of screwing around with separating them unsuccessfully I opted to take them off in one piece. I ran the carriage down to the end of the bed, loosened all the gibs and removed the whole assembly with the shop crane. There are 4 bolts and 1 large taper pin the hold the apron to the saddle, and then the apron is pulled forward and dropped down from the saddle. This whole procedure took me about 3 days.

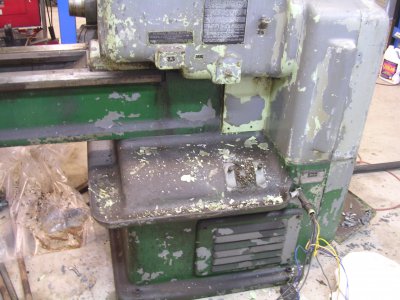
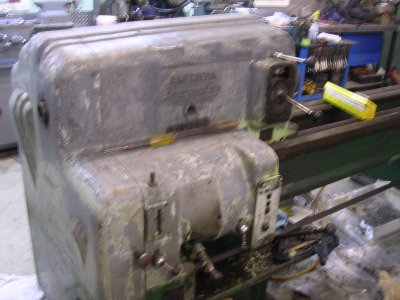
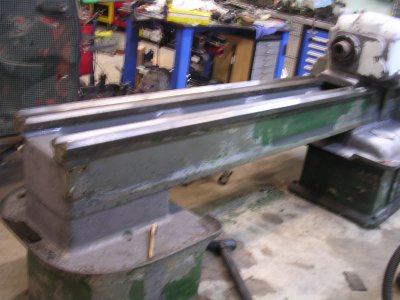
Next I stripped off every instruction and label plate on the lathe and proceeded to clean, scrape, and strip paint of the entire machine. I'm 2 days into stripping paint and the end is nowhere in sight, I might have a full 2 weeks of stripping and sanding. I'm using Kleen Strip Aircraft paint stripper. I brush on a heavy coat and cover it with kitchen plastic wrap, let it sit for 90 minutes and then scrape it all off with a putty knife. The stripper takes everything off to bare metal (4 coats of paint and all the filler). This process is time critical, 60 minutes is too short and 120 minutes is too long.

Well that's where I'm at for now. Looks like tomorrow will be a snow day so I'll get a full day of stripping and scraping paint.
#1.JPG #2.JPG #3.JPG #4.JPG #5.JPG #6.JPG #12.JPG 006 (3).JPG
 
About 5 years ago I decided that there was no perfect lathe for my shop. I had a SB13 that I spent 6 months restoring and it was a great lathe but I wanted more. I decided that I needed on big lathe and one small lathe to take the place of the SB13. Within 2 weeks I had bought 2 lathes and sold the SB.

This 14X54 Pacemaker is the big lathe I bought and it has been sitting un-touched on my shop floor for the last 5 years. Now I need to use it but before I can use it I need to do a little work to it. It was in pretty rough shape cosmetically and I never saw it under power but all the gears were in good shape and it was complete, so how bad could it be.

I started the tear down last week. I took off the compound, thread dial, taper attachment. micrometer stop, and anything else that was easy. Next up was the saddle and apron. I started by taking off the bearing carrier for the lead screw and feed rod and the end of the bed. There are spring loaded roller bearings in the carrier for the feed rod and the carrier has long dowel pins that locate it on the bed. I needed to run the carriage all the way to the head stock to have enough play in the feed rod and lead screw to permit the bearing carrier to come off the dowel pins (it took me a day to figure that out). The feed rod and lead screw are attached to the gear box output shafts with tapered pins and once they were driven out the feed rod and lead screw came out easily.

I wanted to separate the saddle and apron and remove them as 2 pieces but after a day of screwing around with separating them unsuccessfully I opted to take them off in one piece. I ran the carriage down to the end of the bed, loosened all the gibs and removed the whole assembly with the shop crane. There are 4 bolts and 1 large taper pin the hold the apron to the saddle, and then the apron is pulled forward and dropped down from the saddle. This whole procedure took me about 3 days.

Next I stripped off every instruction and label plate on the lathe and proceeded to clean, scrape, and strip paint of the entire machine. I'm 2 days into stripping paint and the end is nowhere in sight, I might have a full 2 weeks of stripping and sanding. I'm using Kleen Strip Aircraft paint stripper. I brush on a heavy coat and cover it with kitchen plastic wrap, let it sit for 90 minutes and then scrape it all off with a putty knife. The stripper takes everything off to bare metal (4 coats of paint and all the filler). This process is time critical, 60 minutes is too short and 120 minutes is too long.

Well that's where I'm at for now. Looks like tomorrow will be a snow day so I'll get a full day of stripping and scraping paint.
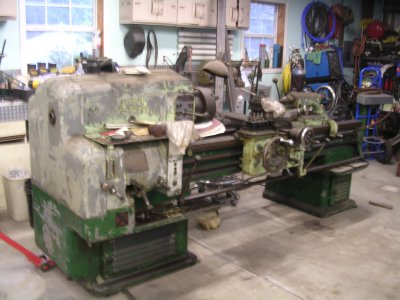
That's a heck of a start on a heck of a job! Keep us posted.
 
I've spent many an hour running a Pacemaker. Very smooth machine, the one I ran. About the only drawback I remember was a relatively small spindle hole. That's a small sacrifice for such a nice machine though. The one I ran was a little larger, but same basic layout.
 
Like I thought, today was a snow day and I got a day off from work and spent it in the shop.
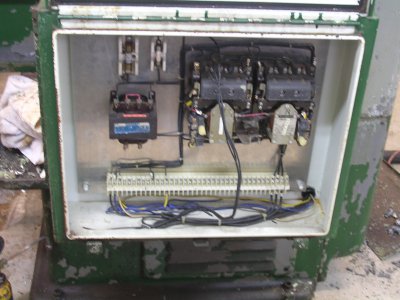
I put a coat of paint remover on and went about taking off the electrical controls. The wiring was pretty simple and I marked all the wires with wire marker tapes and removed the entire enclosure intact.

While I was waiting for the remover to do it's thing, I went at the cast base pieces with a needle gun. The cast pieces cleaned up fairly easy but it made one hell of a mess. Needle gun, vacuum, scrape paint, apply stripper, and repeat, and repeat, and repeat for about 8 hours.

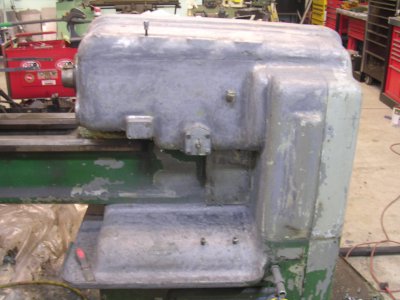
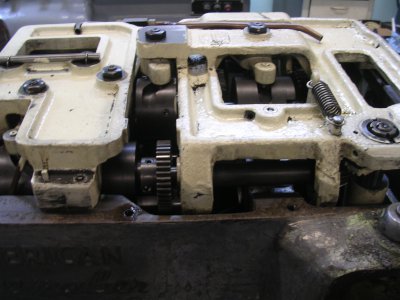
I got most of the headstock down to bare metal and decided to take the top cove off and see the condition of the spindle and gear train. I was quite pleased to see that everything in the headstock was immaculate and well lubed. I think the only thing that needs to be done is drain and flush the sump, clean the oil filter, and re-fill it with new oil.

I'll probably go back out after dinner and give it a few more hours of paint scraping.

#15.JPG #16.JPG #17.JPG #18.JPG #21.JPG #20.JPG
 
That's a beast of a lathe. I think you'll have agreat running machine there when your done. :thumbzup3:
 
Like I thought, today was a snow day and I got a day off from work and spent it in the shop.
I put a coat of paint remover on and went about taking off the electrical controls. The wiring was pretty simple and I marked all the wires with wire marker tapes and removed the entire enclosure intact.

While I was waiting for the remover to do it's thing, I went at the cast base pieces with a needle gun. The cast pieces cleaned up fairly easy but it made one hell of a mess. Needle gun, vacuum, scrape paint, apply stripper, and repeat, and repeat, and repeat for about 8 hours.

I got most of the headstock down to bare metal and decided to take the top cove off and see the condition of the spindle and gear train. I was quite pleased to see that everything in the headstock was immaculate and well lubed. I think the only thing that needs to be done is drain and flush the sump, clean the oil filter, and re-fill it with new oil.

I'll probably go back out after dinner and give it a few more hours of paint scraping.

You go Man! The machine restoration threads are my favorites that keep me coming back. Certainly not the only reason of coarse, but again, my favs!

I'll be glued to this one and you've got a hellofa start. Looking GREAT! Keep at it and by all means, plenty-0-pics! :))
 
Thdy are nice machines . You'll be happy with that one Until you decide you need that 34" swing X 120".
dickr
 
Thdy are nice machines . You'll be happy with that one Until you decide you need that 34" swing X 120".
dickr

I was in a shop last week that had a 34" X 120" and it was nice.

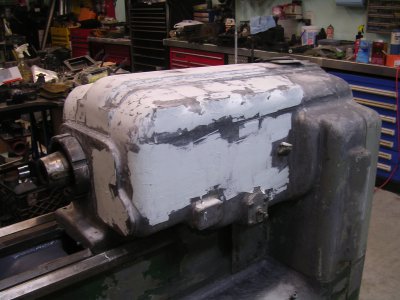
Well I got the cover back on the headstock. The paint stripper that I used took everything off including the filler that they used back in 1950. The castings without filler are really rough so I need to re-apply filler. I hate doing this type of work because its almost the same a drywall, put mud on, sand it off ( I can do it but I don't like it).

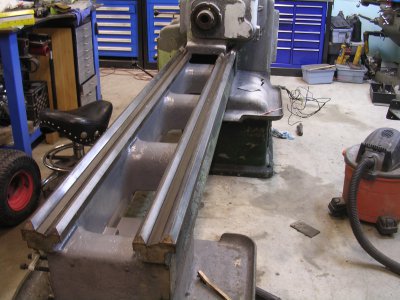
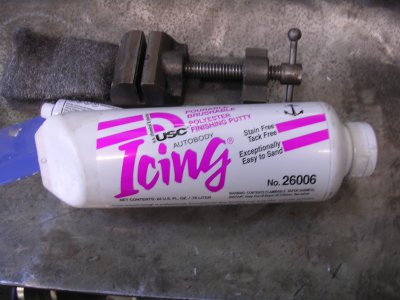
I stripped the inner web of the bed to bare metal with a needle gun and got a coat of primer on it. I'm using a high solids, sandable primer that I got from Tractor Supply, with 2 coats it looks like it will fill the rough casting well. I'm using a light weight polyester filler called "Icing". I mix it in very small batches as it only has a 3-4 minute pot life but it goes on easy and sands easy.

I am scraping the rest of the paint off the lathe with a razor blade because I don't want to have to apply filler to the rest of the castings, I'll just sand the intact filler and repaint.

#23.JPG #24.JPG #25.JPG #26.JPG #27.JPG
 
I've never used the ICING product before. Is it a 2 part that you have to mix with hardener? How's the shrinkage factor?

I'm with you, I hate filling and sanding! I' don't mind the filling part so much, I hate the sanding part , and all the dust that gets created. It's one of the reasons why I'm not in the paint and body business. I just do my own stuff now. Can't stand the dust!

Your moving right along.:thumbsup2:
 
Icing is two part, shrinkage is almost zero and it sets up very quick.
I'm hand sanding everything to keep the dust down. If I had thought this project out, I would have built a booth around the machine so I could use a powered sander, I don't need dust on everything in the shop.
 
Back
Top