- Joined
- Aug 29, 2016
- Messages
- 121
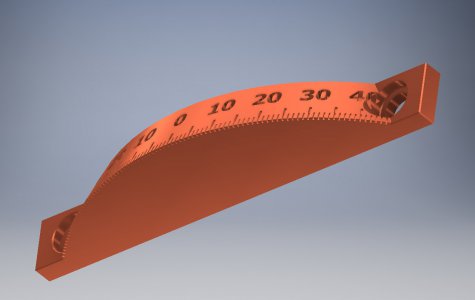
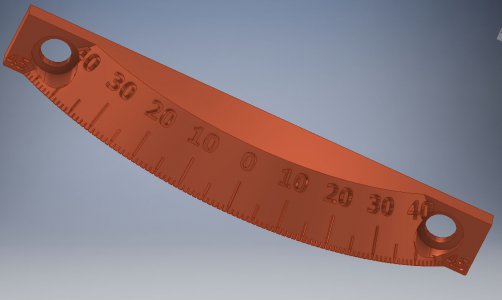
I made a mistake. I had cleaned off the lathe with acetone and lubricated it. I saw that I had missed the protractor on the compound rest and proceeded to clean it with acetone. Oops acetone was a solvent for the protractor. I am printing up a replacement and while I was at it I extended the diameter just enough that I can get to 45 degrees.
Attached is an STL that will allow you to print one yourself on a 3D printer. If you have made the same mistake and need one but can not print it, I can put it on eBay for $5.
Attached is an STL that will allow you to print one yourself on a 3D printer. If you have made the same mistake and need one but can not print it, I can put it on eBay for $5.