Haven't posted in awhile but read all the time and appreciate all I've learned here.
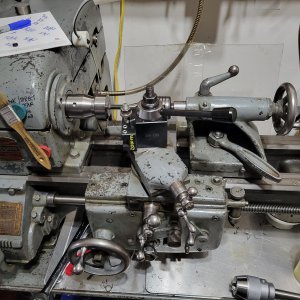
I run a Logan 820 for my practice of vintage fountain pen restoration, generally in fabricating replacement parts in delrin (if inside and unseen) or ebonite (if visible; ebonite is processed organic hard rubber, an old material); sometimes acrylic resins and celluloid. Recently, I'm unable to cut without pretty significant error, what I assume is deflection. The error is the same with delrin, ebonite, acrylics, and even cold roll, for me OD is always <.500, usually in .250-.350 range.
Facts;
Lathe is aligned with a test bar between collet chucks at tailstock and in the spindle, <.001" error in 4-5" of length, and since almost all of my turning is <2" long this is acceptable.
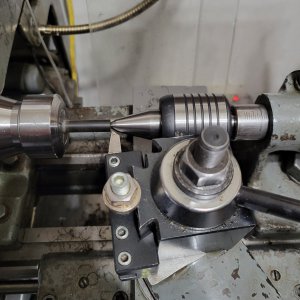
Cutting either with an HSS tool I've ground for ebonite or VNMG, sometimes CCGT. Cuts are max .010 while I'm having this problem, but seem to be about the same error at any DOC. QCTP is AXA. Tool stickout is usually .300-.500", actually as litle as I can work with, so I can get to the work; real estate with the QCTP and slim live center is pretty tight. I guess I'm hoping that's not the problem. I always have a tradeoff betwen using a very thin rod as dead center or adding stickout.
Work is in ER32 collet chuck centered with live center in tailstock. With the collet chuck I generally work very close to the chuck, using power feed to less than 1/8". Clearly too close for comfort with a 3J but works fine with collet chuck.
At both 620 rpm and 180 rpm, ebonite cuts very cleanly with feed at .0062.
Cross-slide, compound tightened down; gibs are as tight as I can set them and still turn the y handle.
Why is it cutting .007"-.010" deeper right at the chuck than 1" away? The error is the same with both/either HSS and carbide tools.
I'm at a loss, would appreciate any ideas.
Tim
tim@timsvintagepens.com


