Thread Problems Part Failure

Is there a thread relief groove? What diameter and width?
 
Center Drill for the Live Center. NEVER just ram the center into the stock.

"Billy G"
 
Just making sure. I love my live center. I won't hurt it.

Sent from my SM-G360P using Tapatalk
 
Single point threading ¼” crs can be too much “tool pressure” for the billet material when length from the chuck becomes 3 X diameter. The material will flex and then push away from the tool, roll on top of the threading tool and then bend. Solution: use a die, geometric die head, use a center when threading it, use a follower rest, roll the threads, or? Can you use all thread and Loctite the threaded rod into the project?...Good Luck, Dave.
 
Last edited:
Centre drill first - but before that, face the end square to get a nice central centre in it! It's a good idea (if you can) to have just a nubbin sticking out of the chuck jaws in the interests of rigidity too.
 
I always center drill first.
It can be a pain on small diameter sometimes but worth the time to do it.
It seems I learn the hard way most of the time trying to shortcut things:)
 
I wouldn't slow the rpm any myself. As for the center, yes, use it. What I do on small diameter parts is not ram it, but lock the tail stock and 'bump' the tip into the end of the part a few time to make a dimple, then put a bit of pressure on it and go. Works great.
 
Hi Latheman,
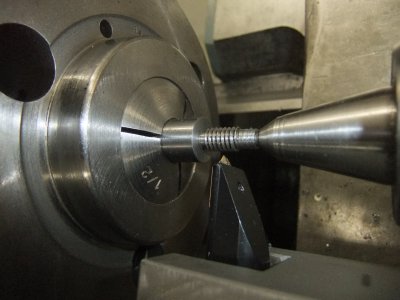
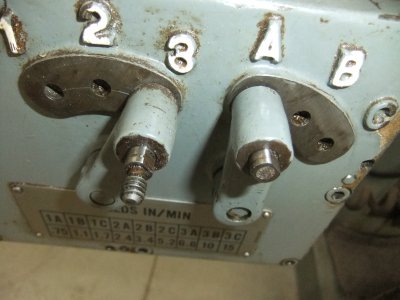
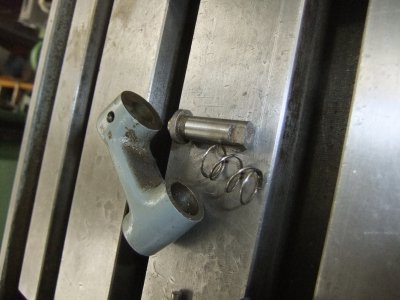
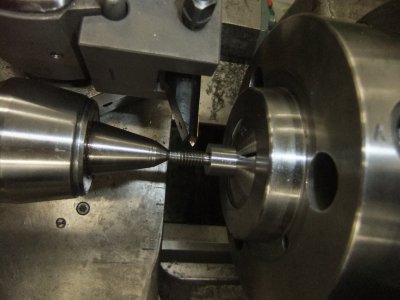
Tonight I completed a thread similar to the one you were working on, and can share pictures (see my earlier post in this thread). The component is ashifter pin for the table feed gear box on my mill (have to make 2). The pins have a small knob threaded on, and previous owner snapped a couple of them off (wish he had not tossed the black plastic knobs - that is a seperate project). The knobs thread on 1/4-20.

For this component, I had to thread up to a shoulder. I used a groove, but I only had about 0.015" of run out (before I'd hit the shoulder - which would make a bad noise). I threaded in the lowest gear (30 rpm) - it was actually quite easy to keep the overshoot to less than 0.003". Once I was well into the thread (say the last 6 passes) - I'd take 0.001" DOC, followed by 0.000" check it for fit, then do another 0.001", followed by 0.000". The cutting was quite uneventful, good surface finish, good fit. Now to cut the support extension off and complete the rest of the pin.

DSCF5704.JPG DSCF5705.JPG DSCF5706.JPG DSCF5707.JPG
 
Chipper! You are a great help. I appreciate all of you trying to help me. This forum has wonderful active members.
 
Back
Top