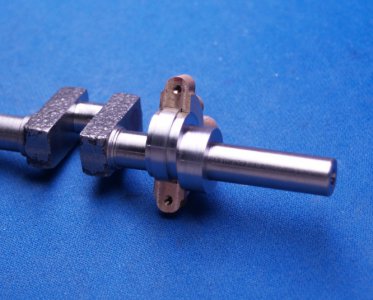
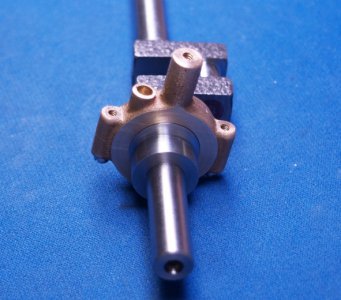
The Journey Begins, PM Research #5.

Do you have access to a Bridgeport with a quillmaster and qrd? Or, they sell aircraft drills that are 6" long. I've got some 1/16" ones. You may find #50s. Can't come up from the bottom?

Bruce

That's a neat little tool, but no.

I have a new 6" long #50 drill. PMR sells those just for this kit. I would need a 2-56 tap with a long shank (extension tap) or a long, small diameter tap wrench. They don't sell those. The original kit for this engine was all bronze so tapping those bottom end holes could have been done with a pin vise. The cast iron version needs a bit more torque just to get the tap started.

I did think about coming up from the bottom but I don't think that's a realistic option.

It's a puzzlement!

Eric
 
Last edited:
That's a neat little tool, but no.

I have a new 5" long #50 drill. PMR sells those just for this kit. I would need a 2-56 tap with a long shank (extension tap) or a long, small diameter tap wrench. They don't sell those. The original kit for this engine was all bronze so tapping those bottom end holes could have been done with a pin vise. The cast iron version needs a bit more torque just to get the tap started.

I did think about coming up from the bottom but I don't think that's a realistic option.

It's a puzzlement!

Eric
Walton sells tap extensions for exactly this purpose! They are a little expensive (and sold based on the square drive), but do exactly that.

Is there a reason the holes can't be drilled all the way through? If so, you could drill and/or tap from the bottom without a problem.
 
Walton sells tap extensions for exactly this purpose! They are a little expensive (and sold based on the square drive), but do exactly that.

Is there a reason the holes can't be drilled all the way through? If so, you could drill and/or tap from the bottom without a problem.

The main reasons I don't want to drill from the bottom are: 1) The plans don't call for it. 2) If I pick up the locations from the bearing caps, how would I locate them from the bottom? 3) If the cast in features on the bearing web interfere with the process I would have to remove them first. 4) It would leave extra holes in the casting that should not be there. 5) It might work and not be visible, but I'd know it was wrong and I'm kind of nuts about such things.

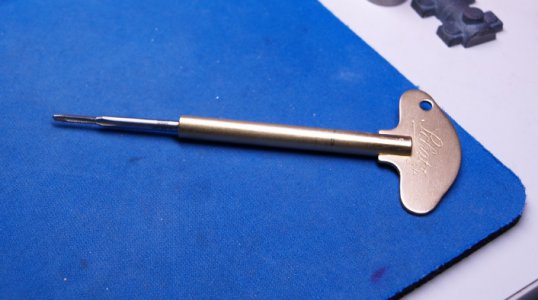
My tentative solution is a 2.75 mm clock key ($2 if I buy one) with an extended shaft. That will give me the clearance needed to tap from the top (I hope).
tap key.jpg

Eric
 
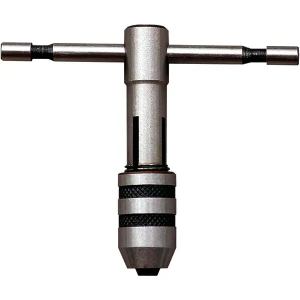
For installing a DRO on my lathe, I took one of those small tap handles

1595591453607.png

and cut the T handle part off. I was able to drive torque by shoving a flat head screwdriver in the slits cut down the side and rotating it 90 degrees at a time. Not ideal, but it let me tap some holes in a really hard to reach location.
 
The main reasons I don't want to drill from the bottom are: 1) The plans don't call for it. 2) If I pick up the locations from the bearing caps, how would I locate them from the bottom? 3) If the cast in features on the bearing web interfere with the process I would have to remove them first. 4) It would leave extra holes in the casting that should not be there. 5) It might work and not be visible, but I'd know it was wrong and I'm kind of nuts about such things.

My tentative solution is a 2.75 mm clock key ($2 if I buy one) with an extended shaft. That will give me the clearance needed to tap from the top (I hope).
View attachment 331309

Eric

For #2, you'd measure off a reference surface so you could pick up the same location on the bottom.

Ive not used the clock-key there, but I have no idea how that'll work. I'm bad enough with getting alignment right while hand-tapping, so I typically do whatever I can to get it aligned/started in the mill.

I actually found it here some time ago: https://www.sherline.com/wp-content/uploads/2018/10/003_cw_tip.pdf and thought to myself "I'd never use that". I guess I was wrong.

Eric
 
For installing a DRO on my lathe, I took one of those small tap handles

View attachment 331313

and cut the T handle part off. I was able to drive torque by shoving a flat head screwdriver in the slits cut down the side and rotating it 90 degrees at a time. Not ideal, but it let me tap some holes in a really hard to reach location.

I've used those handles for many things they weren't designed for over the years, but in this case they are still too large.

Eric
 
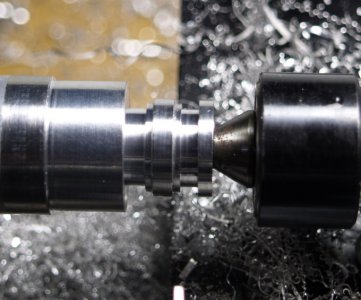
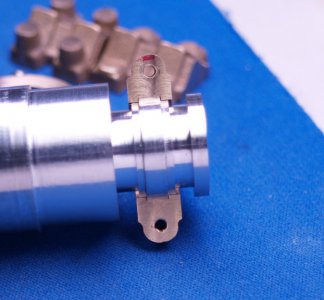
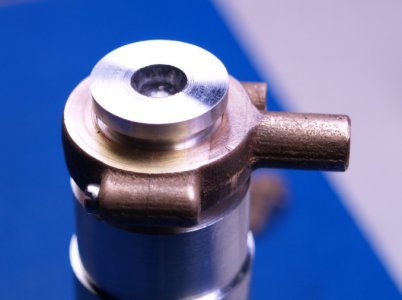
I made an eccentric hub test piece today since I can't work on the frame yet. I turned the disk on the right to find the inside diameter of the groove and used that to cut the hub profile. I missed the groove depth by -0.007" and it's a little off center in the eccentric but I think it will work. All the other dimensions came out good. Happy happy joy joy!

eccentric hub test 1.jpg
eccentric hub test 3.jpg
eccentric hub test 4.jpg

Eric
 
Last edited:
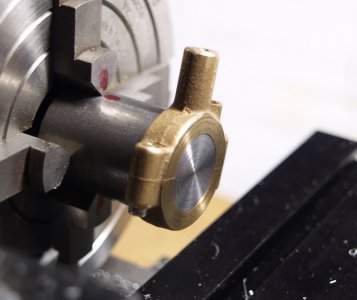
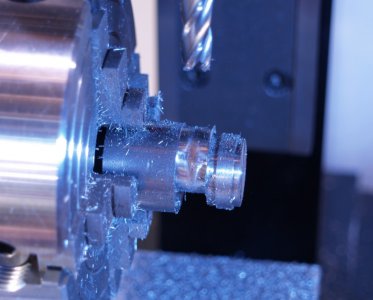
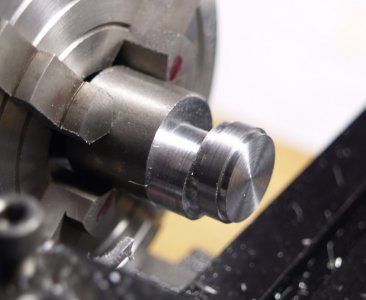
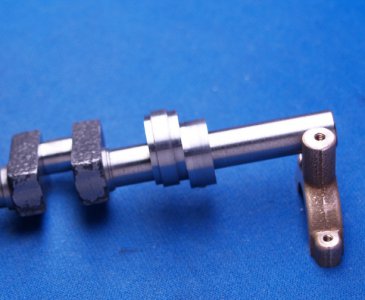
Made the eccentric hub today. After working with the aluminum for practice, the CRS was an absolute pleasure to work with. I started with the stock centered in my 4 jaw on the lathe and cut the inner race using the dimensions obtained from my practice piece. I didn't take a picture but here is the eccentric test fitted.
eccentric hub 1.jpg

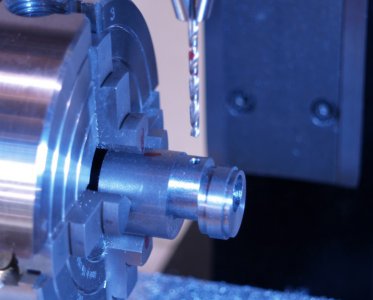
After that I offset two opposite jaws 0.10" and moved to the rotary table on the mill to get close to the diameter of the hub. This took a while.
eccentric hub 2.jpg

Back to the lathe to finish to size and bore for the crankshaft.
eccentric hub 3.jpg

Then back to the mill for the set screw hole.
eccentric hub 4.jpg

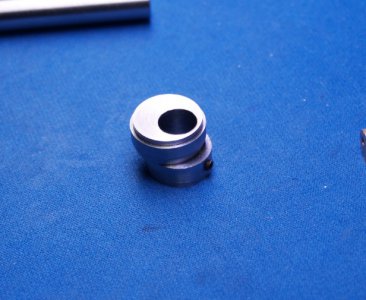
Then back to the lathe again to part off and Finished!
eccentric hub 5.jpg
eccentric hub 6.jpg
eccentric hub 7.jpg
eccentric hub 8.jpg

This is the last rotating part I needed to make. Another part you can't appreciate once it's all assembled.

Eric
 
Last edited:
Back
Top