Southbend 9 x 48 - How worn is too worn?

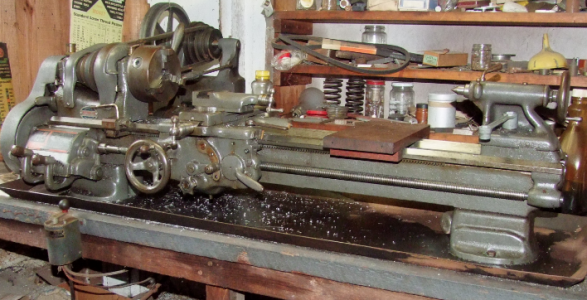
The serial number is 170069, stamped J A N below it. I'm not positive it's a '47 but I found serial number very close that had details listed on another site.

BTW, thanks for the tip on the belt tensioner. I'd love to get rid of that monstrosity hanging off the back! -- Good, just cut it off !!
Hi Chad

From a couple of sources, it seems your lathe was built 1946, probably first half. In March '47 SBL changed to an entirely different Numbering System.

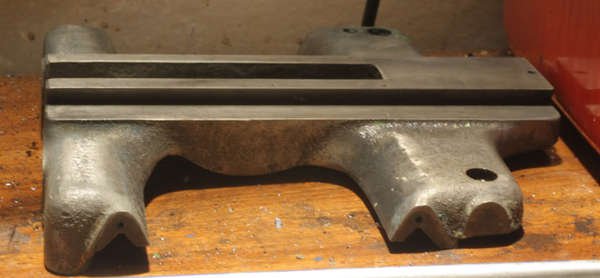
My SB9" is S/N 4155NAR8, see pic below, new in Sydney, Oz, late '47. Notice the "intermediate" style of the bed and foot castings.

Keep up the good work, and the photos coming...

Regards, RossG.
radial1951
______________
DSCF8034 LowResCrop.png

DSCF8034 LowResCrop.png
 
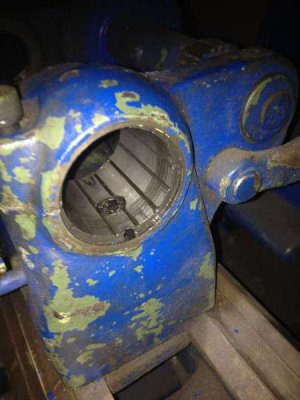
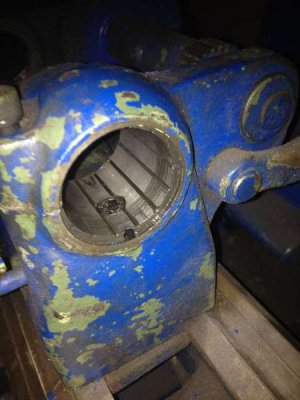
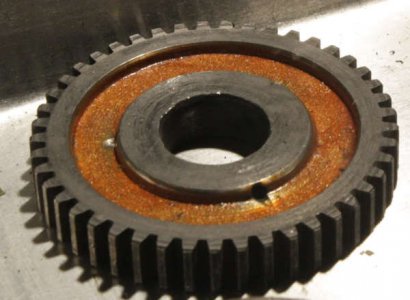
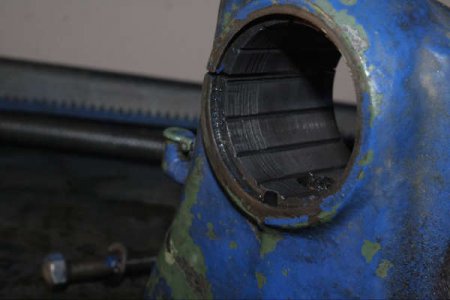
Oh no! That looks pretty nasty. Guess the bed wasn't the only thing they didn't clean/oil.
ymyzutuh.jpg

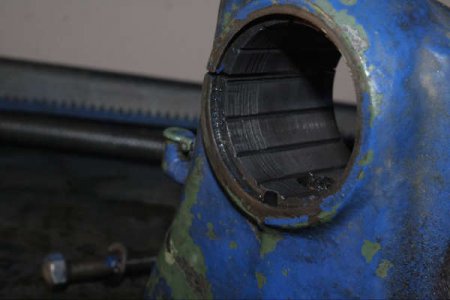
What's the story here? Is this one of those things I deburr and call good, or is this a no go?

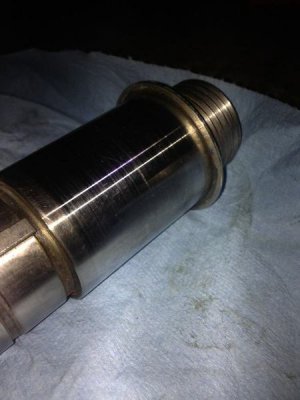
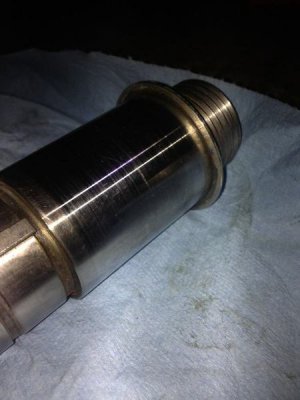
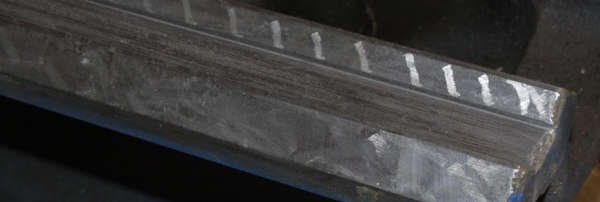
Spindle looks pretty good though.
e9uzy9yn.jpg

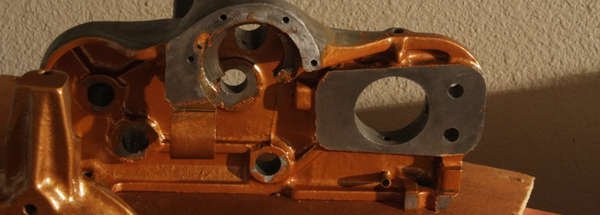
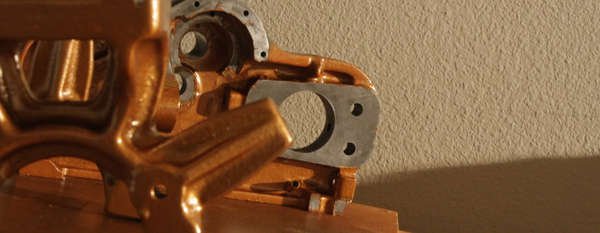
It's coming along, got the apron all cleaned up and started in on painting it. I found a cool main color for it, will really set off that hammered sienna. Should get the new felts and gaskets in this week sometime. Work is insane but I always squeeze my 30min in the shop when I'm in town. This weekend will really see the big progress!

ymyzutuh.jpg

e9uzy9yn.jpg
 
I'm not real familiar with a 9 headstock bearing, if it has shims you can hone that lightly by hand with a cylinder hone to remove the scratches and polish it with some 600 grit wet and dry paper with some oil. Those scratches don't look that deep.
 
It's a bad pic, it's pretty deep. But there's nothing to show for it but a bit of holographing on the spindle so I can't imagine it's of too much consequence. There's no shims, just a thrust bearing at the back, and oil everywhere else. I'm not terribly concerned with it until someone tells me to be. The most noise, and vibration is coming from the counter-shaft. Everything else was/is running very smooth. We shall see when the felts get here, and the paint is finished how bad it is.


Chad
 
It's a bad pic, it's pretty deep. But there's nothing to show for it but a bit of holographing on the spindle so I can't imagine it's of too much consequence. There's no shims, just a thrust bearing at the back, and oil everywhere else. I'm not terribly concerned with it until someone tells me to be. The most noise, and vibration is coming from the counter-shaft. Everything else was/is running very smooth. We shall see when the felts get here, and the paint is finished how bad it is.
Chad
Hi Chad, There should be a stack of shims, some VERY thin, in the slit at the front of each bearing housing where the clamp bolt goes through. The bolt should be able to lock down tight on the shims and that will provide the correct spindle to bearing clearance. Not sure about getting a round hole with a hone in a bore with all those oil groove segments. With all respect to Greg, I think it best to avoid any form of abrasive material in a cast iron bearing, just in case some grit particles are retained after cleaning. Just be sure there are no burrs along the edges of the score marks. If the rest of the main bearing looks ok, I would be more concerned about the bearing surface of the spindle, especially if that blue colour is from overheating. If any metal has picked up on it, you can carefully take it off with a fine India Stone. If you decide to give it a polish, I would suggest 1200 paper, nothing coarser. The bearing surface was originally surface hardened and "superfinished", as SBL called it, probably by linishing as is done to engine crankshafts.

If you haven't stripped it right down yet, now might be a good time to just clean everything, slip the spindle in, no oil, and see if you can adjust the front bearing to get 0.001" movement horizontally and vertically. You may want to know where you're heading. Here's a vid that shows how its done: http://www.youtube.com/watch?v=oS0DQusUR0w

If it seems ok, the score marks, as you suggest, won't matter at all. As long as the clearances are right and the spindle runs nicely with some oil, it will be great.

Sorry for the long post, and I hope I'm not trying to teach you how to suck eggs!

Regards, RossG
radial1951
_____________
 
Sorry for the long post, and I hope I'm not trying to teach you how to suck eggs!
_____________

Not at all! You're full of lots of great info! I hadn't done much but remove the spindle, there's lots of paint in the gap where those shims would go, I'm glad to know I should look for them. The blue in the photo is only in the photo, I'll take a better one tomorrow.


Chad
 
Hi Chad, There should be a stack of shims, some VERY thin, in the slit at the front of each bearing housing where the clamp bolt goes through. The bolt should be able to lock down tight on the shims and that will provide the correct spindle to bearing clearance. Not sure about getting a round hole with a hone in a bore with all those oil groove segments. With all respect to Greg, I think it best to avoid any form of abrasive material in a cast iron bearing, just in case some grit particles are retained after cleaning. Just be sure there are no burrs along the edges of the score marks. If the rest of the main bearing looks ok, I would be more concerned about the bearing surface of the spindle, especially if that blue colour is from overheating. If any metal has picked up on it, you can carefully take it off with a fine India Stone. If you decide to give it a polish, I would suggest 1200 paper, nothing coarser. The bearing surface was originally surface hardened and "superfinished", as SBL called it, probably by linishing as is done to engine crankshafts.

If you haven't stripped it right down yet, now might be a good time to just clean everything, slip the spindle in, no oil, and see if you can adjust the front bearing to get 0.001" movement horizontally and vertically. You may want to know where you're heading. Here's a vid that shows how its done: http://www.youtube.com/watch?v=oS0DQusUR0w

If it seems ok, the score marks, as you suggest, won't matter at all. As long as the clearances are right and the spindle runs nicely with some oil, it will be great.

Sorry for the long post, and I hope I'm not trying to teach you how to suck eggs!

Regards, RossG
radial1951
_____________

Agreed that those oil grooves will make it difficult, but not impossible, that's why I said to turn the hone by hand just enough to nock down the high spots if any. Not to remove the scratches entirely but just smooth everything out before a polish. As far as the grit goes, I also agree that it would need a good flushing and wash with solvent. And you are right about a finer grit paper being better for a polished surface. All good advice above though.
 
Agreed that those oil grooves will make it difficult, but not impossible, that's why I said to turn the hone by hand just enough to nock down the high spots if any. Not to remove the scratches entirely but just smooth everything out before a polish. As far as the grit goes, I also agree that it would need a good flushing and wash with solvent ...
Greg, I totally agree. If Chad can turn a hone by hand in the bearing without it jumping around in the oil grooves, then it will take the bumps out of the bore. I know your Heavy-10 bearings came up very nicely, as did everything on your lathe. I'm just a worry-wart when it comes to abrasive grit and bearings, especially cast iron. If any grit stays in there, it will act like a lap. Cleanliness is essential, as you say.
______________
Chad, this is becoming an interesting rebuild and I can't wait to see the "secret" two-tone paint job! As my 9"SB is a similar age, you really got me thinking that an internal cleanout and new felts would be a good idea.

Speaking of rebuilds, did you follow Greg's Heavy 10 Project? Worth reading. It must be time for an update on it's progress too...

Regards, RossG.
radial1951
______________
 
Greg, I totally agree. If Chad can turn a hone by hand in the bearing without it jumping around in the oil grooves, then it will take the bumps out of the bore. I know your Heavy-10 bearings came up very nicely, as did everything on your lathe. I'm just a worry-wart when it comes to abrasive grit and bearings, especially cast iron. If any grit stays in there, it will act like a lap. Cleanliness is essential, as you say.
______________
Chad, this is becoming an interesting rebuild and I can't wait to see the "secret" two-tone paint job! As my 9"SB is a similar age, you really got me thinking that an internal cleanout and new felts would be a good idea.

Speaking of rebuilds, did you follow Greg's Heavy 10 Project? Worth reading. It must be time for an update on it's progress too...

Regards, RossG.
radial1951
______________
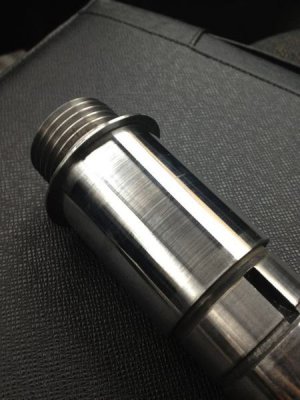
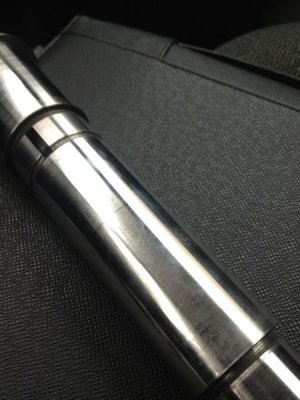
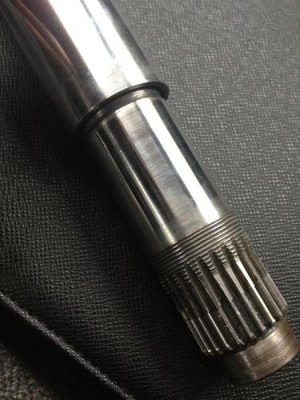
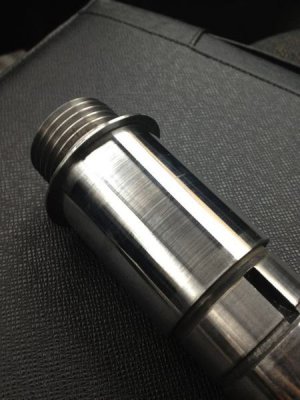
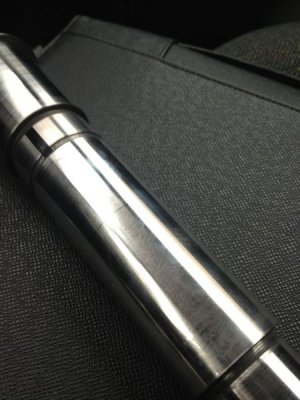
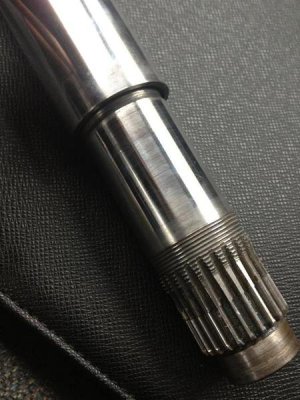
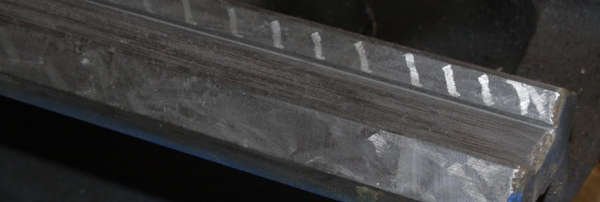
I'm inclined to think that due to the lack of evidence on the spindle, whatever caused the scratches was dealt with. I suppose I could blue it up and see how it prints before messing with a hone or sandpaper?

Better pics of the spindle
5u2aja8y.jpg
y2e6e2ev.jpg
ezuqa2yd.jpg

I did find the shims this morning, that was a good video too! Thanks for that!

I've just started making my way through the Southbend forum, I'll have to make Gregs rebuild my next read!

Should have the steady finished today so you'll get a glimpse of the paint!

5u2aja8y.jpg

y2e6e2ev.jpg

ezuqa2yd.jpg
 
Not too much to look at for today. Soooo much fossilized grease it's astonishing. This thing may have only been $350.00 when it was new, but I'm pretty sure in '46 that was a ton of money... Well I found acorns in it today.

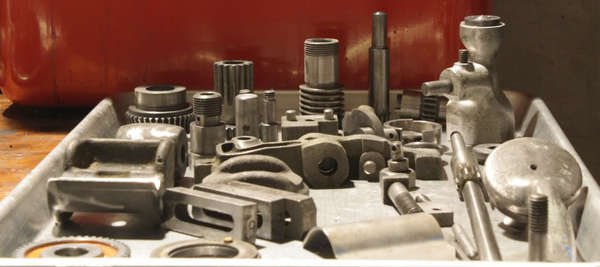
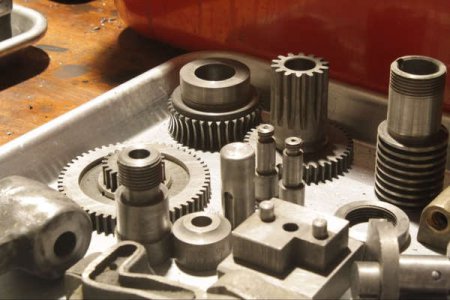
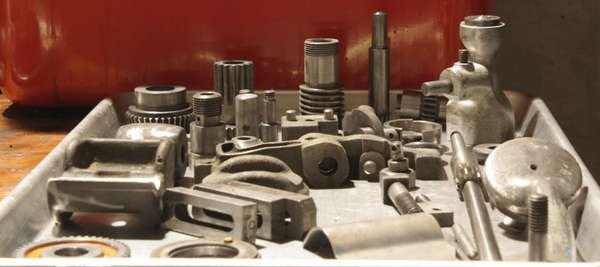
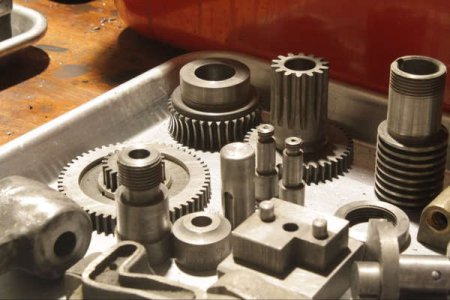
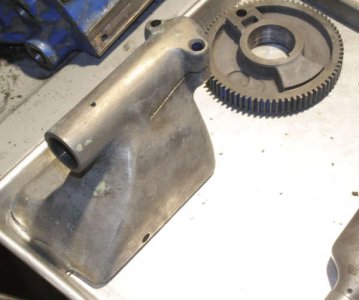
A few more parts in the clean trays, it's completely disassembled, but nothing that came off today got completely cleaned today.

40b2829dfcbe75948273674528fc6f14.jpg
b050116fb23e954bddec6cf0d3fca909.jpg
59ae94d04d191f433acdd126f7a979e9.jpg
66bbf41276baa77bc98cca436cdf8187.jpg


Better pic of the spindle bearing, it deff had some garbage in there, but it's not all that bad... We'll call it a custom oil delivery system.
ecf3a0b157b923ad9b618152e8aa0456.jpg

Still makes me sad to think it all once looked like this.
e91f72774738ccb8ee05b4238501d8fd.jpg

Playing with ways to do this and maintain the oil porting.
610c69d67a0a0e64bd3cd01a28f4a92b.jpg

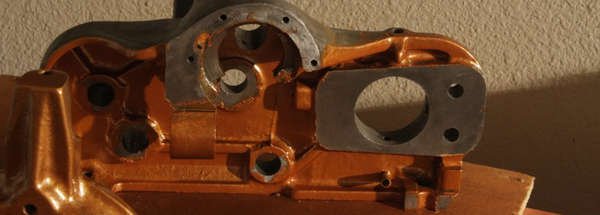
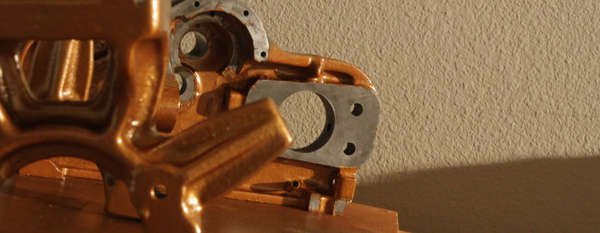
I couldn't FINISH the steady today, but I did get the rest of the accent color painted. Don't mind the bleeding onto the contact surfaces, I can never get the masking to completely seal so I don't even try anymore.
6f322185f183c576e35124845bf5e024.jpg
89d35087a02ecc241263fb9a5fa65dc8.jpg

One thing I noticed, is there was no pin or anything but the ways that located the headstock. Is that feature unique to the heavy models?

Chad

40b2829dfcbe75948273674528fc6f14.jpg

b050116fb23e954bddec6cf0d3fca909.jpg

59ae94d04d191f433acdd126f7a979e9.jpg

66bbf41276baa77bc98cca436cdf8187.jpg

ecf3a0b157b923ad9b618152e8aa0456.jpg

e91f72774738ccb8ee05b4238501d8fd.jpg

610c69d67a0a0e64bd3cd01a28f4a92b.jpg

6f322185f183c576e35124845bf5e024.jpg

89d35087a02ecc241263fb9a5fa65dc8.jpg
 
Back
Top