Single Point Threading on a PM-1030V?

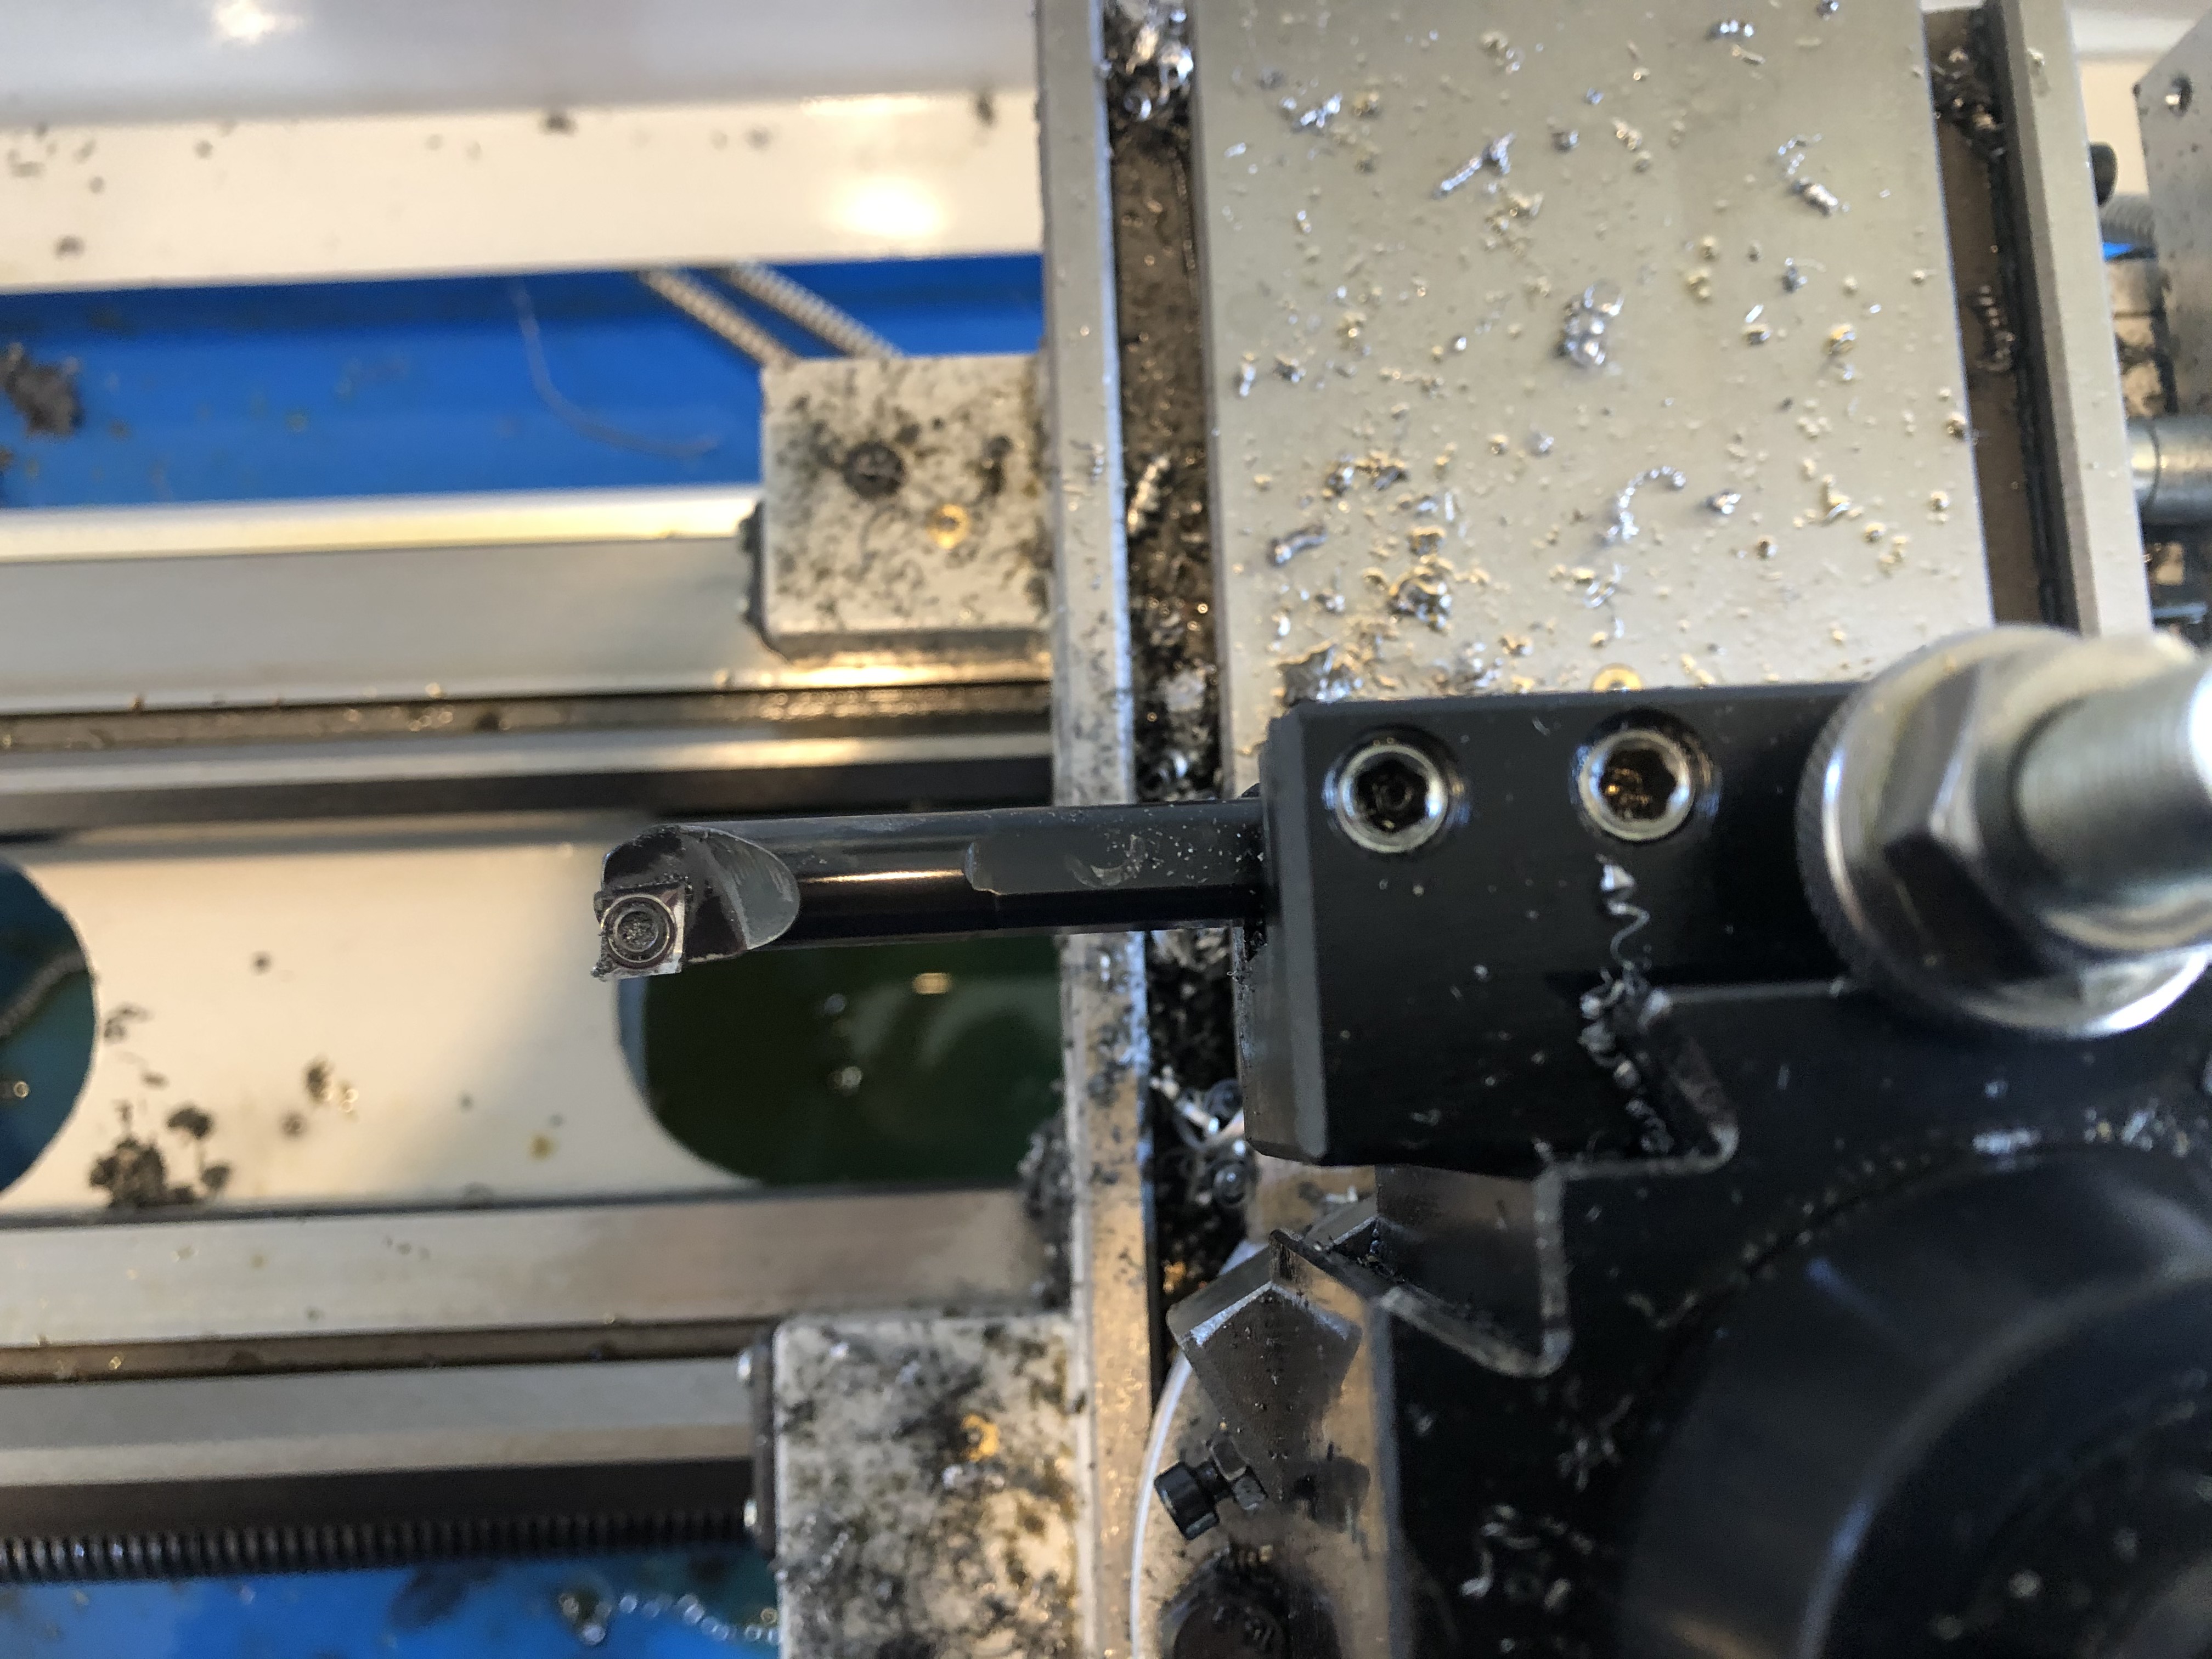
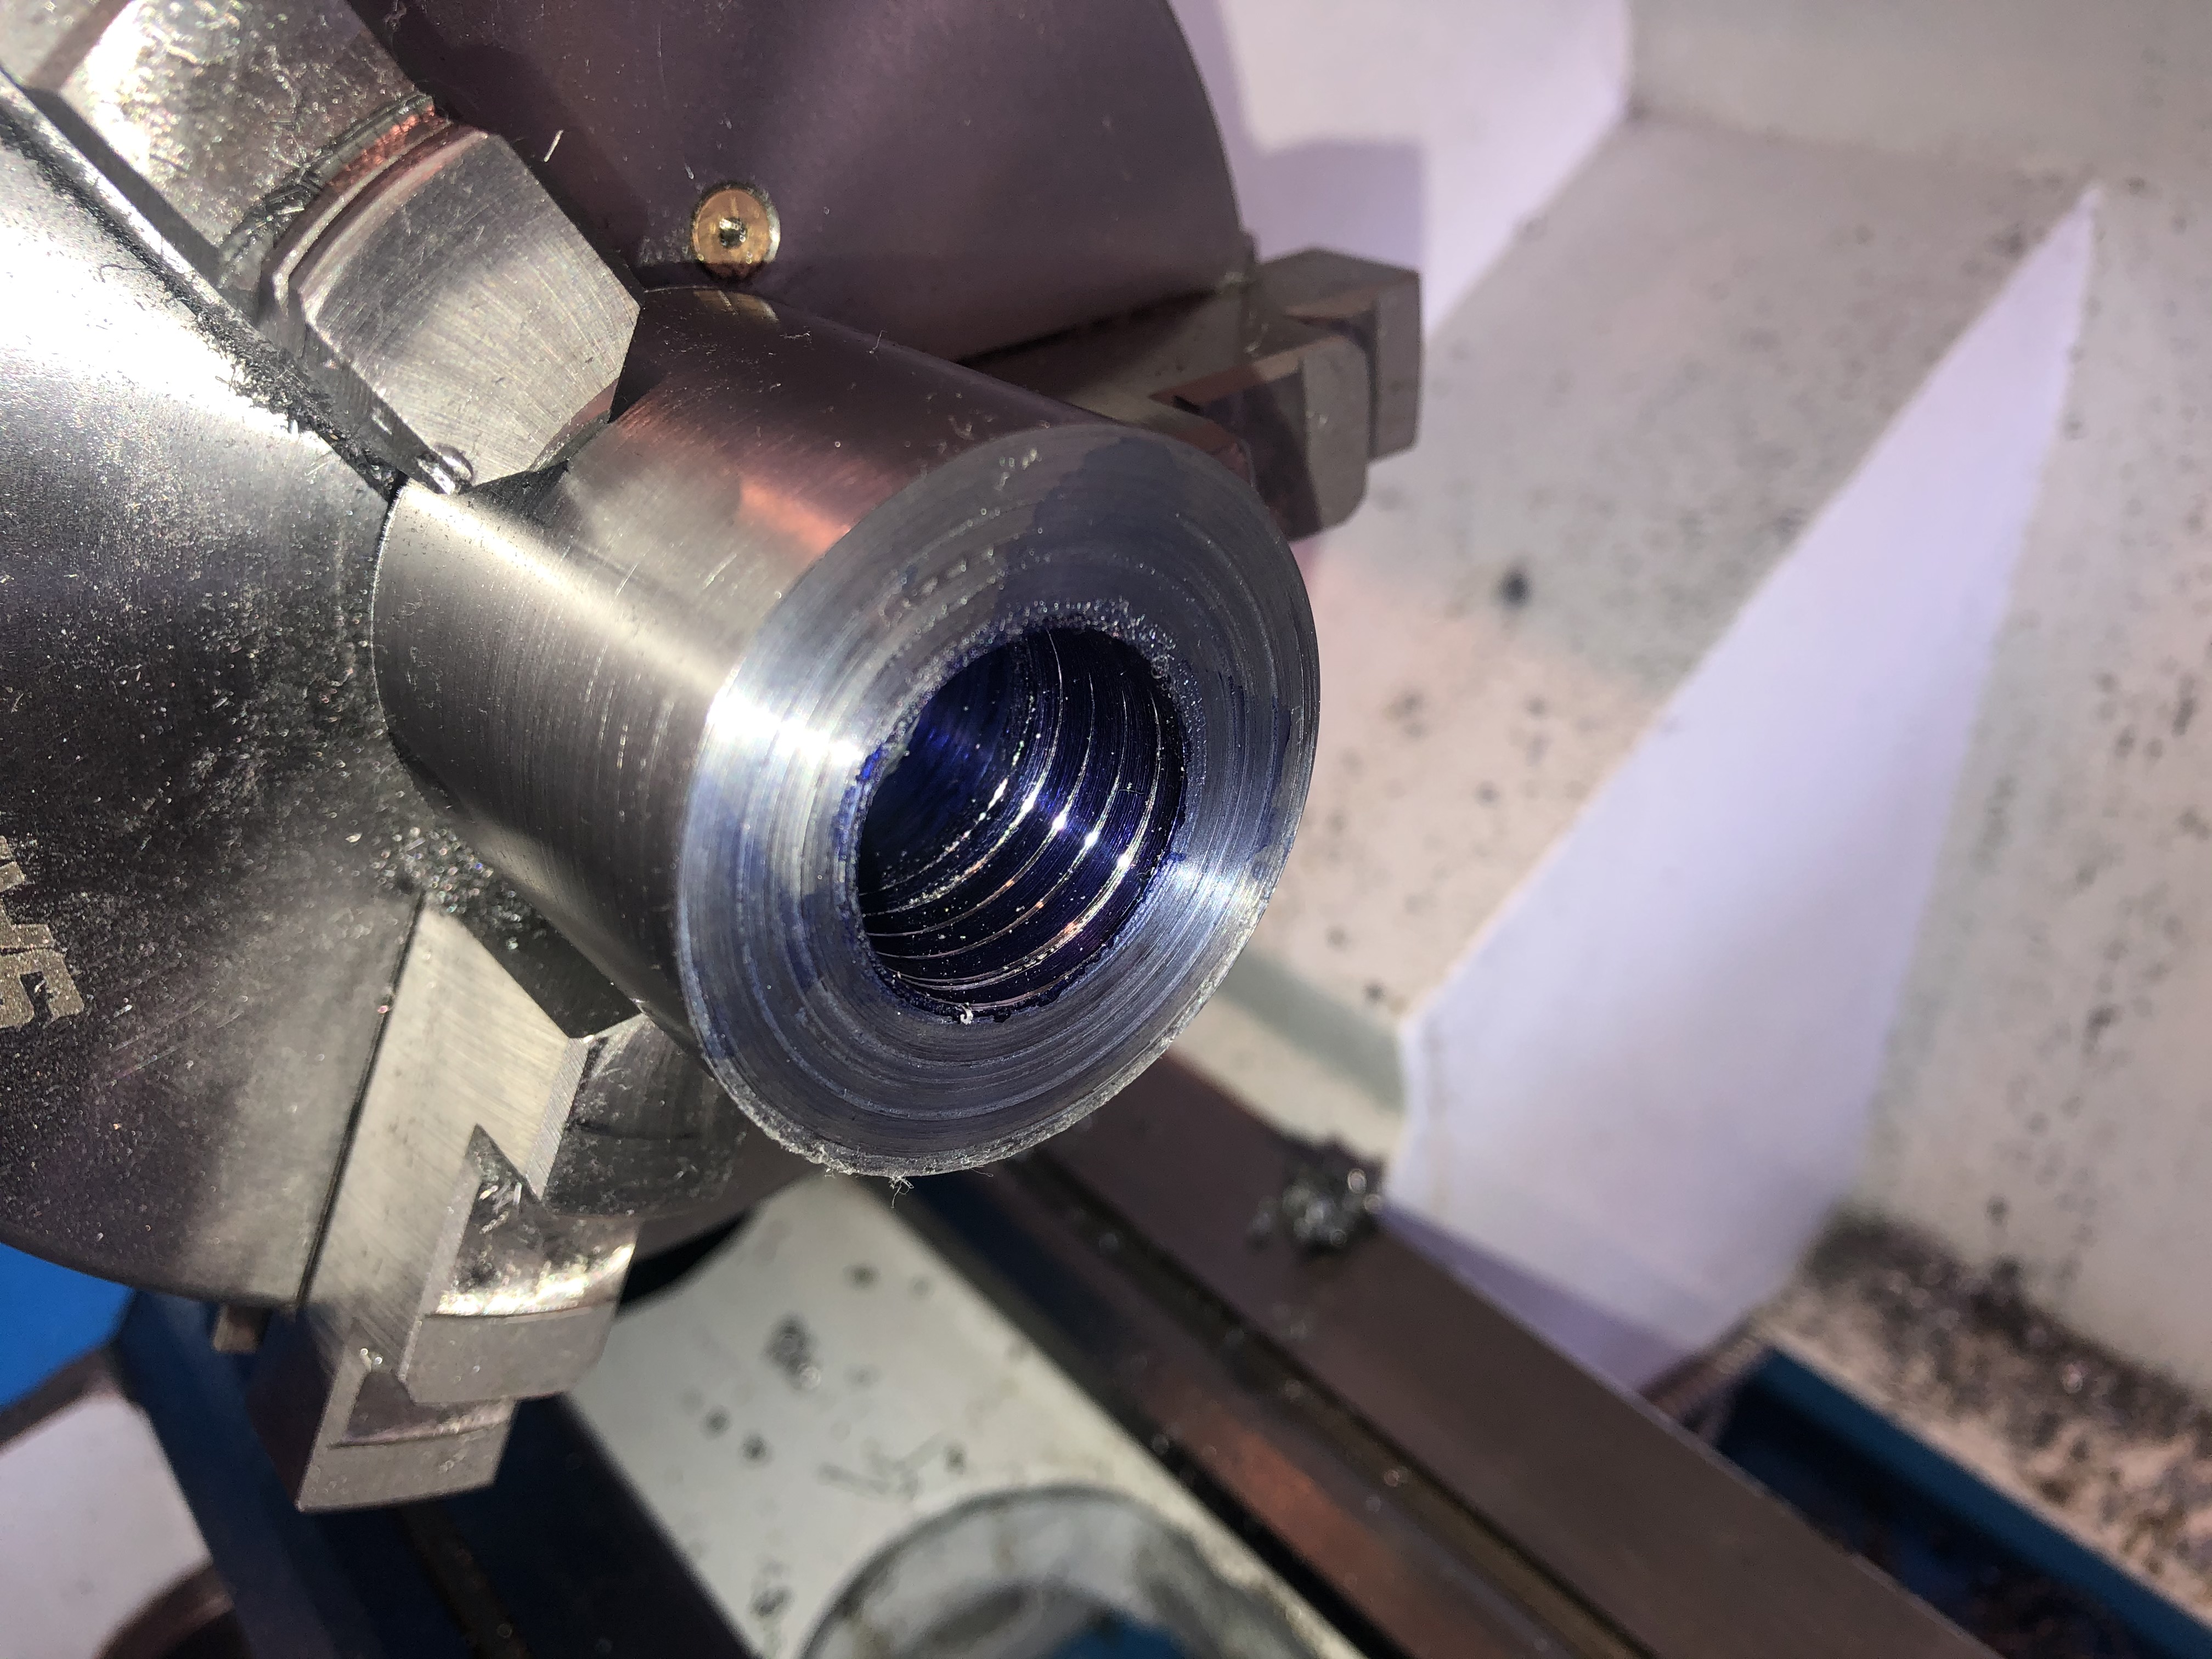
The groove went horribly. This particular HSS insert tool is incapable of reaching back and cutting a groove when it is mounted perpindicular to the face of the work. As you can see, the groove is tapered and basically just a mess. Next time I will cut a nice groove from the front (not reaching back and in). The last photo shows how the unplanned taper of this groove took up some of my work area and made for a more shallow scratch pass than I had planned:
IMG_8146.JPG
IMG_8148.JPG
IMG_8152.JPG
 
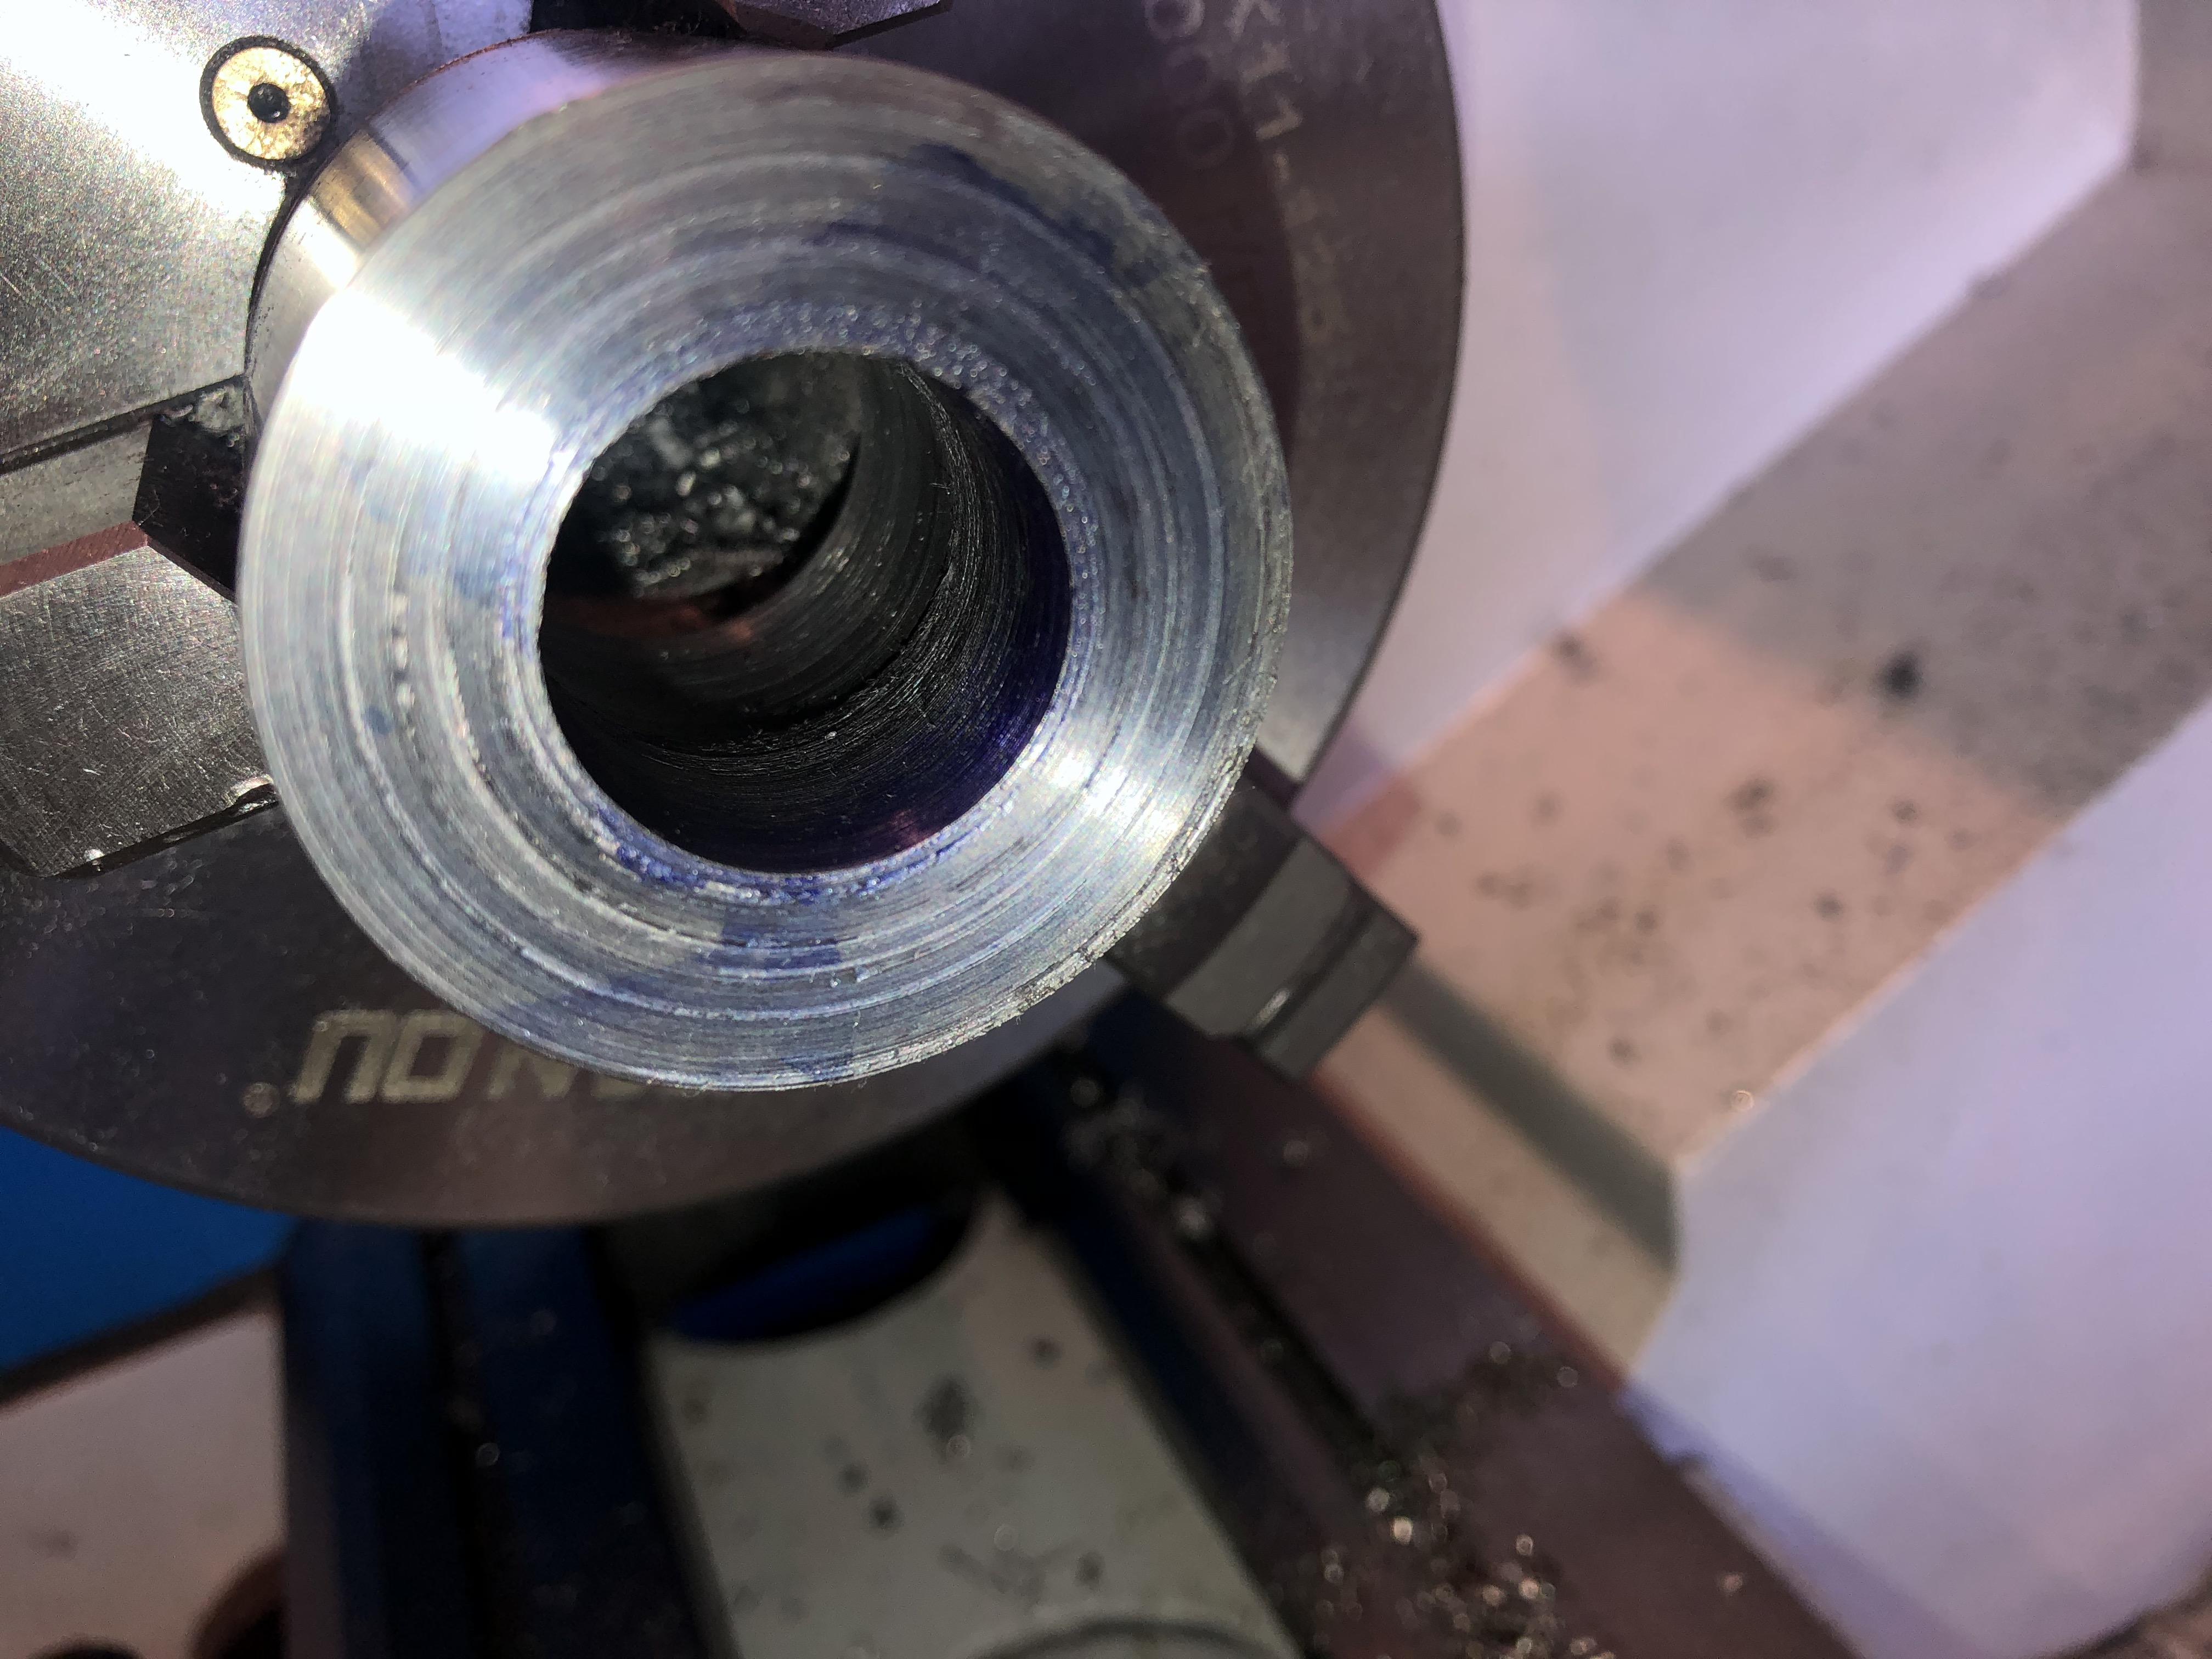
Here is a picture of the threads right before I tried the bolt for the first time. I don't have a way to measure the pitch diameter here, so I just had to keep trying the Grade 5 bolt from the hardware store.

IMG_8161.JPG
 
Last edited:
Finished nut. It is a little too tight. I should have made a few more spring passes.

It is my understanding that I can improve the surface finish on those threads by (1) lubricated light (or spring) passes and/or (2) high speed, slow feed. I don’t see how it is possible to do a high speed and slow feed with the half nut engaged.

IMG_8170.JPG
IMG_8176.JPG
IMG_8178.JPG
 
Last edited:
For the internal threading, the combination of the PM-1030V and this carbide insert threading tool was able to cut as deep as I wanted. .010" at the beginning, .006" near the end. Whatever I wanted, no problem. And this is with this diameter machine (.001" movement of the cross slide handwheel is a measurement of the change in radius).

I have been threading with the compound set to 30°, and I always advance on the compound. Of course, I have a zero on the cross slide that was established at the time of the spring pass.
 
Last edited:
The next few posts will be the last that I can add for awhile because I will be away from my lathe for two months.

I made a second nut. The two problems I had this time were minor:
(1) I got the telescoping (snap) gauge stuck in the "safety" groove at the rear of the workpiece when I was trying to measure the back end of the bore (minor diameter). I had to unchuck the workpiece in order to get my snap gauge back. It was okay because I was just starting the precision boring. I'll never do that again!
(2) I missed my mark on the thread dial on one of the last few passes. I stopped the damage very quickly, and later I just faced down enough to get rid of this damage. As a consequence, my nut was a little more narrow than I had planned.

I took great care to optimize my surface finish on the threads by making a lot of well lubricated passes near the end; this includes light passes and a whole lot of spring passes.

This is my safety groove: I didn't make it deep enough, but there didn't seem to be a penalty for that. I just cut threads into the groove. I always part off this groove.

IMG_8200.JPG
 
I made these bushings before I realized that I should do both the precision boring and threading in a single chucking. This .003" runout was the price I paid for this lack of planning. I just increased the I.D. by a few thou which is okay because there is quite a wide range for the minor diameter, and I had wiggle room. I was still well within range when I achieved a concentric bore, and of course I left it chucked in for the threading.

These pictures mostly serve to show the price you pay for using a 3J chuck.

IMG_8207.JPG
IMG_8208.JPG
 
Boring done and now the workpiece is ready for threading. Also, 8 TPI scratch pass. You can see the .500" long safety groove in both pictures.

IMG_8224.JPG
IMG_8240.JPG
 
This was taken around the time I was test fitting the 1” 8TPI bolt (not shown):

IMG_8248.JPG
 
Last edited:
All done! No issues that I am aware of. I can just barely thread it by hand.

IMG_8270.JPG
IMG_8281.JPG
 
Thanks for taking us all through your learning journey. I have learned quite a bit. What do you use for a DRO?
 
Back
Top