- Joined
- Mar 10, 2015
- Messages
- 309
I was going to post this under June machines but decided not to . Im starting a new thread for 3 fold reasons . For one don't want to step on someones thread and two With this forum s format I cant seem to be able to save a topic yet to find it again unless I post. In it there must be some web tools that I am unaware of. And 3rdly Help/ supprt / ideas something to refer back to...
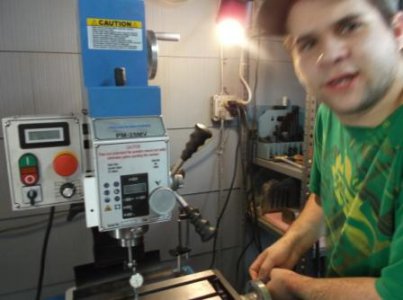
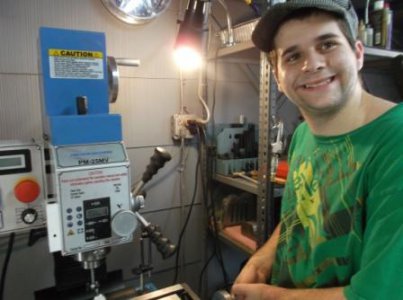
So far I like what i see .. well yesterday get home to a nice present . My PM25MV arrived all in good order it was waiting for me in the garage to start unpacking I had my pop coming over to Cut the first band and he did.. Im not going to show any pics cuz u all know what they look like . I dont have a good camera and all that fancy editing stuff.....
Well first off I was excited and was able to take my mind of things for a few hours .. anyway quick update I thought about how i was gona hoist it for last few days and decided i was going to use a sling and Rope hoist i had in my camping gear. . Well after unpacking crate showing my dad all the goodies i decided i wont have a prob lifting it with another strong arm.. Than I saw about 250 lbs No prob My dad said he can lift about 50 thats it... and I knew that anyways ... ..
My Dad is 76 and my wife was out of Q ... she already had it when she had to lift another Pc of equip... Anyways Got it uncrated all in good order right than happen to hear next door they had visitor ( Boyfriend of the girl ) 20 years old strong... . Gave the kid instructions how we going to lift told him we pick up ( footing good grip) and feel it first than re pick up and set on stand.... showed him how it was back heavy and keep his weight forward and asked Pop to be there to keep column straight. Little thought .. bada bing 15 seconds later was on the stand and the rest is history . My PM25-MV found a new home in my garage.
My First impression was wow they look allot bigger in the Pictures... well i though it stood maybe 8-10 " higher that's all . Was a little surprised that the quill travel is less than 4" but what do you expect with a machine this size.. Well I think I will be keeping my 19 Delta Drill press now for any drill jobs that may need the column table to be droped in Z
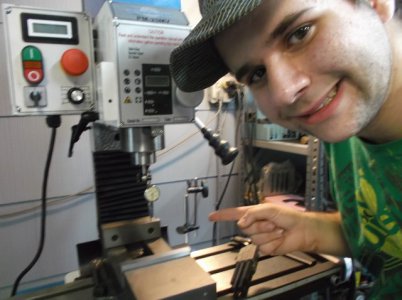
Wow!!! GREAT job on the NEW MOTOR smooth and quit... However i suspect they will be changing the draw bar / nut ..design tooling ... Never saw the R8,s on the little mills so I didn't know what to expect.... well all and satisfied for now its a little machine for its size.
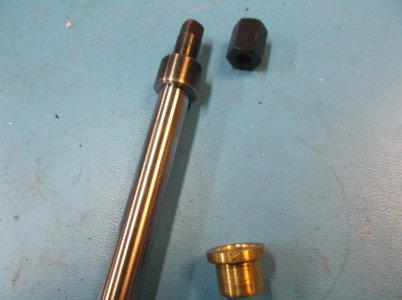
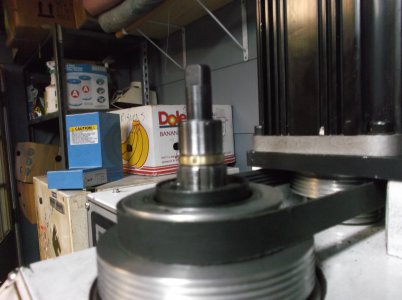
Spend the rest of night goin over machine. Just looking really didn't indicate dial in anything ….Had one issue ( i hope) witch is dud draw bar nut ( bad threads). When i first took it off i can feel it didn't feel right . so......I cleaned it and the shaft OD and it didn't cut it 1/8 turn it was wipped .. Anways called this AM let em know PM said they will send a new one out right away ..I jutst hope i don't have to take out the entire spindle shaft to fix it and it will be a hardship somehow.
Their are a couple of things that may need changing but im gona wait till i get feedback from u guys perhaps approval that we can do what we like to do without Voiding warranty anyways seems pretty tight so far. Well thats about it today . . I hope I can start over again and get doin stuff as hobby out in my garage to take the bight off of my current Job situation .
Thanks again for all your help and support
So far I like what i see .. well yesterday get home to a nice present . My PM25MV arrived all in good order it was waiting for me in the garage to start unpacking I had my pop coming over to Cut the first band and he did.. Im not going to show any pics cuz u all know what they look like . I dont have a good camera and all that fancy editing stuff.....
Well first off I was excited and was able to take my mind of things for a few hours .. anyway quick update I thought about how i was gona hoist it for last few days and decided i was going to use a sling and Rope hoist i had in my camping gear. . Well after unpacking crate showing my dad all the goodies i decided i wont have a prob lifting it with another strong arm.. Than I saw about 250 lbs No prob My dad said he can lift about 50 thats it... and I knew that anyways ... ..
My Dad is 76 and my wife was out of Q ... she already had it when she had to lift another Pc of equip... Anyways Got it uncrated all in good order right than happen to hear next door they had visitor ( Boyfriend of the girl ) 20 years old strong... . Gave the kid instructions how we going to lift told him we pick up ( footing good grip) and feel it first than re pick up and set on stand.... showed him how it was back heavy and keep his weight forward and asked Pop to be there to keep column straight. Little thought .. bada bing 15 seconds later was on the stand and the rest is history . My PM25-MV found a new home in my garage.
My First impression was wow they look allot bigger in the Pictures... well i though it stood maybe 8-10 " higher that's all . Was a little surprised that the quill travel is less than 4" but what do you expect with a machine this size.. Well I think I will be keeping my 19 Delta Drill press now for any drill jobs that may need the column table to be droped in Z
Wow!!! GREAT job on the NEW MOTOR smooth and quit... However i suspect they will be changing the draw bar / nut ..design tooling ... Never saw the R8,s on the little mills so I didn't know what to expect.... well all and satisfied for now its a little machine for its size.

Spend the rest of night goin over machine. Just looking really didn't indicate dial in anything ….Had one issue ( i hope) witch is dud draw bar nut ( bad threads). When i first took it off i can feel it didn't feel right . so......I cleaned it and the shaft OD and it didn't cut it 1/8 turn it was wipped .. Anways called this AM let em know PM said they will send a new one out right away ..I jutst hope i don't have to take out the entire spindle shaft to fix it and it will be a hardship somehow.

Their are a couple of things that may need changing but im gona wait till i get feedback from u guys perhaps approval that we can do what we like to do without Voiding warranty anyways seems pretty tight so far. Well thats about it today . . I hope I can start over again and get doin stuff as hobby out in my garage to take the bight off of my current Job situation .
Thanks again for all your help and support


